In this tutorial you will learn how to create a pop art with dots effect in Adobe Photoshop
Firstly, make 2 copies of the background layer by dragging it down to the copy option twice or by pressing Ctrl or Cmnd J twice on a Windows or Mac respectively. Hide the upper layer, which in this case is background copy layer.
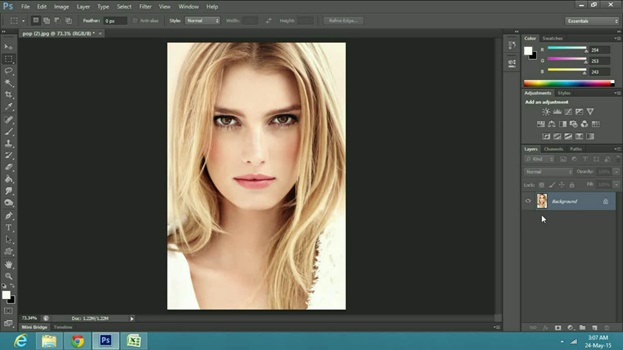
Now go to filter and select filter gallery. In the filter gallery select poster edges.
Now set the edge thickness to 2, edge intensity to 1 and posterization to 2 and press ok.
Now create a new layer, go to the toolbar, right click on the marquee tool and select the elliptical marquee tool.
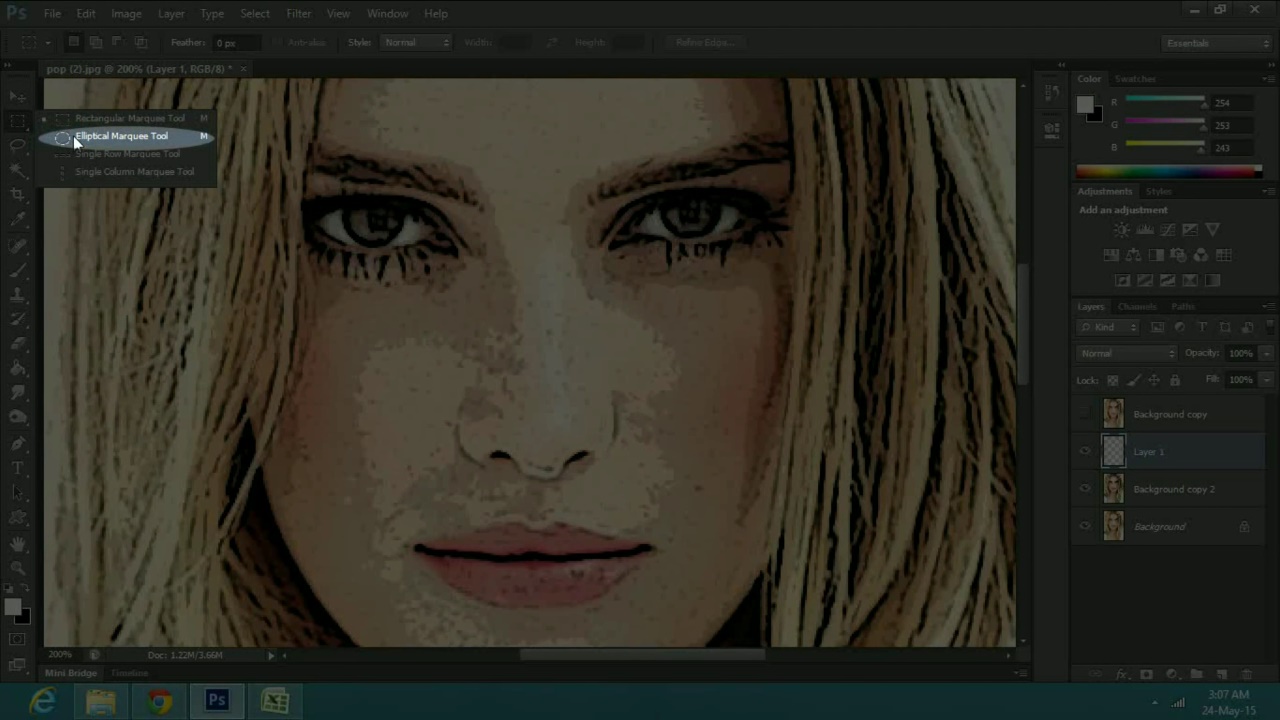
Then make a small circle inside the pupil area.
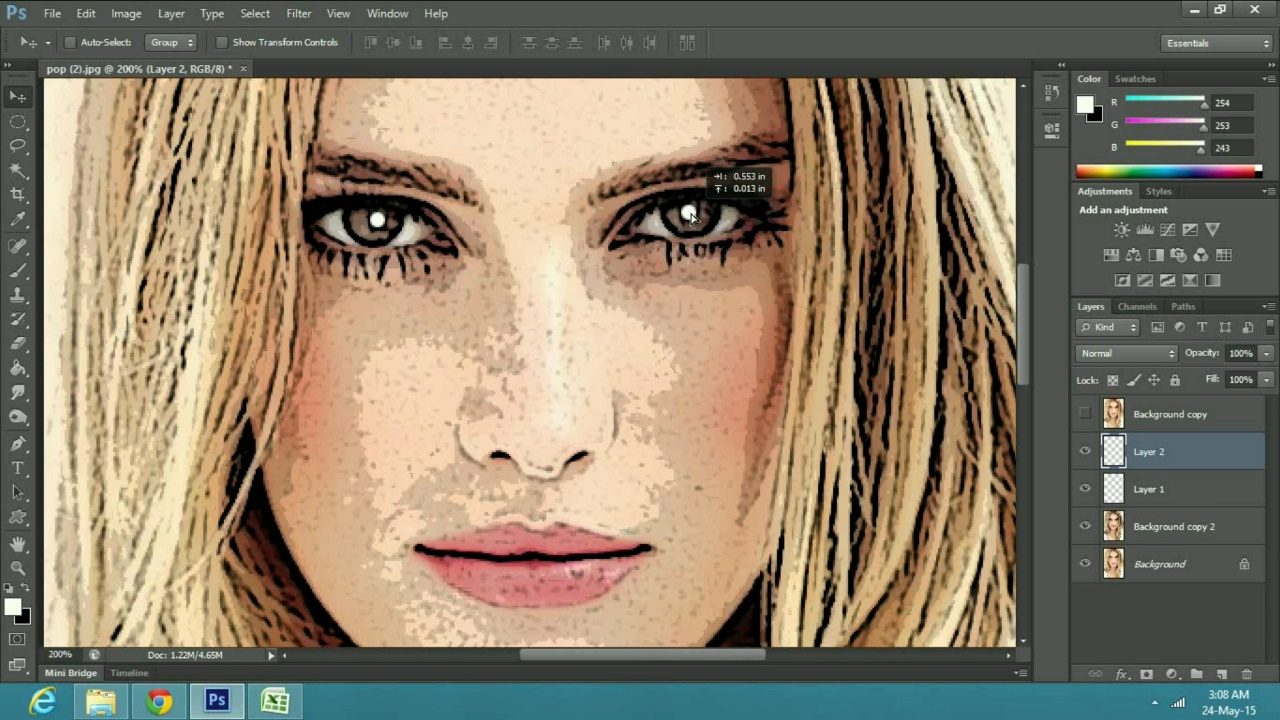
Then select the paint bucket tool or press G and fill the elliptical area, make sure the color is white.
Then make a copy of the white elliptic layer by pressing Ctrl or Cmnd J on a Windows or Mac respectively and use the move tool to reposition it.
Now merge down both white pupil layers to the background copy layer 2 by right clicking and selecting merge down twice, or press Ctrl or Cmnd E twice.
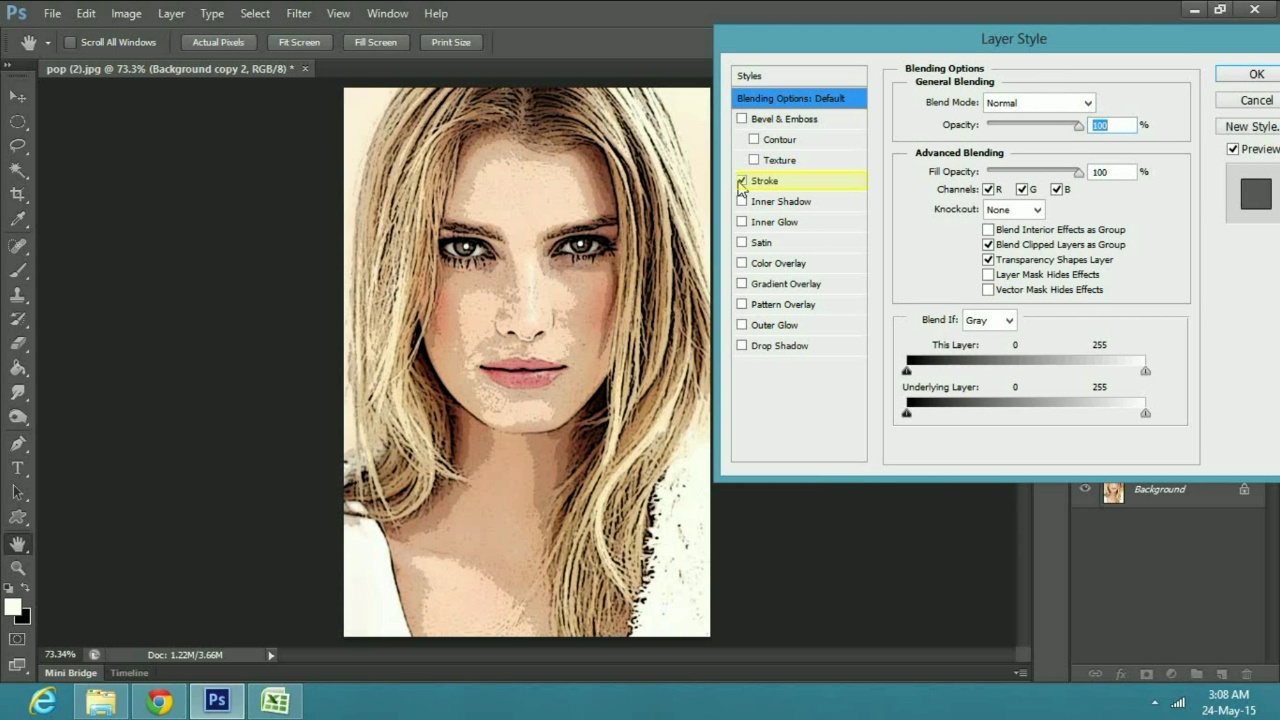
Now we will add border to the image so right click on background copy layer 2 and select blending options. Then check and select stroke.
Click on the color box and select white color and press ok.
Now make the size 23 pixels and position inside.
Then check and select inner glow from the blending options and click on the color box.
Select black color and press ok. Now change the blend to normal.
Now increase the opacity to 100% and also increase choke to 100%
Make the size 25 pixels and press ok.
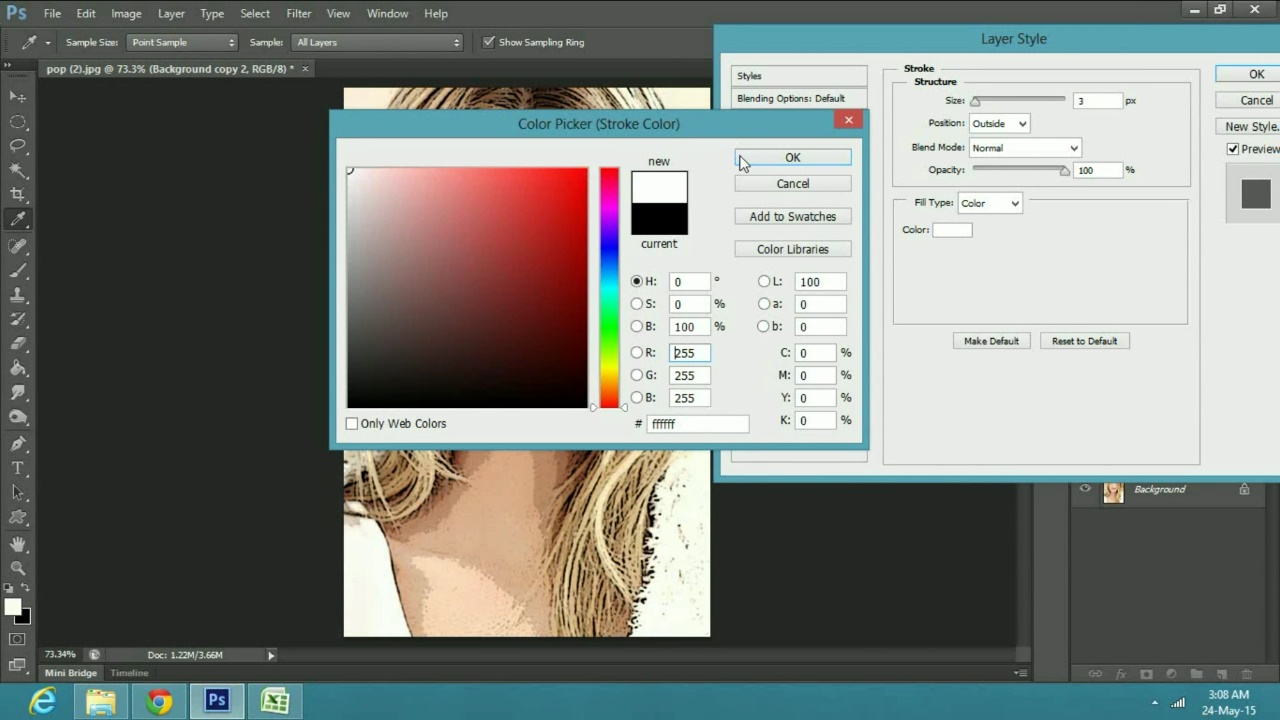
Now unhide the background copy layer. Then go to filter pixelate and select color halftone. In the properties change the maximum radius to 6 pixels and press ok.
Then go to the blend mode options and select soft light.
Now create a new layer because we will add a talk bubble.
So go to the tool bar and select the custom shape tool.
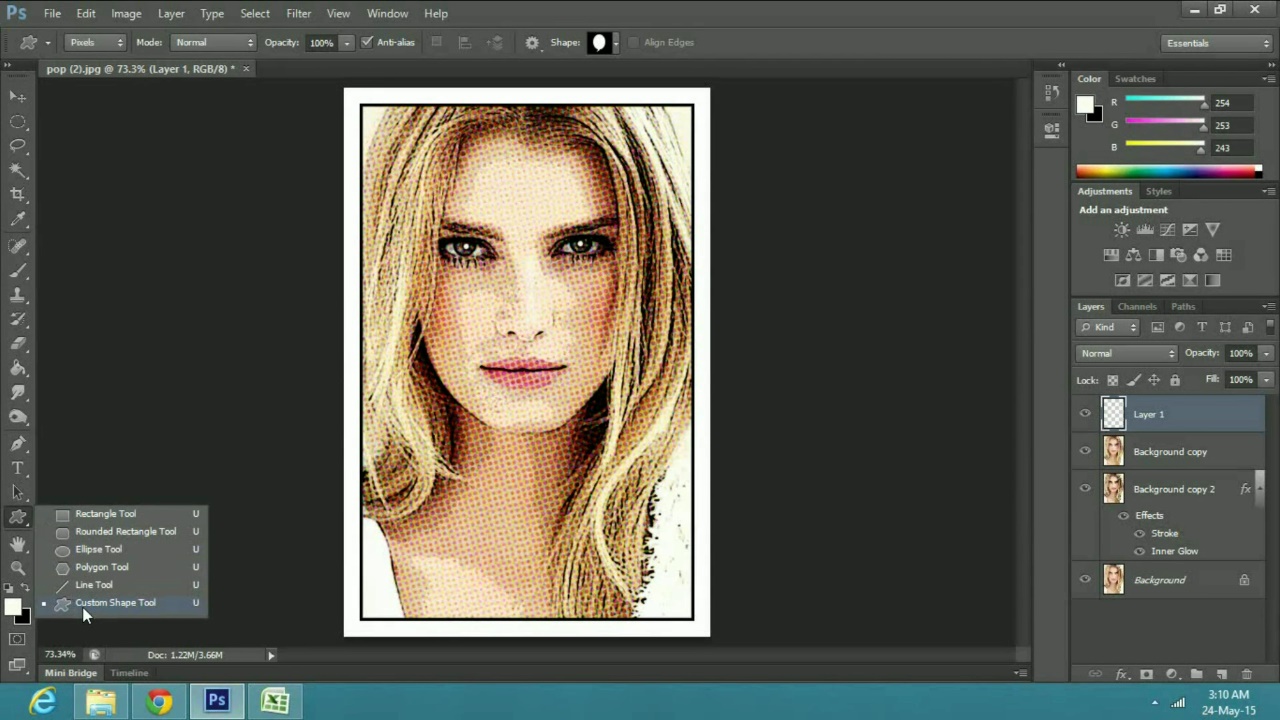
Make sure you have pixels selected in the upper menu panel. Then go to shape and select any shape you want, in this case I will select talk bubble 6.
Now just go over the image and make your talk bubble by clicking and dragging the cursor on the portion where you want your talk bubble. Then select the move tool or press V to reposition the talk bubble.
Now right click on the talk bubble layer and select blending options. In the blending option window check and select stroke. Make the position inside and change the size to 4 pixels and press ok.
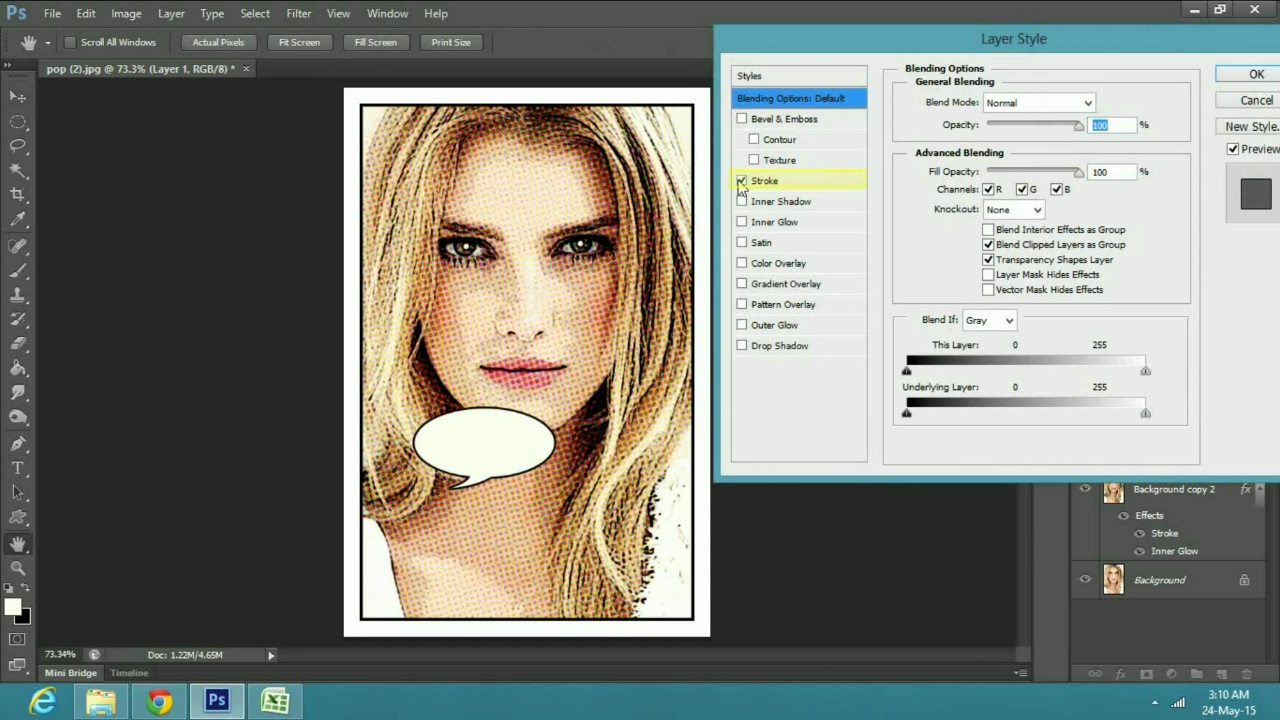
Now to flip the talk bubble, go to edit, transform and select rotate 180 degree.
Now we will add text to the talk bubble, so go to the toolbar and select the text tool, then simply bring your cursor over to the talk bubble, click once and start typing.
To change the color of the text, click on the color box and choose any color you like, in this case I will choose red.
Now click on the FX button below the layer panel.
Select stroke from the FX menu.
In the properties window check on stroke. Then check and select drop shadow.
In the properties window keep the distance to 13 pixels and change the angle to 86 degree and press ok.
Now right click on the text layer and select rasterize type. Then right click again on the same layer merge it down to the talk bubble layer.
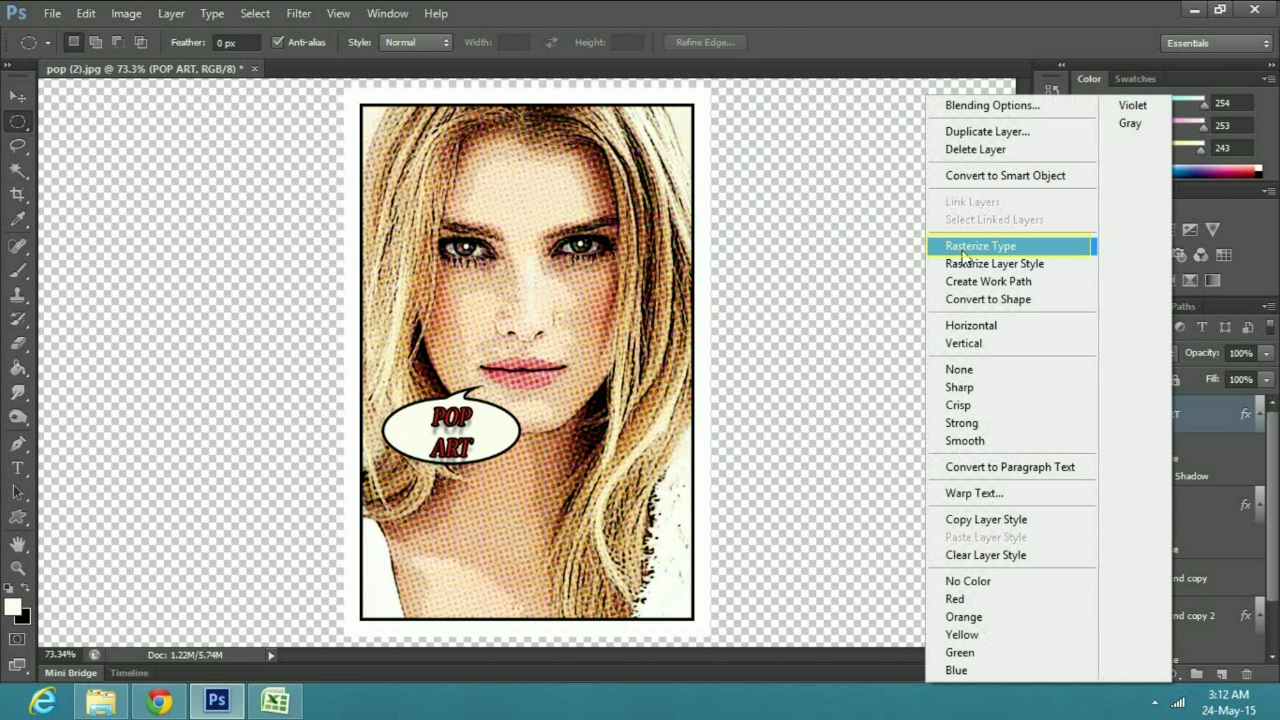
And that completes the process of a pop art. Have fun making your own.
 Home
Home