This tutorial will show you how to create a fire in Photoshop which can be a cool effect to add to text.
Step # 1 – Creating the Text
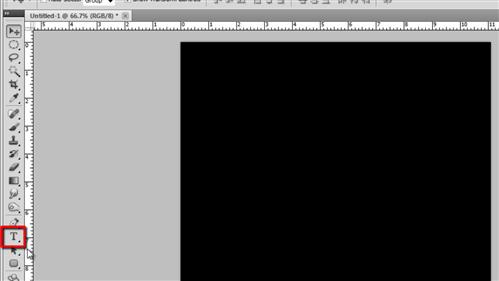
Create a new document in Photoshop, here we are just using a setting of 800×800 pixels. Press “Shift” and “Backspace” on the keyboard at the same time and in the window that appears enter choose black from the drop down menu and click “OK”. In the toolbar on the left select the text tool and drag a selection onto the canvas. Type your desired text into the box and set the color as white. You should also choose a font and size that works, here we are using Arial with a size of 100. Use the move tool to center the text on the canvas.
Step # 2 – Adjusting the First Text Layer
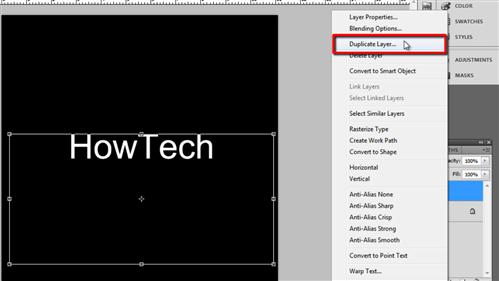
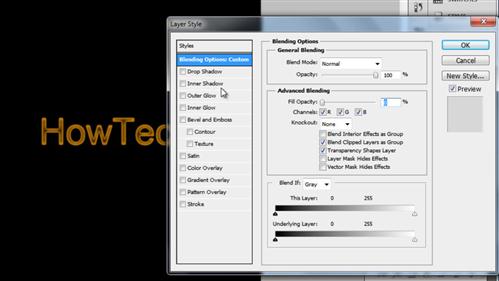
In the layers panel right click on the text layer and click “Duplicate Layer” in the menu that appears. Click “OK” in the dialog box that appears. Make the newly copied layer invisible by clicking on the eye icon. Now, double click on the original text layer and the “Layer Style” window will appear. Set the “Fill Opacity” to “0”. Click on the “Outer Glow” tab on the left and click on the small color swatch that appears on the right, in the “Color Picker” window enter a value of “ffb017” and click “OK”. In the elements area set a size of “4”.
Click on the “Inner Glow” tab and raise the “Opacity” to “100”. Click the color swatch and enter a value of “ff9c00” and click OK, set a size of “11” and click “OK” again.
Step # 3 – Adjusting the Second Text Layer
In the layers menu make the duplicate text layer visible again by click where the eye icon previously was. Double click on it to bring up the layer style options. Lower the “Fill Opacity” to “0” and then click on the “Outer Glow” tab and go to the color setting and enter the value “ff4e00” and click “OK”. Set the size to “28”. Now click on the “Inner Glow” tab and increase the “Opacity” to “100”. Select a new color and enter “ffc600”, click “OK” and change the “size” to “18”. Click “OK”.
Step # 4 – Creating the Flames
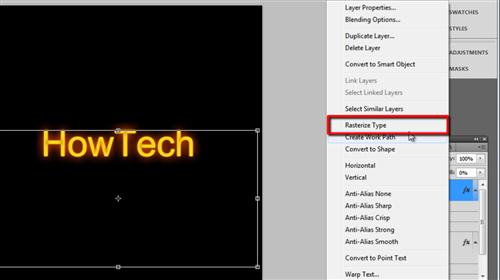
In the layers panel right click on the copy text layer and in the menu click “Rasterize Type”. Click on the smudge tool in the menu on the left and at the top of the window select a brush size that is a touch smaller than the thickness of the text. Zooming in on the text makes this easier to work out. Set a “Hardness” of “25” and a “Strength” of “75”. Now use the smudge tool on the text and click and drag, use your judgement to create an effect level you like.
Step # 5 – Tidying up the Image
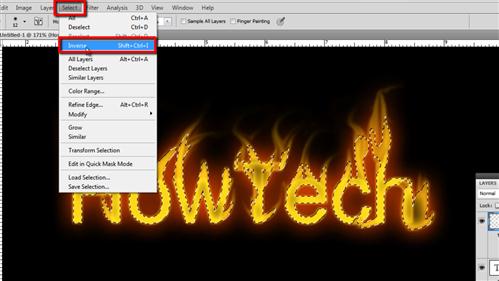
By now it should be looking rather good, we just need to make some final adjustments to make it a bit more realistic. Hold down the “Control” key and click on the text copy layer thumbnail in the layers panel. Now click “Select” in the main menu and click “Inverse”, then press “Delete” on the keyboard. Press “Control” and “D” to remove the selection and you should have a rather pleasing result and that is how to create fire in Photoshop.
 Home
Home