Adobe Flash is a well known animation software. There are various tools and functions available in it to create different types of animated flash movies. It also offers a concept of “Tweening” which allows you to create animations of specific frames for a particular period of time. There are two types of tweening which are motion tweening and shape tweening. Motion tweening works on vector graphic while shape tweening applies on raster graphic.
In this tutorial you will learn to create both motion and shape tweening in a single flash animation.
Step # 1 – Go to the File Menu
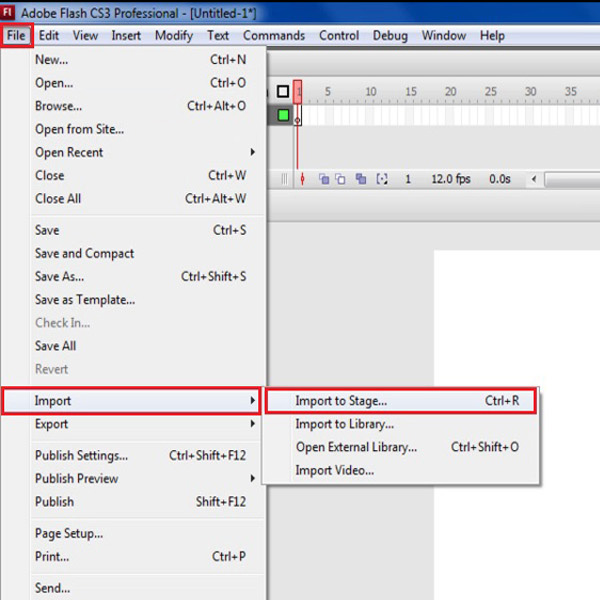
In the first step, launch Adobe Flash and go to the “File” menu. Select the “Import” option and click on the “Import to Stage” option from the list.
Step # 2 – Select a Background Image
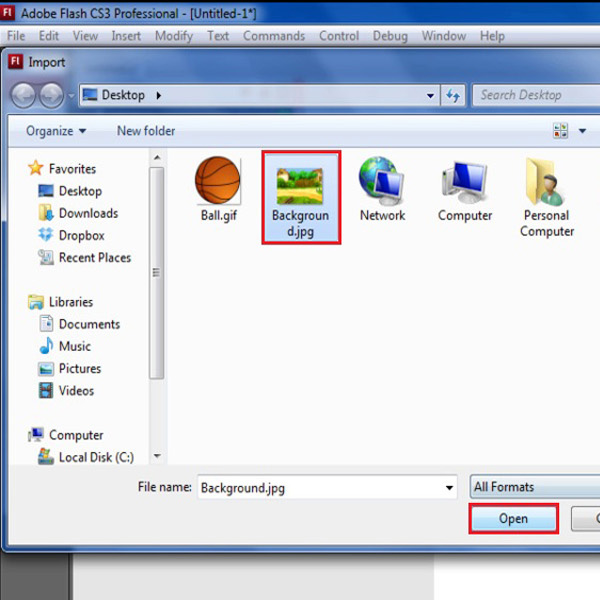
Select a scenery image from the browsing window for your background and click on the “Open” button to import it on the work stage.
Step # 3 – Adjust the Size
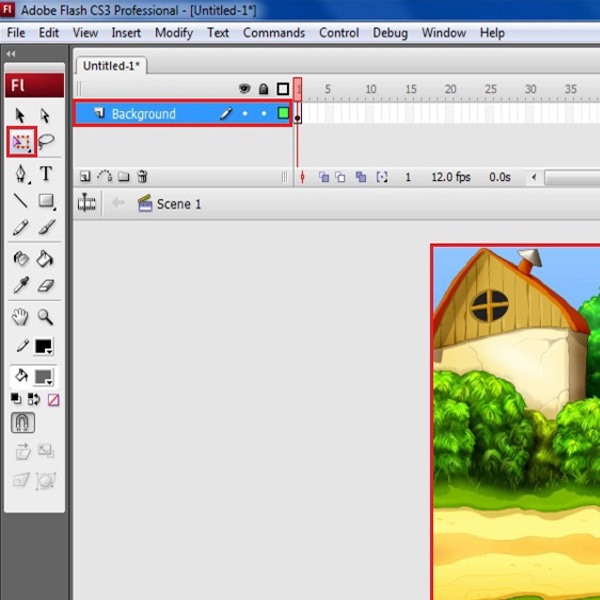
Now select the “Free Transform” tool from the menu and resize the image to fit according to the frame. This layer will serve as a background so rename the layer as “Background”.
Step # 4 – Add a Layer
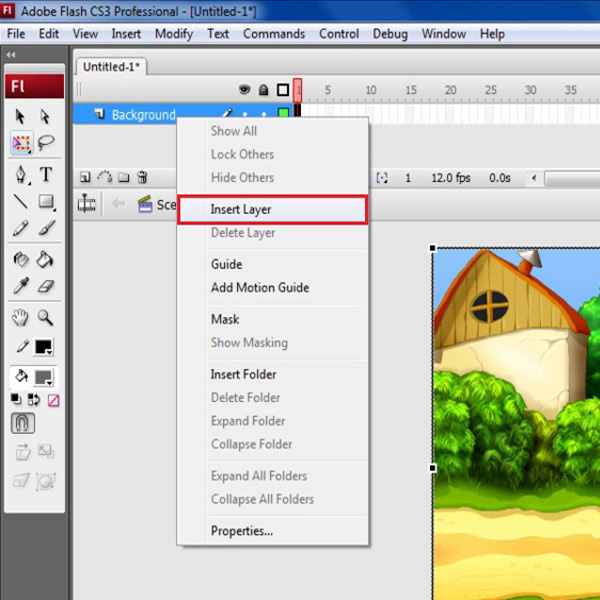
Right click on the layer and select the “Insert Layer” option from the menu. This will add a new layer in the animation scene.
Step # 5 – Rename the Layer
Double click on the new layer and rename it to “Ball”. The name clearly shows that we are going to place an animation of a ball in this layer.
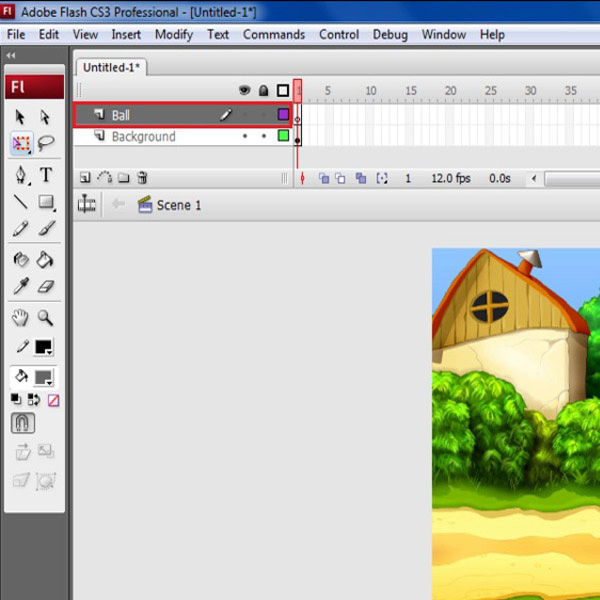
Step # 6 – Import a New Image
Now again click on the “File” menu and select the “Import” option from the list. Click on the “Import to Stage” option from the menu to import another image on the scene.
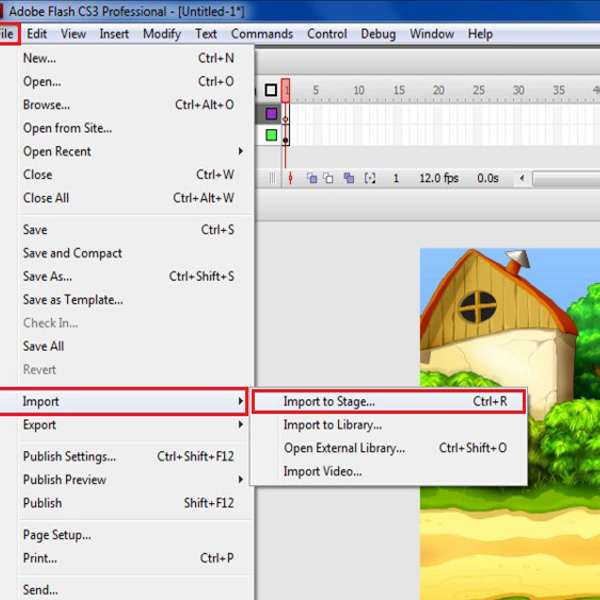
Step # 7 – Select a Ball’s Image
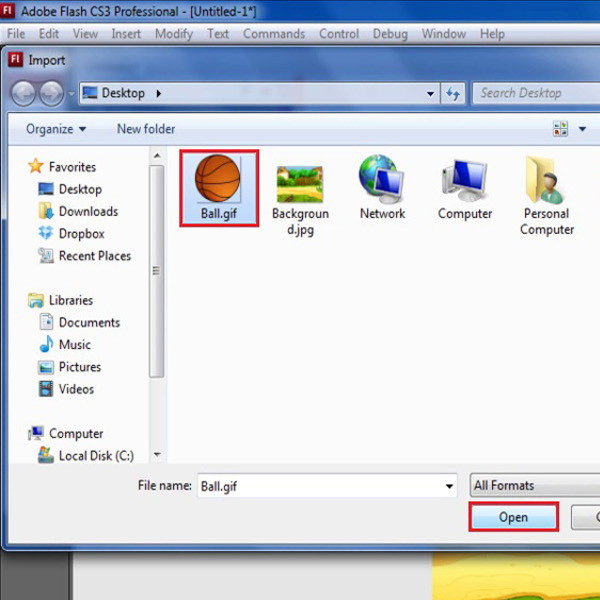
In the browsing window, select an image of a ball. Now click on the “Open” button to import this image on the layer.
Step # 8 – Adjust the Size
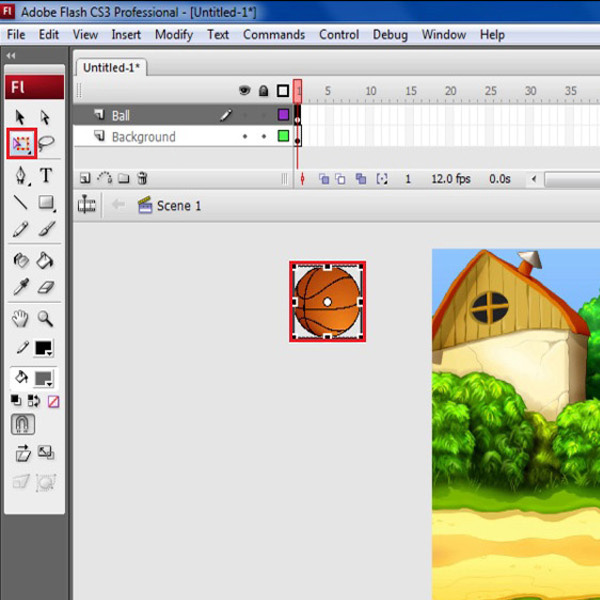
Once the image is imported into the frame, select the “Free Transform” tool from the menu. Now use it to resize the ball’s image according to the background image. After resizing it, place it on the top left side of the image outside the frame.
Step # 9 – Convert to Symbol
Right click on the ball and select the “Convert to Symbol” option from the menu to convert it into a symbol.
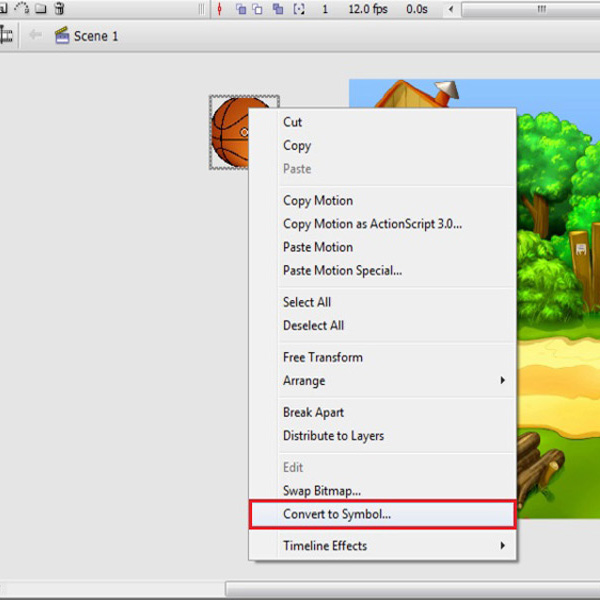
Step # 10 – Choose a Movie Clip Option
Choose the symbol name as “Ball” and select a movie clip option from the menu. Now click on the “OK” button to create a movie clip.
Once the image is converted into a movie clip, double click on it to enter into the editing mode.
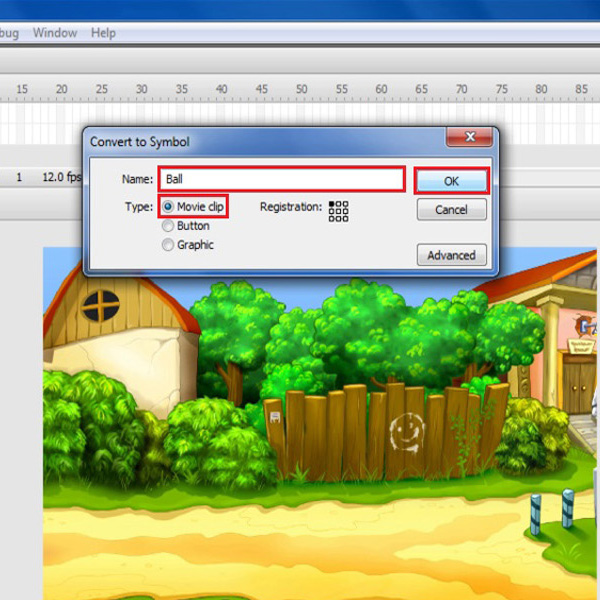
Step # 11 – Break Apart
In the movie clip editing mode, right click on the ball’s image and select the “Break Apart” option from the menu. This will convert the image into a raster graphic or shape so that we can apply the shape tweening on it.
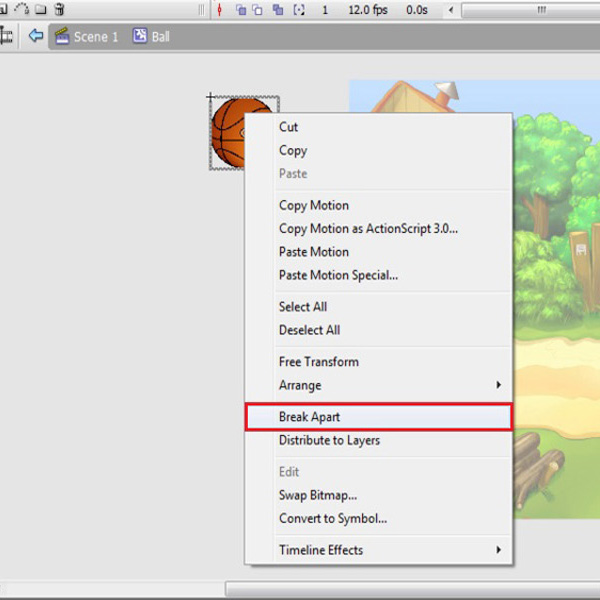
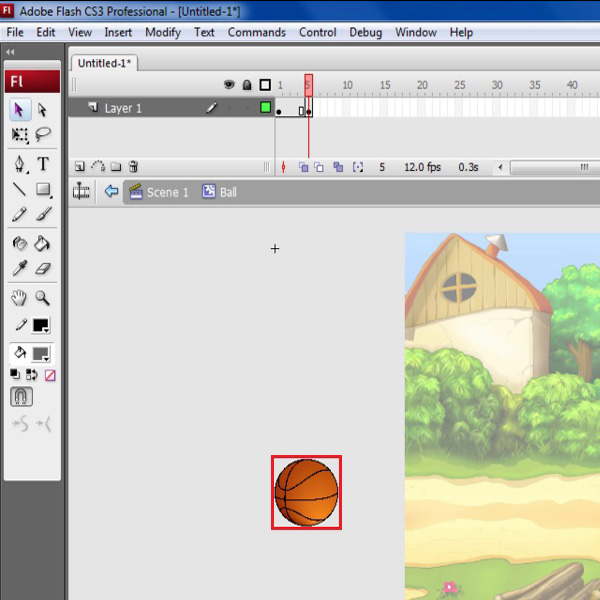
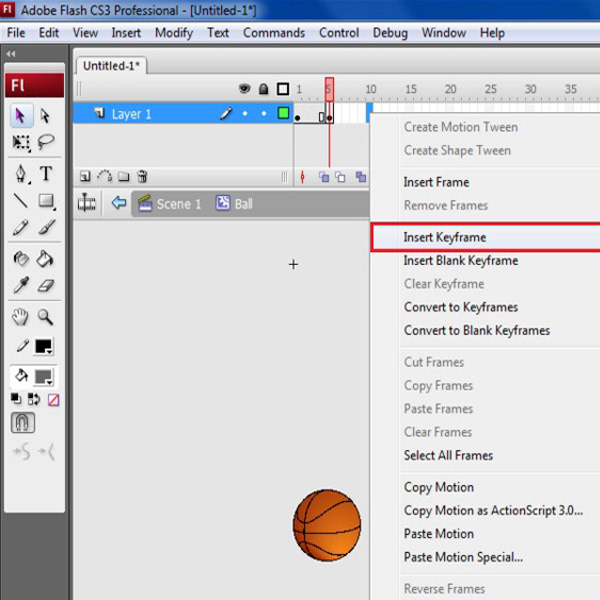
Step # 12 – Add a Key frame
Now right click on the 5th segment of the timeline and select the “Insert Key frame” option from the menu. This will add a new key frame in it.
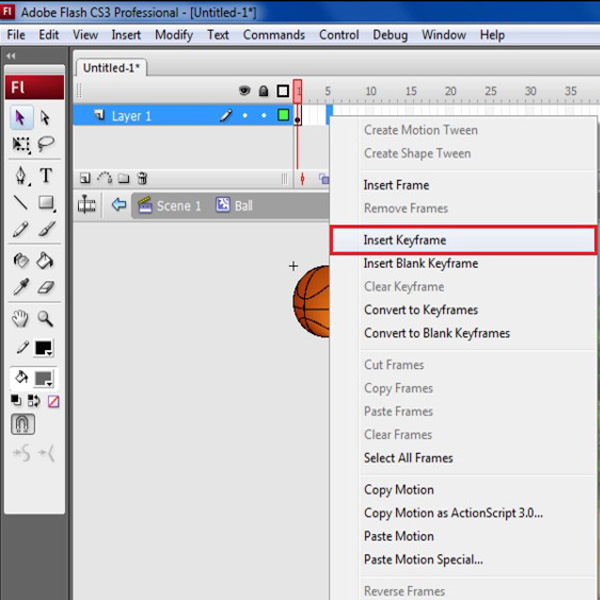
Step # 13 – Move the Ball Downwards
In the new key frame, select the image and drag it downwards on the frame.
Step # 14 – Add a Key frame
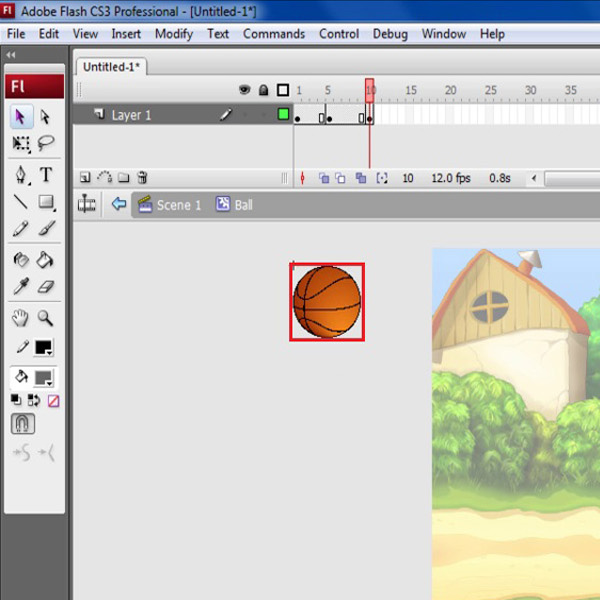
Similarly insert a key frame on the 10th segment of the timeline.
Step # 15 – Move the Ball Upwards
Now in this frame, select the image and move it upwards on the stage.
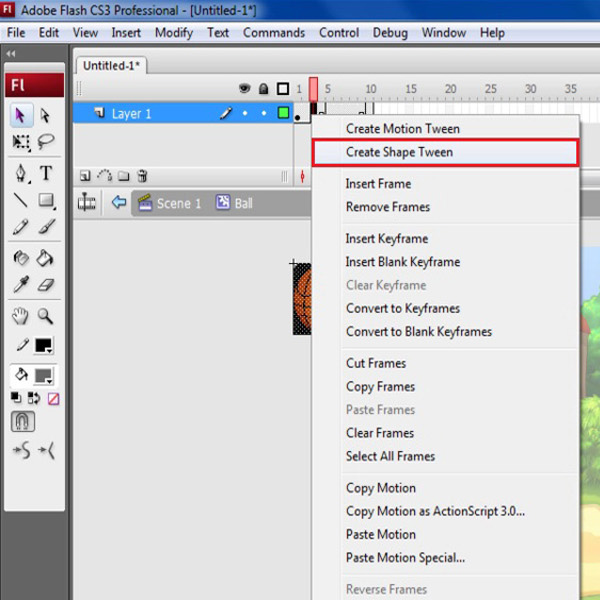
Step # 16 – Apply a Shape Tweening in First part
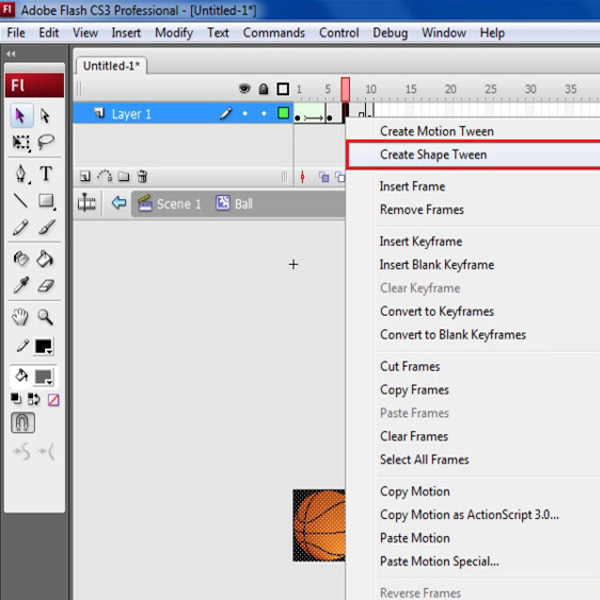
Now right click between the first segments of frames and select the “Create Shape Tween” option from the menu. This will apply the shape tweening on the first part of the movie clip.
Step # 17 – Apply the Shape Tweening in Second Part
Similarly right click between the second segments of frames and select the “Create Shape Tween” option from the menu.
Now as the movie clip is completed, click on the “Scene 1” option to go back to the main page.
Step # 18 – Add a Key frame
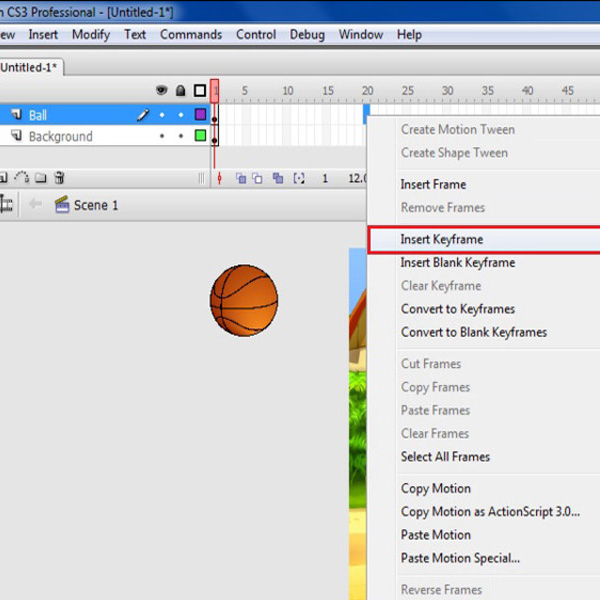
Now in the main stage, select the layer which is named as “Ball”. Go to the 20th segment of the timeline and right click on it. Now select the “Insert Key frame” option from the menu.
Step # 19 – Move the Ball towards the Right Side
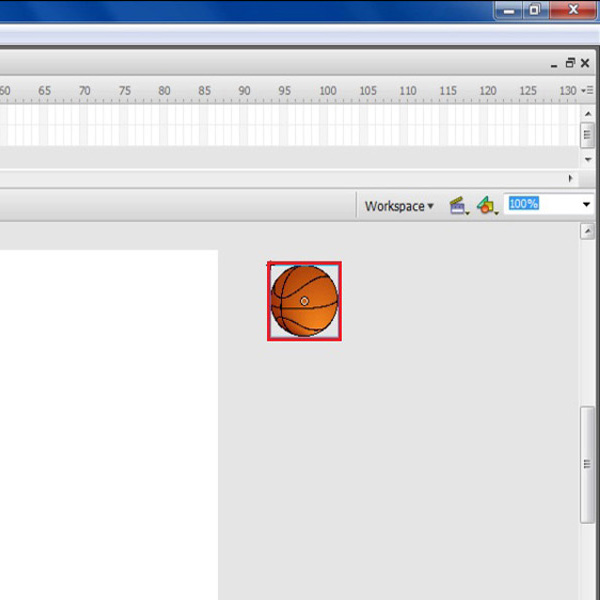
In this new frame, select the ball’s movie clip and move it towards the right side of the background image outside the frame.
Step # 20 – Add a Frame
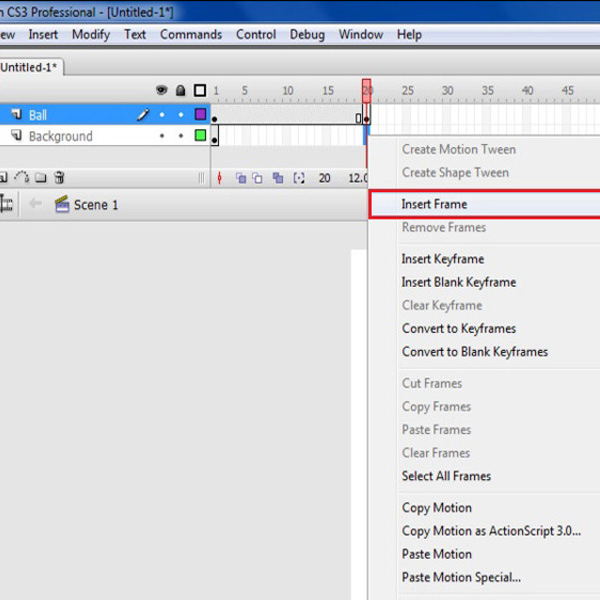
Insert a “Frame” in to the same segment of the timeline in the “Background” layer to make it appear throughout the animation.
Step # 21 – Apply a Motion Tweening
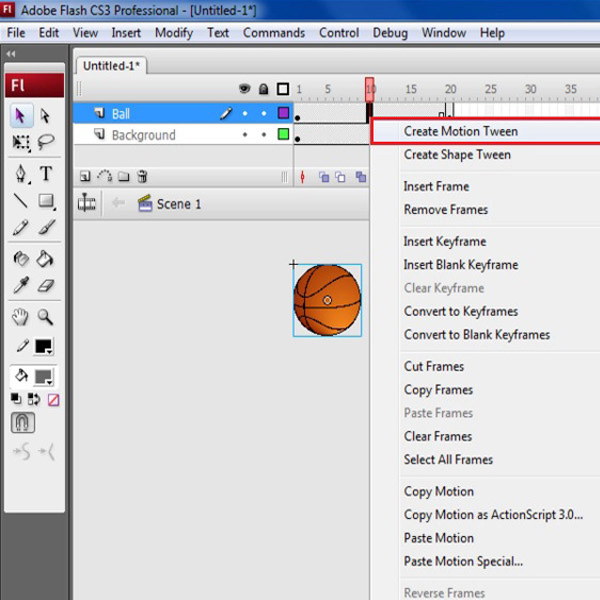
Now right click between the Frames of the “Ball” layer and select the “Create Motion Tween” option from the menu.
Step # 22 – Go to the Control Menu
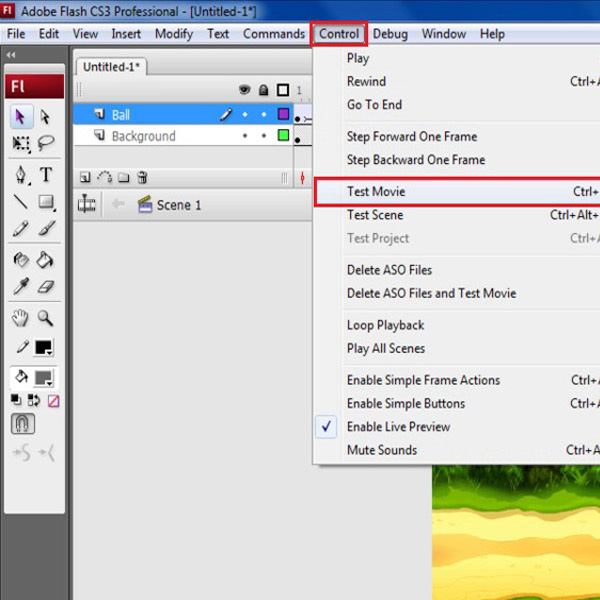
Once done, go to the “Control” menu and click on the “Test Movie” option to play the animation.
Step # 23 – Test the Animation
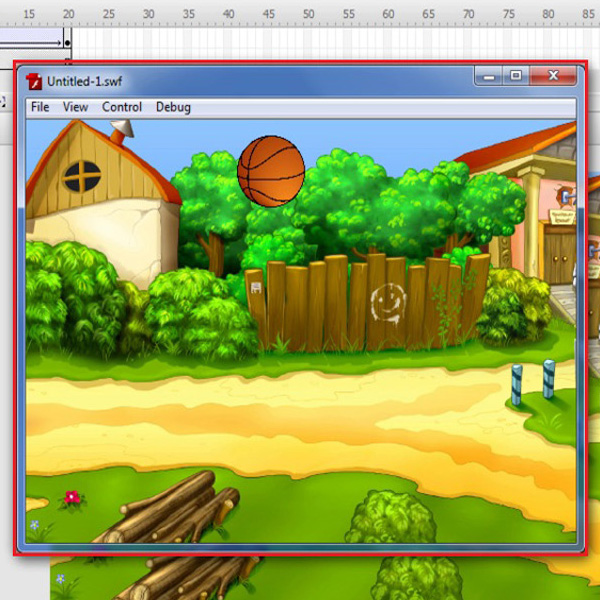
Now you can see that both motion and shape tweening are working together perfectly in the animation.
 Home
Home