In this video tutorial we will show you how to create a sepia effect in Photoshop Elements.
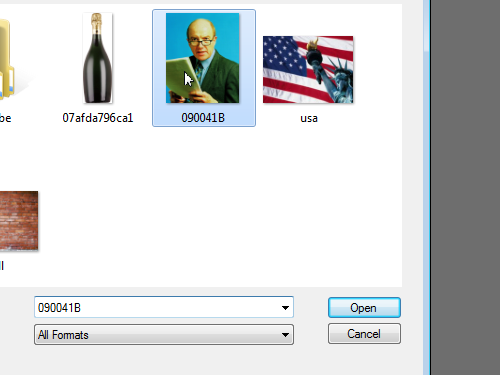
Launch the Adobe Photoshop Elements., Select the “Photo Editor” tab in the startup window. Go to the “File” menu and press “Open”. In the appeared dialog box, select the file you want to edit and click on the “Open” button.
Double click on the “Lock” icon in the “Layers” palette to unlock the background layer.
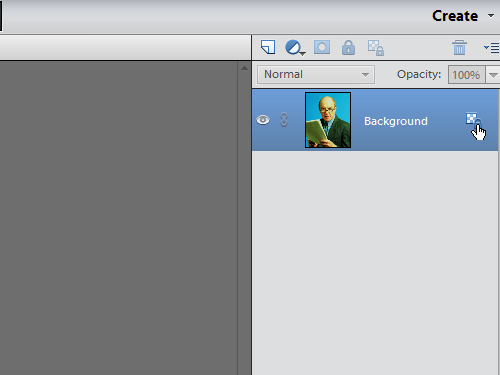
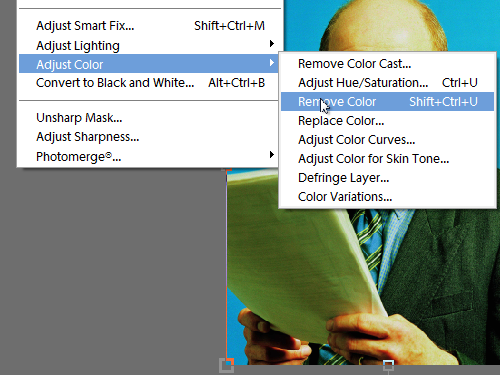
In the appeared window, press “OK”. Go to the “Enhance” menu and select the “Remove Color” option from the “Adjust Color” submenu.
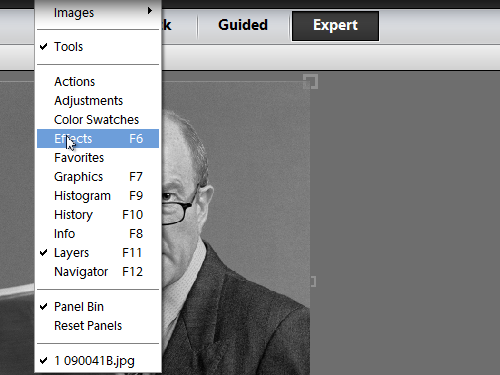
Go to the “Window” menu and open the “Effects” window.
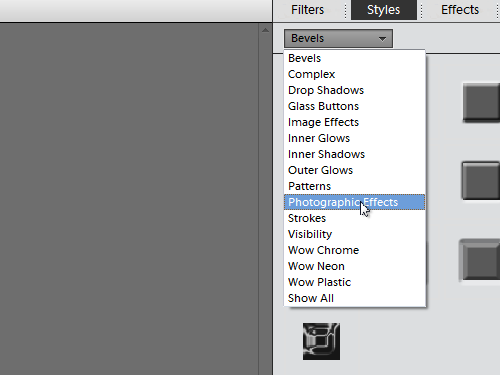
In the appeared window select the “Photographic Effects” option in the “Styles” tab.
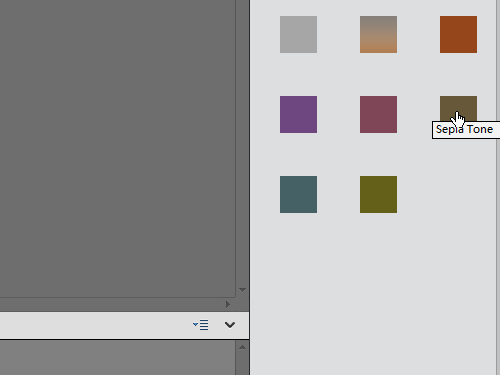
Click on the “Sepia Tone” style and apply it to the image.
Click on the “Layers” button. Then click on the “Create new fill or adjustment layer” icon and select the “Levels” option from the popup menu.
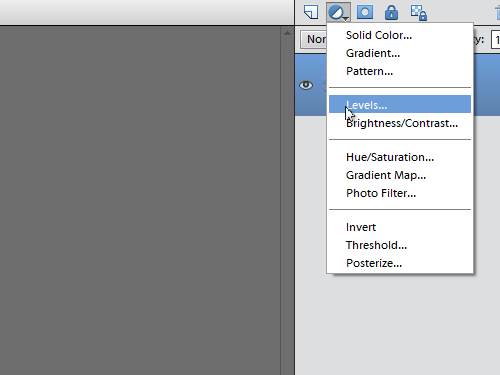
In the opened window, select the “Red” channel from the “Channel” menu and adjust the levels if needed. As you can see, sepia effect has been successfully applied in Photoshop Elements.
 Home
Home