In this tutorial you are going to learn how to create web page layouts in Photoshop. These can be a great guide to give to a web site developer and this tutorial is going to take you through the basic elements you will need to create your layout.
Step # 1 – Setting Size and Background
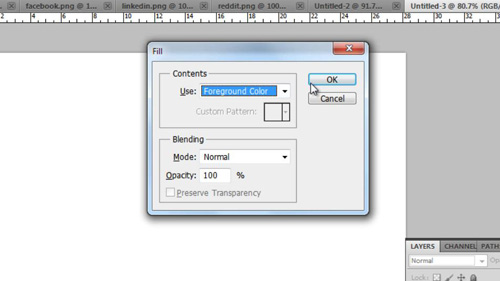
Start Photoshop and click “File” and “New”. In the new window create a blank canvas with a resolution of 800×600, this will give you enough space to give the designer a basic idea of what you want. Now, click in the foreground color swatch and choose a color that you want for the background of your website, click “OK”. Press “Shift” and “Backspace” on the keyboard and the “Fill” window will appear. From the drop down menu select “Foreground color” and click “OK”.
Step # 2 – Creating the Title Header and Footer
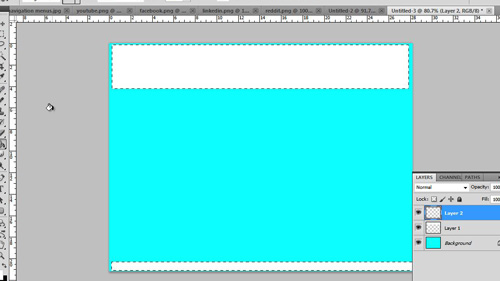
The heading is what will appear at the top of your site, the footer will appear at the bottom. This will likely be the same on each page and will involve your logo. Click “Layer”, navigate to “New”, then click “Layer”, click “OK” in the window that appears. Select the “Rectangular Marquee Tool” from the toolbar and drag a selection at the top of the page for the title, hold down the “Shift” key and also drag a smaller selection at the bottom for the footer. Choose a color for these boxes in the foreground color selector. Now, select the “Fill” tool and use it to color these two boxes.
Step # 3 – Inserting a Navigation Bar
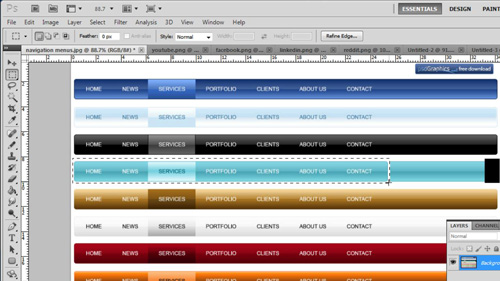
Click “Layer”, go to “New” and click “Layer”. We are now going to create a navigation bar below the header space. Rather than create one of these yourself, source one through a Google search. As you can see here we have a large selection of navigation bars sourced from the website “www.psdgraphics.com” which has an excellent selection of website elements. Here we are going to choose a blue bar, but it will need some adjustment to make it fit. We will use the marquee tool to select the end of the bar, right click on it and use the free transform option to make it fit our site. Now click on the marquee tool again and drag around the modified bar, press “Control” and “C” on the keyboard then navigate to the new image and press “Control” and “V”. This will paste the bar into our layout, place it at the top of the page.
Step # 4 – Inserting the Main Page Body Area
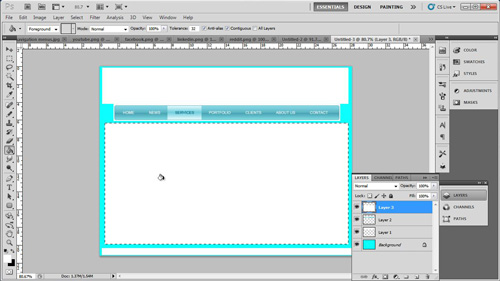
Now we will create the area where the main body of text for the page will go. Click “Layer”, navigate to “New” and click “Layer”. Select the marquee tool and draw a large selection onto the main area of the page. Use the fill tool again to fill it with your chosen color, here we are using the same white seen in the header and footer.
Step # 5 – Inserting Icons/Images
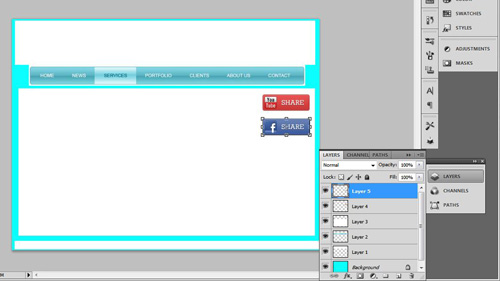
Now that we have our main layout arranged, let’s insert some images or icons. Create a new layer. For the purpose of this example we are just going to insert some simple social media icons. Make sure that you have these already on your computer and open in Photoshop. Navigate to the first icon, press “Control” and “A”, then “Control” and “C”, navigate back to our webpage layout and press “Control” and “V” to paste the icon. If the move tool is not already selected, click this and use it to place the icon wherever you want on your page. Repeat this procedure for any other icons that you want to move onto your page. This process also works for any images you want to insert.
Step # 6 – The Main Text Body
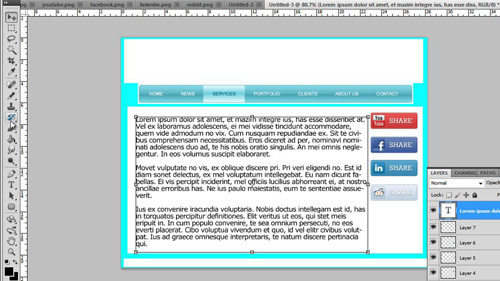
Now we are going to want to insert some text onto the page. Create a new layer. Click on the text icon in the menu on the left, choose a font you like, select a size (around 18 works well) and choose a color. Now drag a text box into the main body of the page and enter the text that you want to appear here. Now, use the move tool to tweak the position of the text, holding down “Control” while dragging with the move tool will allow you to reposition the text more finely.
Step # 7 – Entering the Text for the Header and Footer
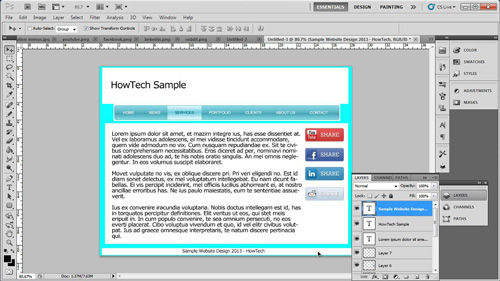
Click the text icon again and draw a text box into the header area we created earlier. Use the settings in the menu at the top to adjust the text to a good size. Change the font and color if you wish. As before use the move tool to tweak the position of the text. Now, click the text tool again and drag a selection into the footer area we created earlier. Reduce the text size to around 14 and enter the text you want – use the move tool to tweak its position. As you hopefully have seen from the tutorial, creating simple web page layouts in Photoshop can be a good way to offer guidance to a website designer.
 Home
Home