Microsoft Excel is a detailed software that can be used as a multiple analysis tool. It gives simple options that can help you manage and manipulate data to derive desired or actual results. It is important to understand the workings of this software to be able to use it effectively. You can customize the Ribbon in Excel as per your own requirements by adding or removing buttons or even complete groups. Follow this step by step tutorial to learn more about the Ribbon in Excel.
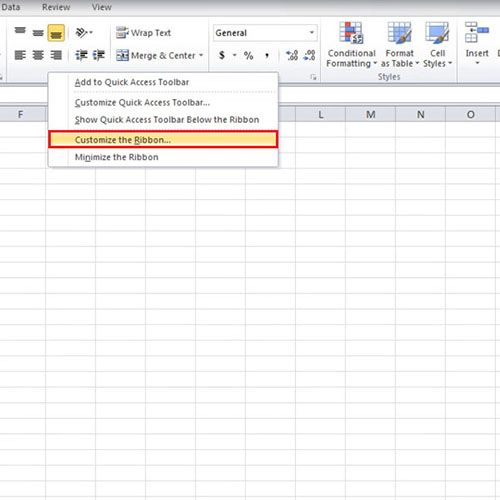
Step # 1 – Select ‘Customize the Ribbon’
Right-click anywhere on the Ribbon in Excel and select “Customize the Ribbon” option.
Step # 2 – Rearrange ‘Tabs’
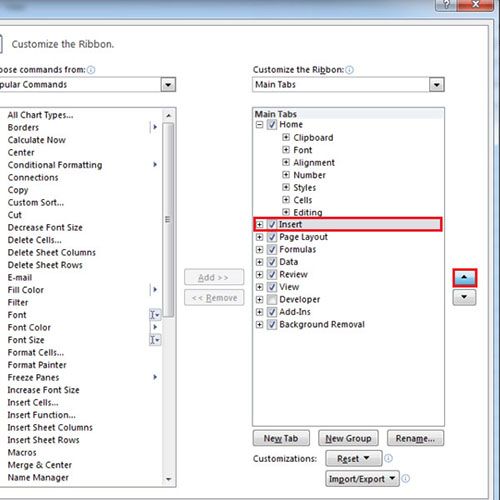
On the right side of the window you will see the list of ‘Tabs’ which can be expanded to show the groups of options that they contain. If you want to change the order in which they appear, click on any ‘Tab’ and press the ‘Up arrow’ to move it upwards or ‘Down arrow’ to move it down. Here we have moved the “Insert” tab at the top. After making the changes, click on the “OK” button and you will see that the “Insert” tab appears before the “Home” tab in the ribbon bar.
Step # 3 – Rename group
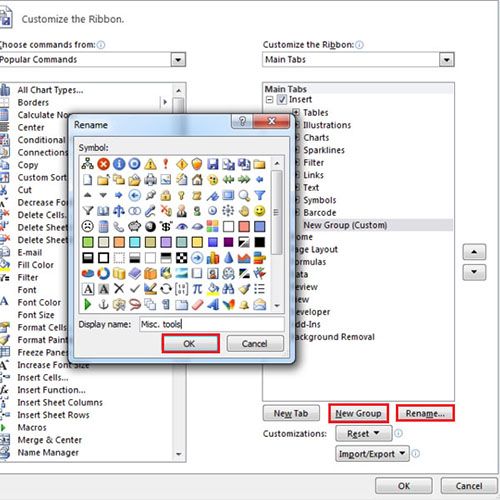
Go to the ‘Customization’ window again and click on the “New Group” button. With that done, click on the “Rename” button and name the group.
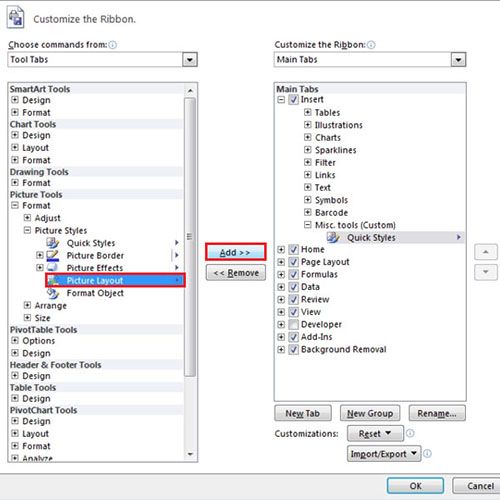
Step # 4 – Add command in ‘Insert’ tab
On the left side of the screen you will find a list of commands to choose from. Select any command from the list and click on the “Add” button to add that command to the group. Once done, click on the “OK” button and notice that the group has been added in the “Insert” tab.
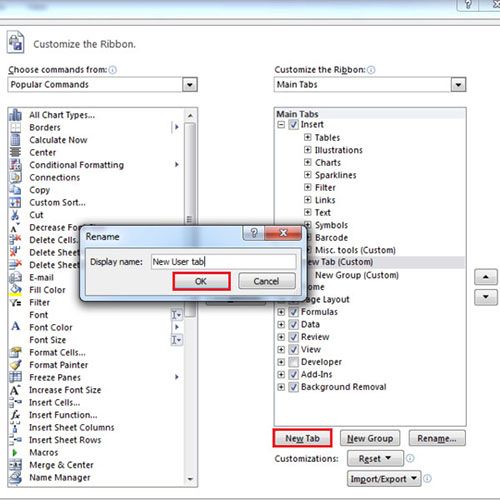
Step # 5 – Add a new Group
In order to add a new tab to your Ribbon bar, go to the “Customization” window again and click on the “New Tab” button. Right click on the tab and rename it. Once done, a group will be added by default to the tab. Click on the group and add different functions to it.
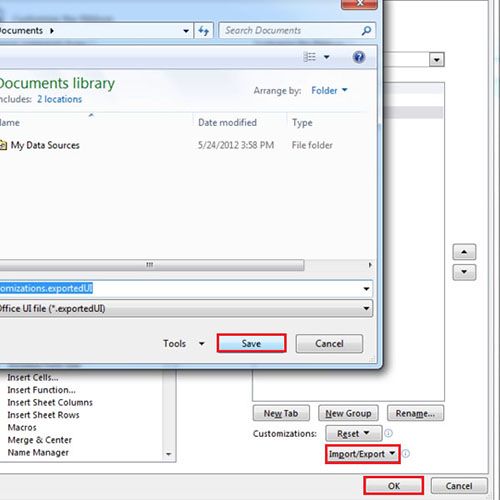
Step # 6 – Save all Customization
In order to export the Customized tab, click on the “Import/Export” button from the Customization window and click on the “Export All Customizations” option. With that done, Save the file on your hard drive. You can transfer the file and import the toolbar to any other computer and customize the Ribbon in Excel.