In this tutorial you are going to learn how to export excel to fixed width text file so it is easily viewable even by people who don’t have access to Excel.
Step # 1 – Selecting Save As
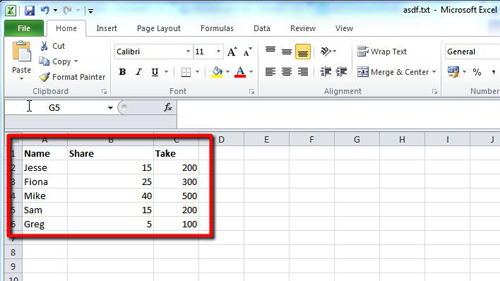
Generally when you export an Excel file to text it will not keep the widths that you have defined in excel. In the spreadsheet here you can see that the “Share” column is larger than the other two and this is a width that we want to “fix” in the exported file. Click on the “File” button in the top left corner of the screen, from here click on the “Save As” option.
Step # 2 – Saving as a .prn File
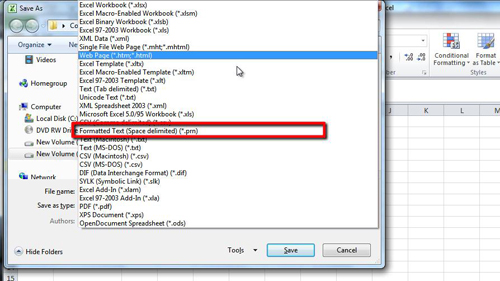
The “Save As” window will appear. You don’t want to save as a regular text file but instead as a “*.prn” file. Click on the “Save as type” drop down list and click on the “Formatted Text (Space Delimited)” option. Click “Save”. Click “Yes” in the dialog box that appears. That is essentially how to export excel to fixed width text file.
Step # 3 – Selecting Save As
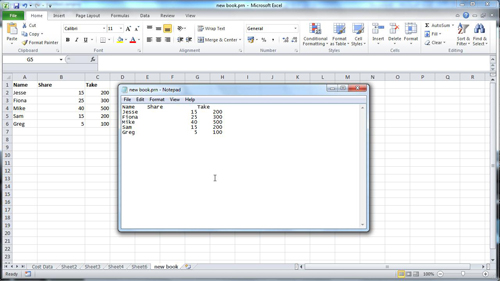
Now, to make sure that the column space has been exported into the text file, you are going to need to open it. Navigate to where you saved the file and open the document with Notepad. Here you can see that the spacing has been kept the same as in the original spreadsheet.