In this video tutorial we will show you how to fade edges in GIMP.
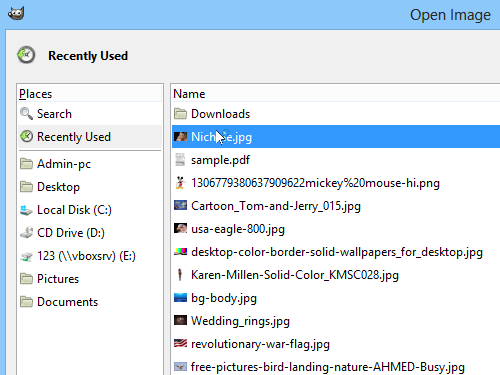
In order to fade edges of an image in GIMP you need to start the program. Go to the “File” menu and choose “Open”. Select the image on your computer and press “Open”.
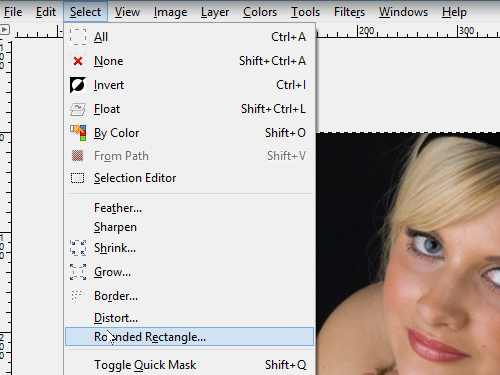
Select the entire image by pressing “Ctrl+A” on the keyboard. Go to the “Select” menu and choose “Rounded Rectangle”.
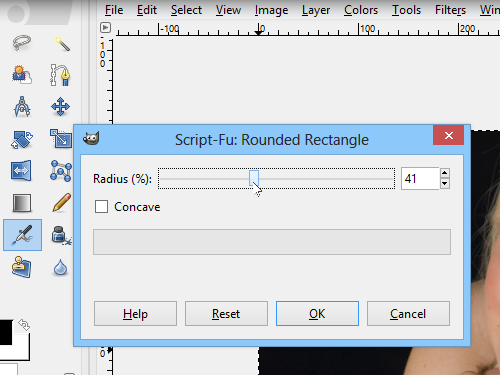
In the pop-up window set the radius with the slider, and then press “OK”.
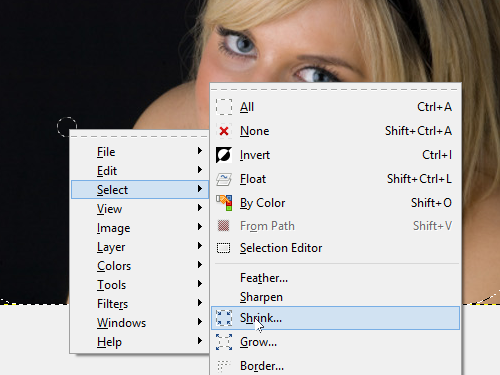
Now we need to slightly reduce the selection area. Right-click on the image, go to “Select” and choose “Shrink”.
In the pop-up window set the size to 10 pixels and press “OK”. Right-click on the image, go to “Select” and choose “Feather”.
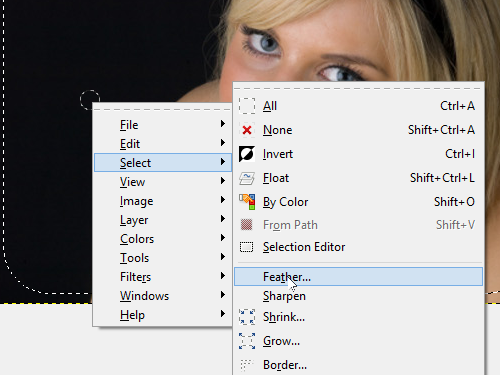
In the pop-up window set the size of feather to 10 pixels and press “OK”.
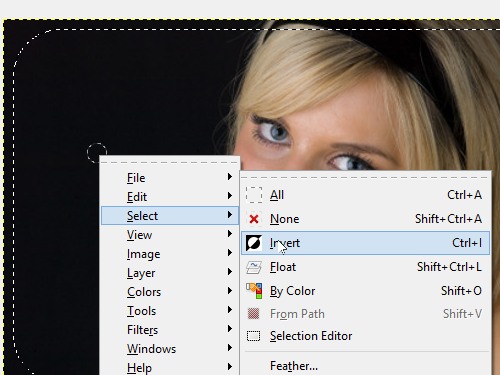
Right-click on the image, go to “Select” and choose “Invert”.
Right-click on the image go to “Edit” and choose “Clear”.
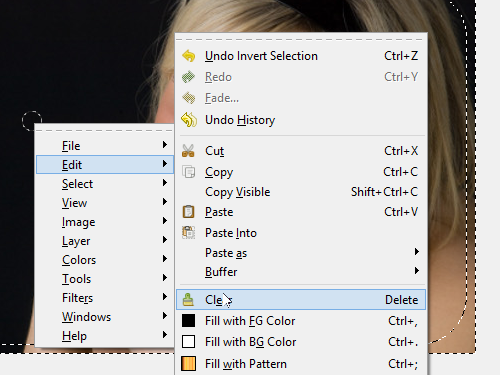
Now the edges of your image have been successfully faded.