In this video tutorial we will show you how to fade image in GIMP.
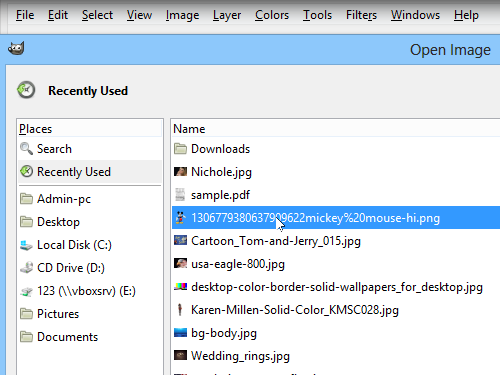
In order to fade an image in GIMP you need to start the program. Go to the “File” menu and choose “Open”. Select the image on your computer and press “Open”.
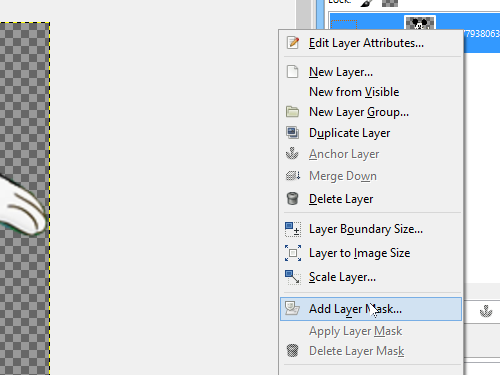
Go to the “Layers” window, right-click on the layer and choose “Add Layer Mask” option from the appeared menu.
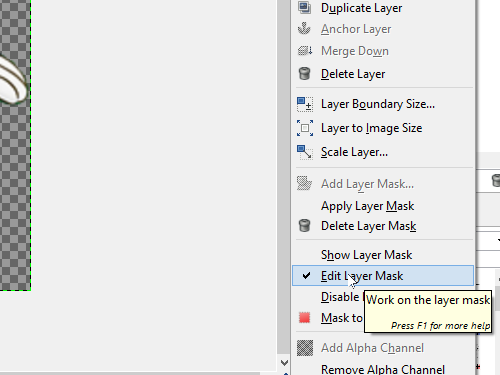
In the pop-up window make sure that “White (full opacity)” is selected and click “Add”. A white box should show up next to the thumbnail of your image in the “Layers” menu. Right-click on the layer and make sure that “Edit Layer Mask” is selected.
Make sure that the “Foreground Color” is set to black and the “Background Color” is set to white in the toolbar.
Choose the “Blend Tool” in the toolbar.
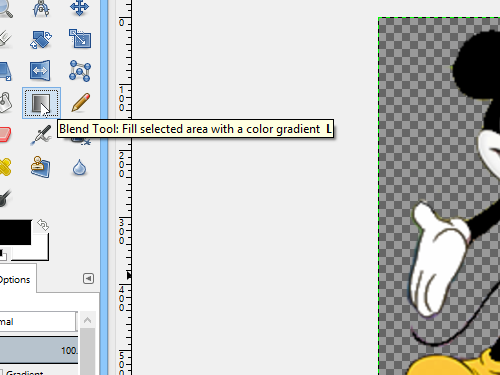
Go to the image area and drag a vertical line from the bottom of the image to where you want the fade effect to stop, while holding the “Ctrl” key. Go to the “Layers” window and right-click on the layer. Choose “Show Layer Mask” in the appeared menu.
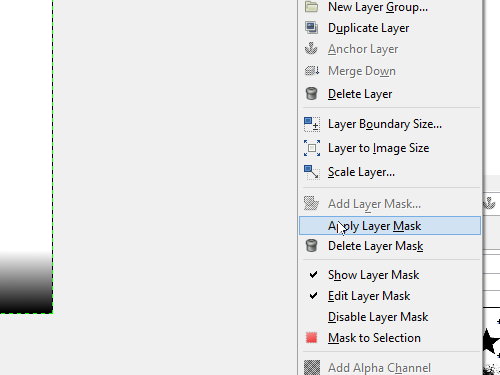
Right-click on the layer again and select “Apply Layer Mask”.
Your image has been successfully faded.
 Home
Home