Adobe Photoshop is one of the most versatile image manipulation software. It allows its users to use various options, varying from simple editing to detailed manipulation of images. There are many Photoshop tutorials available from which you can learn different editing techniques. Today we will show you a very simple yet handy method to fill up a shape with text. You can also try out something more to transform text or create text effects by using your skills and taking guidance from other tutorials in the series.
Follow this step by step guide to learn how to fill any shape with text in Photoshop.
Step # 1 – Loading an Image
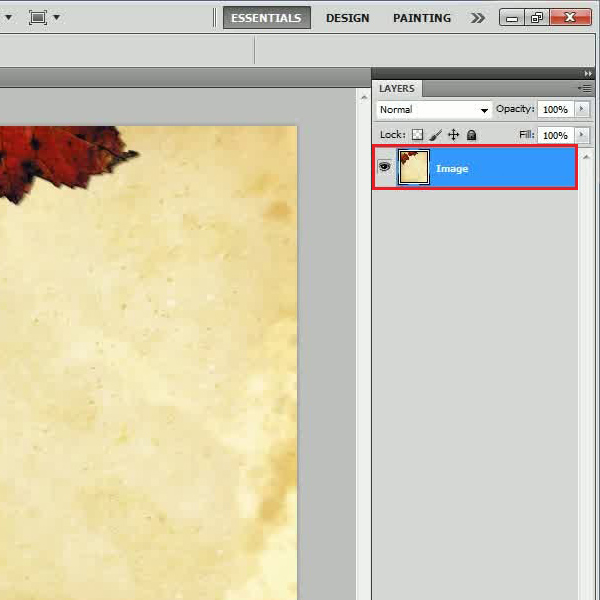
In the first step, launch Adobe Photoshop and load an image on which you want to work on. Here we are using an image of a grunge paper on which few leaves are embossed. This image is perfect for our tutorial as we are using the shape of a leaf to fill up with text. You can choose any image of your choice; however some settings and results may vary on different images.
Step # 2 – Drawing a Leaf Shape
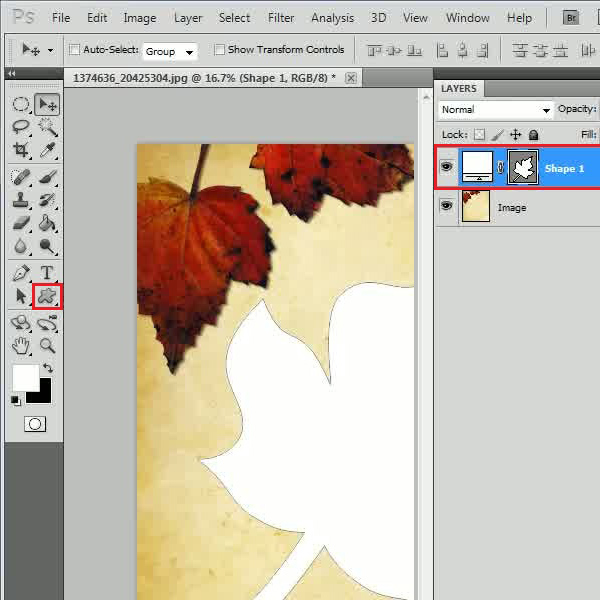
After loading the image, select the “Custom Shape” tool from the menu which is available on the left corner of the window. Now select the “Leave” shape from the menu and draw it over the image. Here we choose this shape as it is relevant with the background image.
After drawing the shape, adjust its size and placing according to the background.
Step # 3 – Filling up the Image with Text
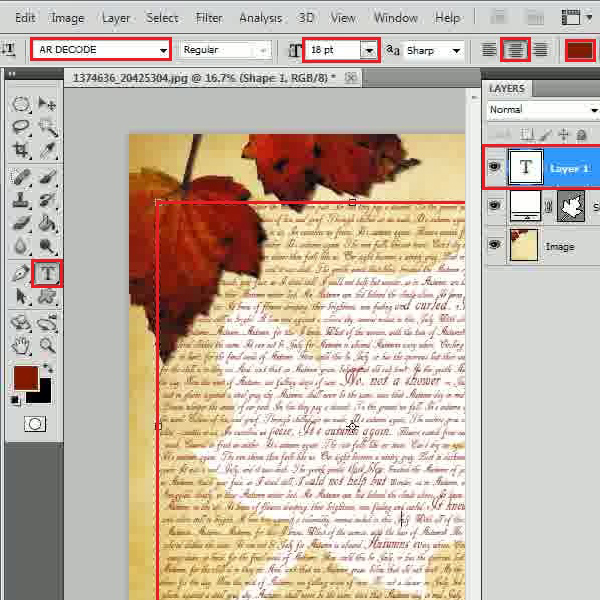
Now in this step, select the “Text” tool from the menu and choose the “AR Decode” fonts. Select the “Size” to “18 pt”, “Alignment” to “Center” and pick a dark brown color from the image. Now start entering text and make sure that it completely covers the leaf shape.
Step # 4 – Removing Additional Text
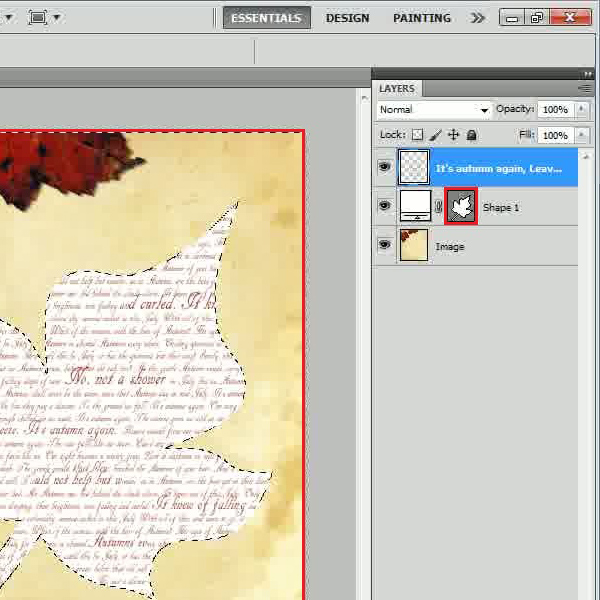
Once you have entered the text, go to the “Layer” menu, select the option titled “Rasterize” and click on the “Type” option from the list to rasterize the layer. After rasterizing it, press and hold down the “CTRL” key from the keyboard and click on the “Shape” layer to select it. Now go to the “Select” menu, click on the “Inverse” option and press the “DEL” key from the keyboard. This will delete the additional text which is outside the shape.
Step #5 – Filling up the Image according to the Background
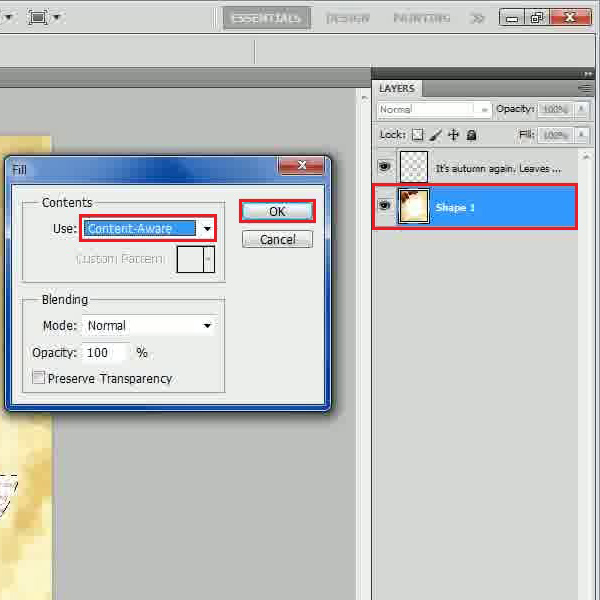
Now select the “Shape” and “Image” layer and press “CTRL+E” keys from the keyboard to merge them into a single layer. After merging them, go to the “Edit” menu and select the “Fill” option. In the Fill settings panel, choose the “Content Aware” option from the menu and click on the “OK” button to fill the shape according to the background.
Step # 6 – Applying a Clone Stamp Tool
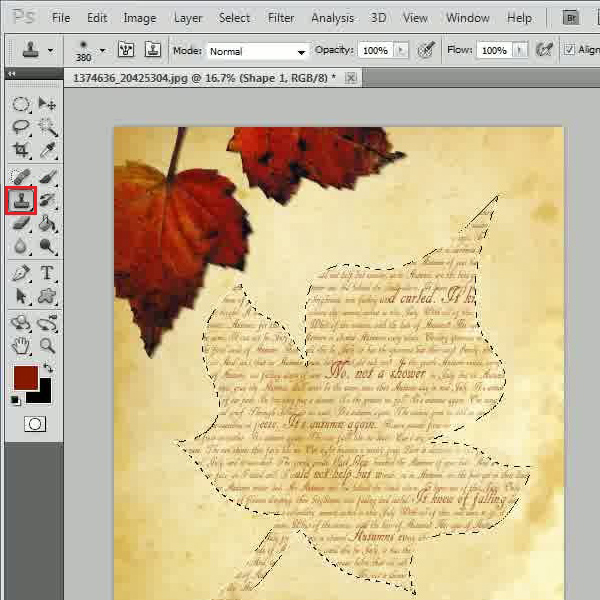
Once the shape is filled, select the “Clone Stamp” tool from the menu and adjust the image.
After completing this step, the image is ready.
 Home
Home