In this tutorial you will know how to make a Stone Statue Effect in Adobe Photoshop.
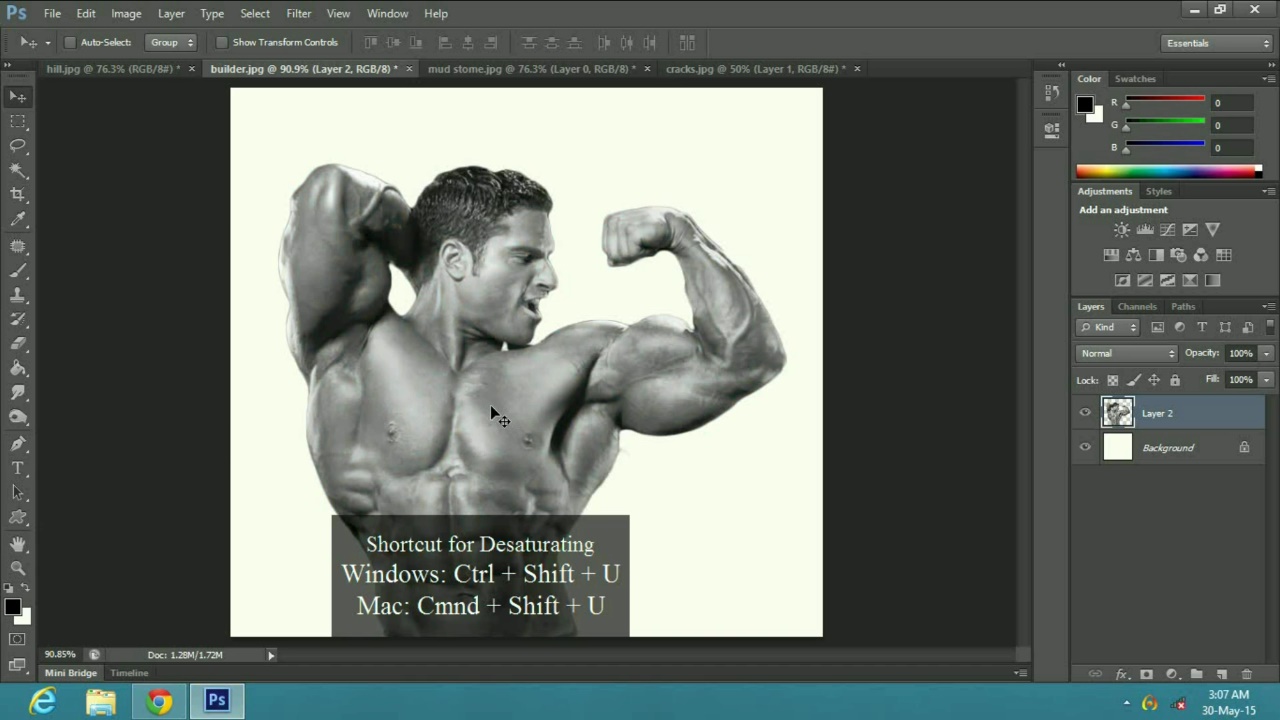
The first thing you need to do is to de-saturate your figure by pressing Ctrl or Cmnd Shift U on a Windows or Mac respectively. Then drag the figure image over to your background image file and position it.
Now go to layer and select duplicate layer. In the duplicate layer window click on the drop down menu of document and select new, then name the file displacement and press ok.
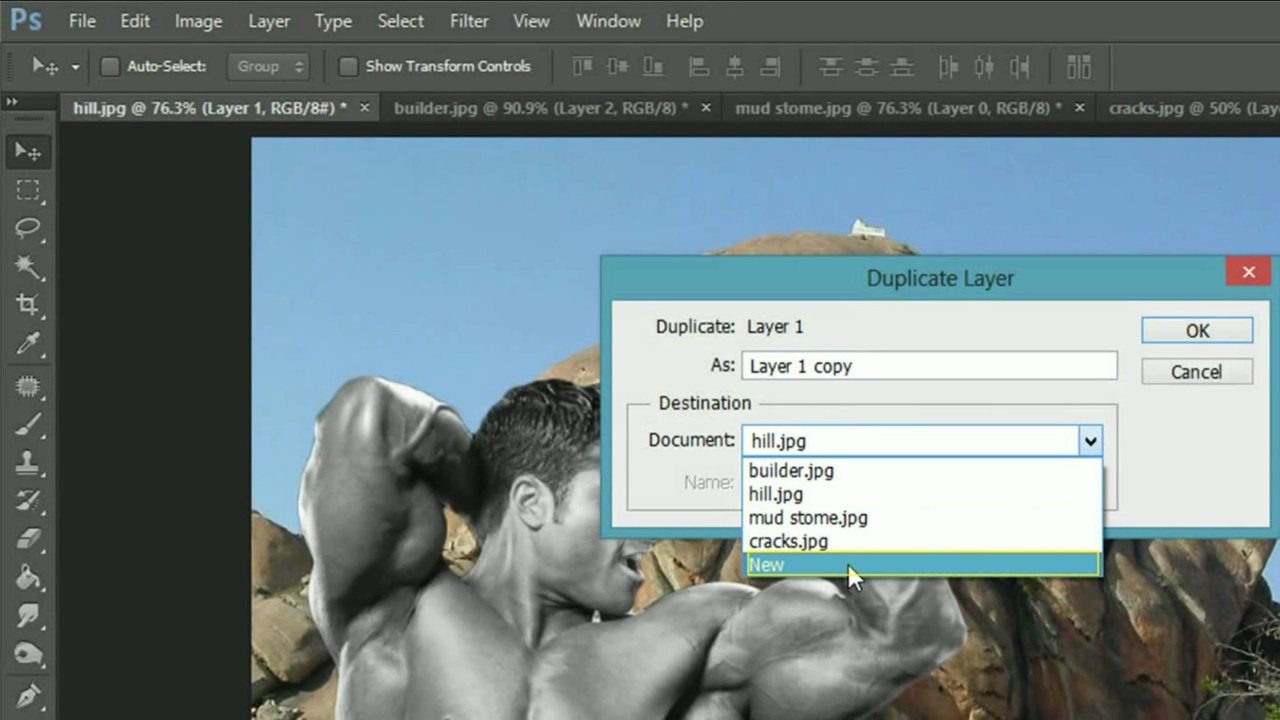
Then cross the new file and press yes to save it. It is advised to save it on the desktop so that it will be easier to find when needed later. Now I will use another image of brown stone texture to give the statue a feel of stone.
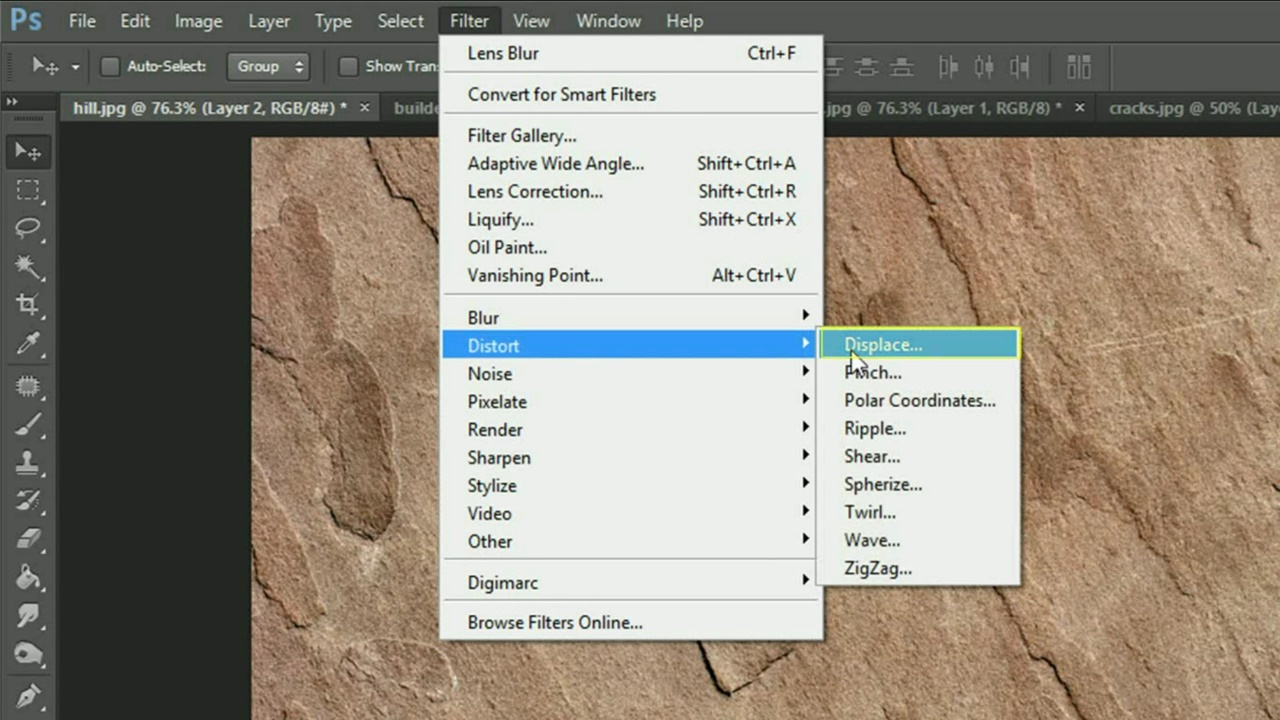
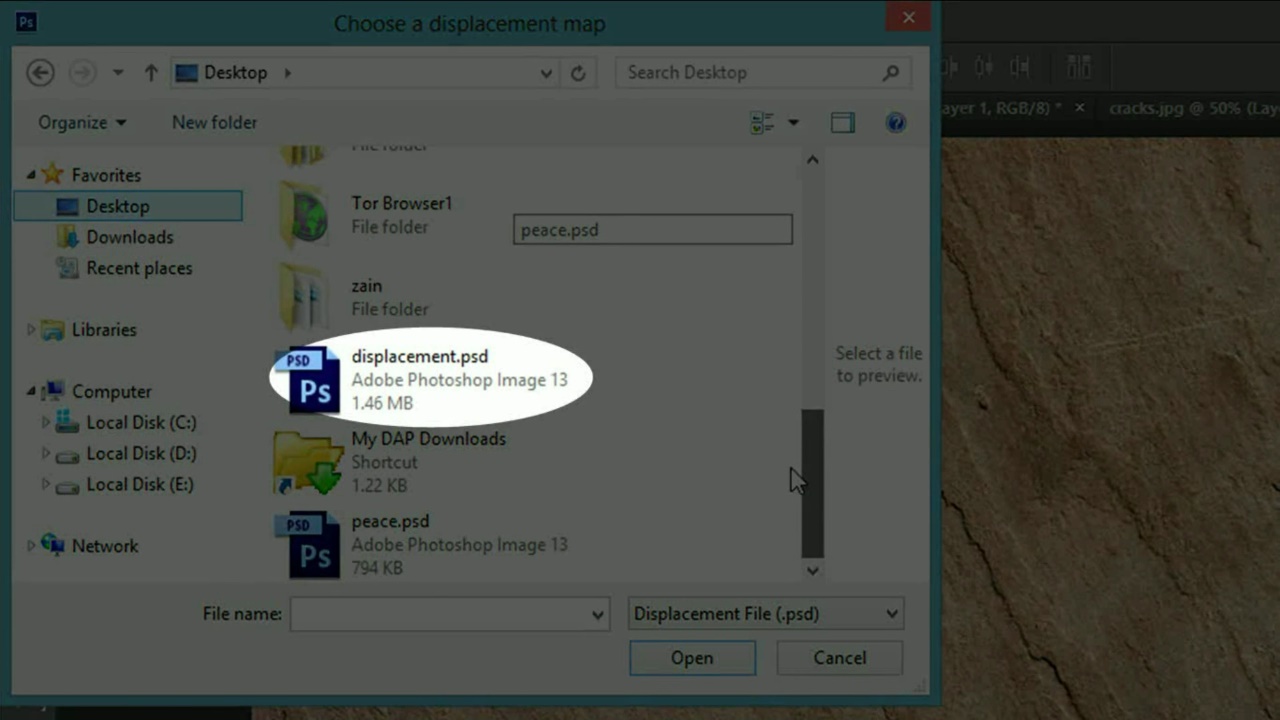
Now go to filter, distort and displace, in the properties window make the horizontal and vertical scales 5 and press ok. Now locate the file that you saved earlier by the name displacement and press open.
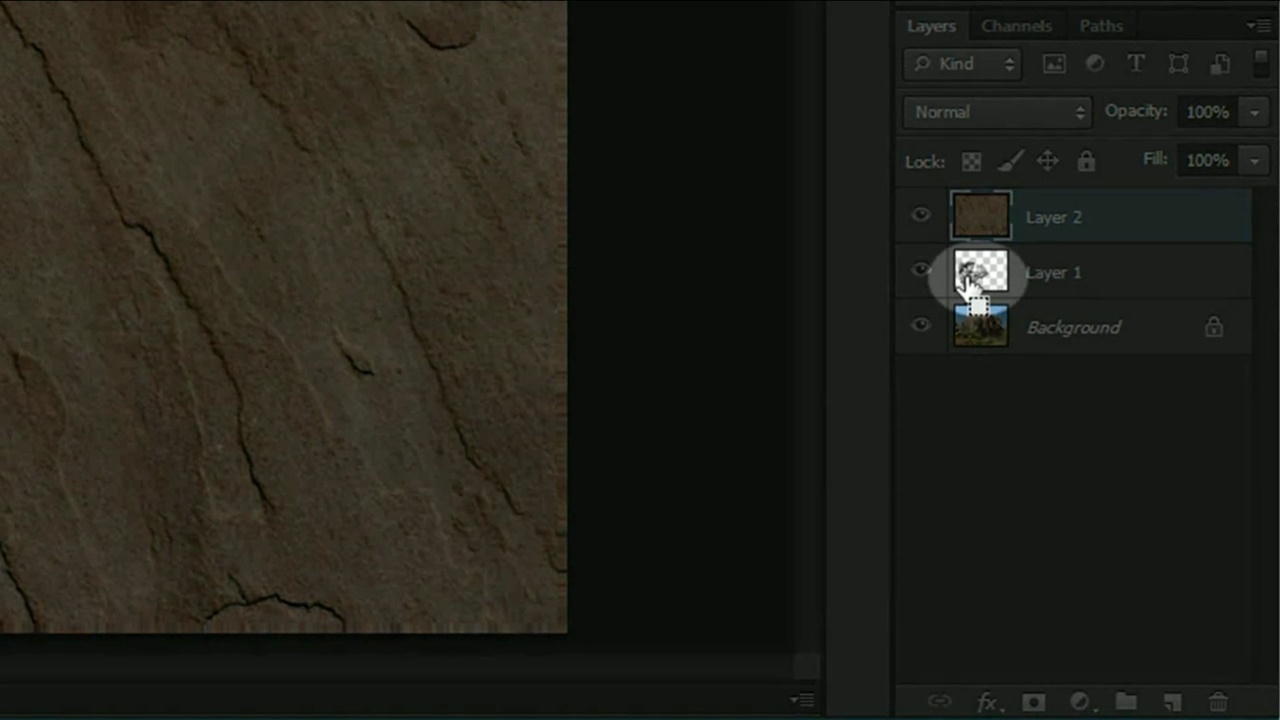
Now select layer 2, press shift and click on the image of the statue layer’s thumbnail. You will notice a dotted selection made on the stone texture of the figure. Then click on layer mask icon.
Then click on the blending options and select multiply.
Then select layer one go to image, adjustments and select levels.
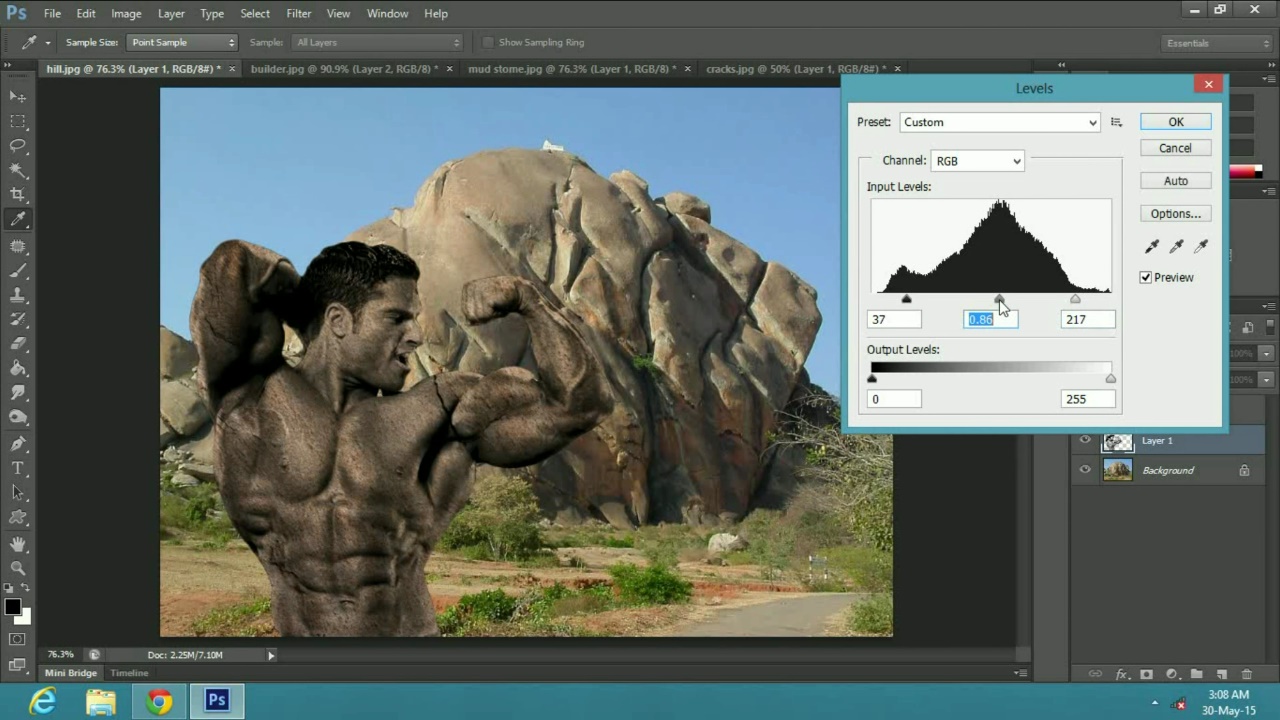
In the levels window, change the blacks to 37, whites to 217 and greys to 0.86 and press ok.Now select the stone texture layer, make sure you don’t accidentally click on the mask layer next to it.
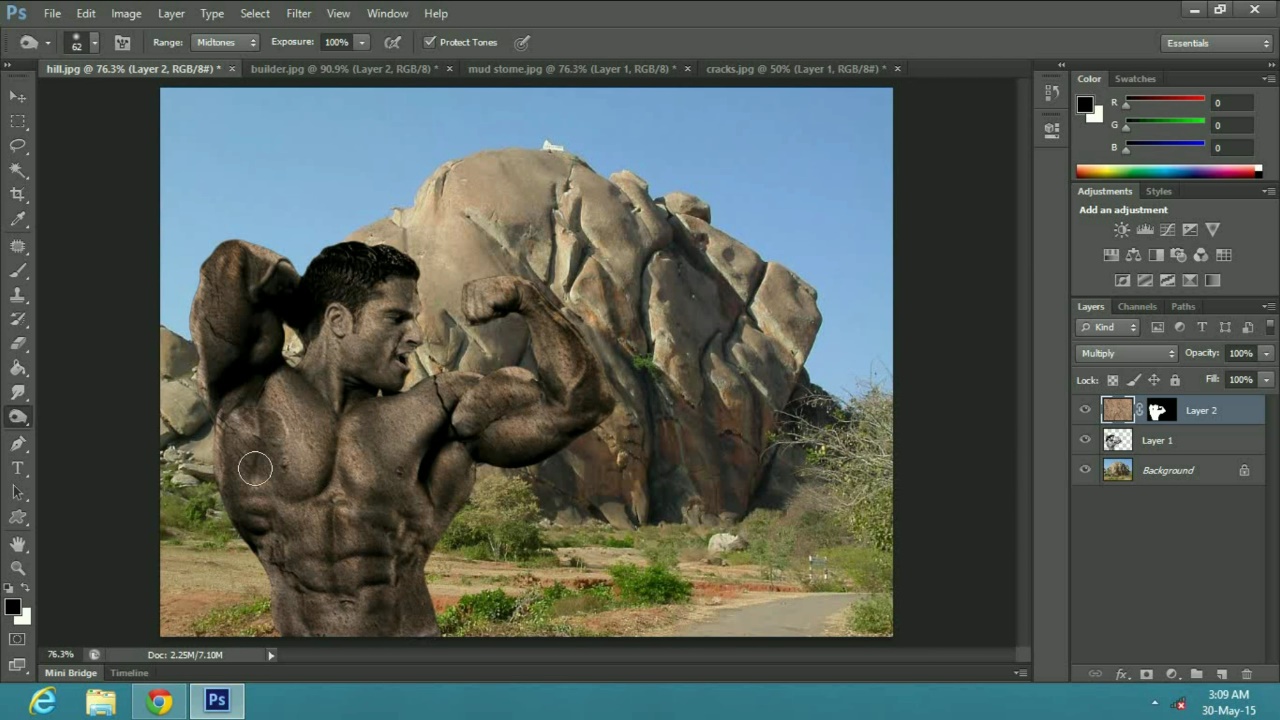
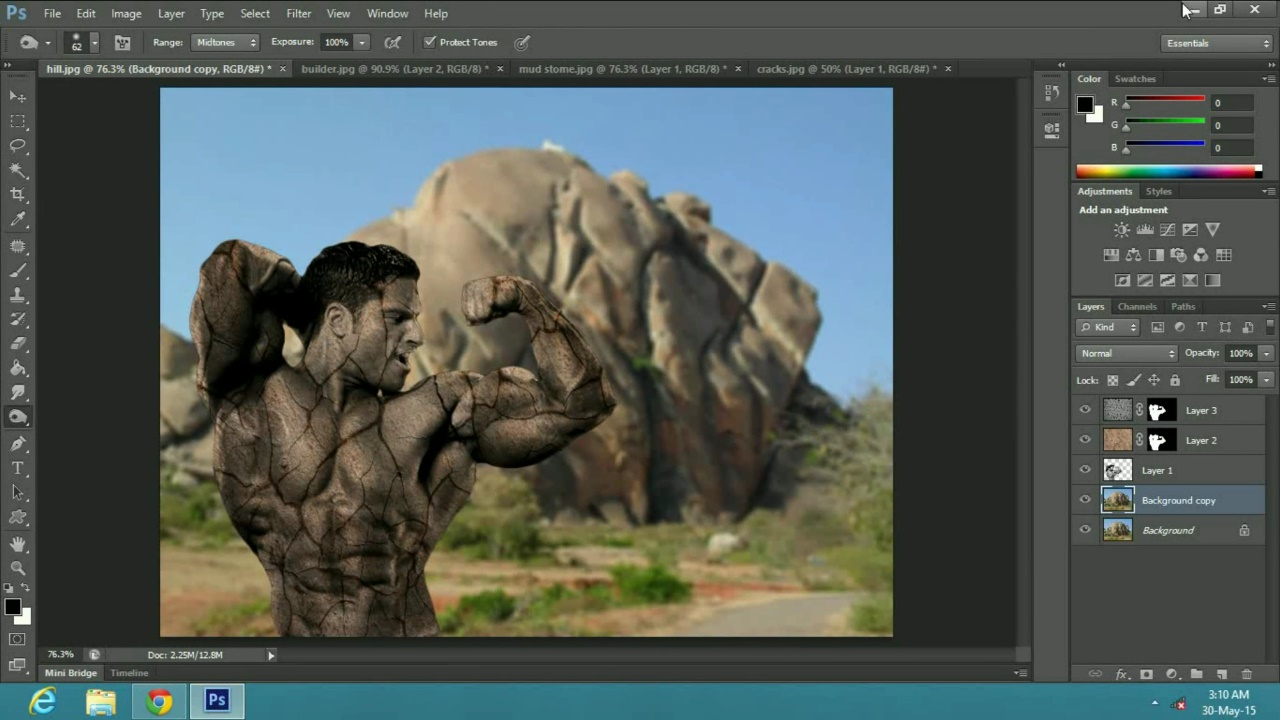
Now select the burn tool from the toolbar or press O and apply it over areas which are not directly exposed to light. Now I will use another image of cracks, so drag the image over to the main file. Then select the cracks layer, press shift and click on the image of the statue layers thumbnail.
Then click on the mask layer icon to add a mask to the cracks layer. Then change its blend mode to soft light. Now go to image, adjustments and select levels. In the level’s properties change the greys to 0.38 and leave the whites and blacks as it is.
Now make a copy the background layer by dragging it down to the copy option or press Ctrl or Cmnd J on a Windows or Mac respectively. Then go to filter, blur and lens blur. Leave the properties to their default amounts and press ok.
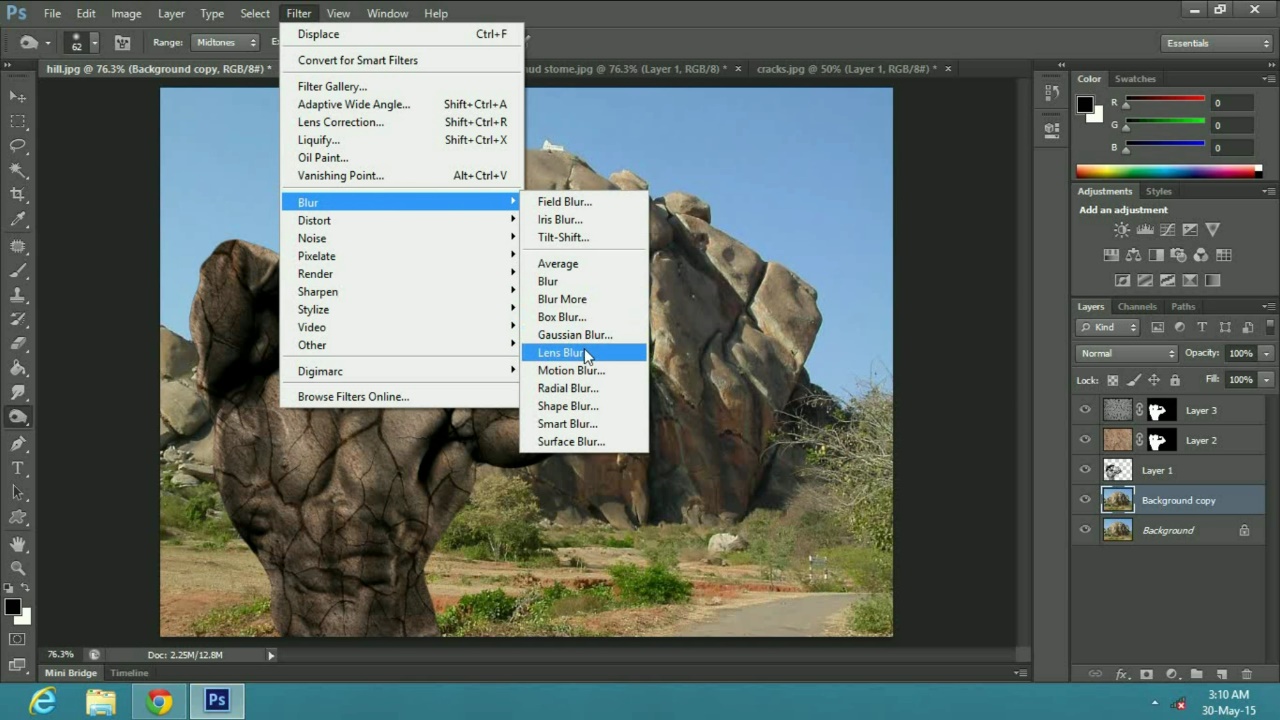
This will blur the background image to make your statue look more prominent.
 Home
Home