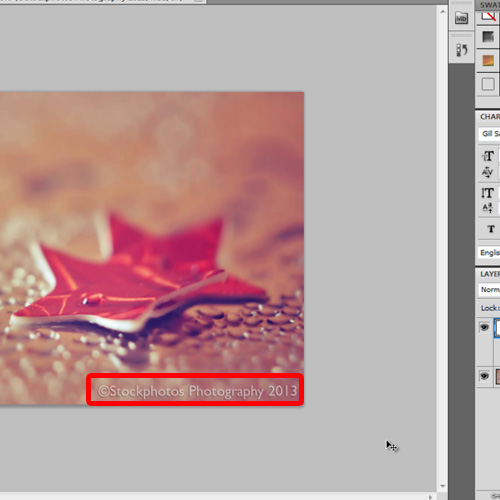
Making a watermark is fairly easy in Adobe Photoshop. You can perform this task by carrying out just a few steps.
To learn how to make a watermark, follow the tutorial given below.
Step 1 – Open the image
Over here, we have opened up an image that we want to watermark.

Step 2 – Enter text
First of all, let’s go to the toolbar and select the “Horizontal type tool”. With that done, let’s create a text box on the canvas first. Now let’s copy and paste the text we want for the watermark.
Here, let’s write Stockphotos photography 2013 along with the copyright symbol.

Step 3 – Modify the text
Now let’s move towards setting its font, color and size. You can choose any font you want, for example here we will select “gil” sans regular with a point size of “15” and keeping white for the color.
The window in which all these changes can be made is called the Character window and it can be located on the right side of Photoshop.

Step 4 – Alter the opacity
Right below the character window you’ll find the layers window in which you have the opacity tab. You can change the opacity of the text layer by selecting it between 1 to 100 percent. Here we will set it to 50%. This gives the text a watermark effect, thus it can be seen from here that making a watermark in this software is fairly easy.

Step 5 – Add the “drop shadow” effect
For further variation you can give the text a “drop shadow” effect as well which can be found in the “styles” window. The style window is located above the character window.
You can place this copyright signature wherever you want on the canvas. Let’s place it horizontally towards the bottom left side of the canvas.
And that’s it; by following the steps above you can easily learn how to make a watermark in Adobe Photoshop.

 Home
Home