Adobe premiere is a time-line based video editing software which allows you to use a number of options and tools while editing your videos. Using this software, you can even directly open Photoshop files, thus making it easier to work instead of switching between programs.
In this tutorial, we will guide you on how to make crawling titles in Adobe Premiere. Crawling titles may be used as subtitles but they are primarily used to give out information to the viewer regarding the current video clip. They add to the beauty of the video and act as an eye catcher for people.
Step 1 – Moving the seek bar
First of all, you will start off the process by moving the seek bar to the position where you want the title to appear.
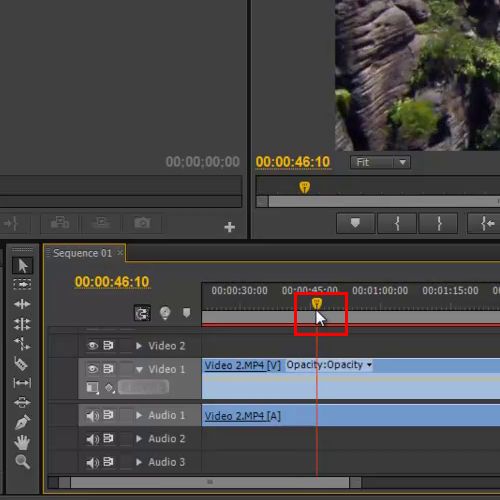
Step 2 – Adding the text
Now, you will need to add the text, go to the title menu, move over to the new title and select the “Default Crawl” option.
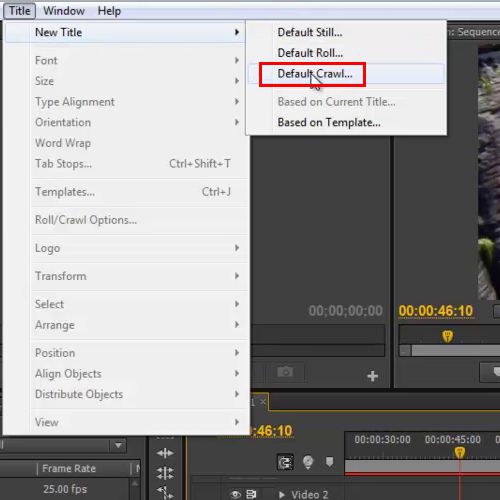
Step 3 – Naming the transition
Here, you will be required to name your transition and click on the option titled “Ok” in order to proceed further.
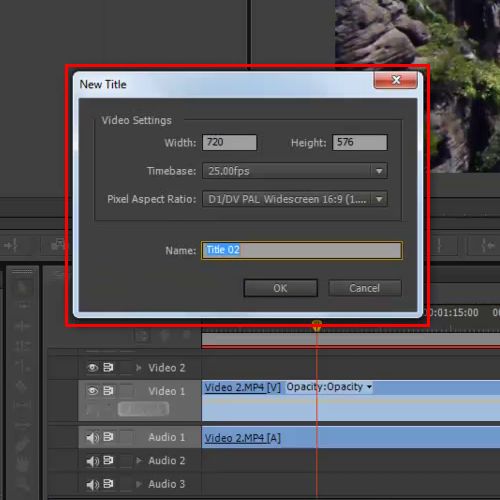
Step 4 – Using the “type” tool
Once title editor window appears, you must now select the type tool available on the left hand side of your screen and type in your text.
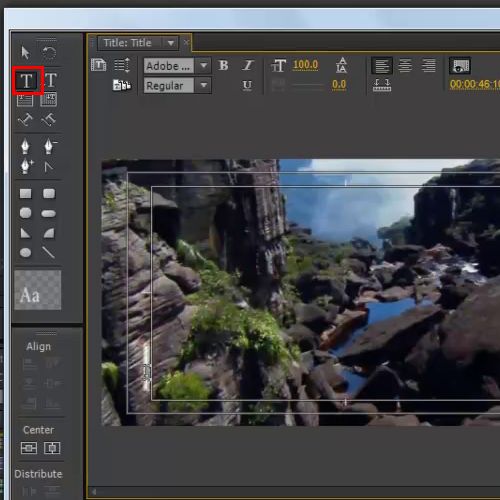
Step 5 – Selecting a font
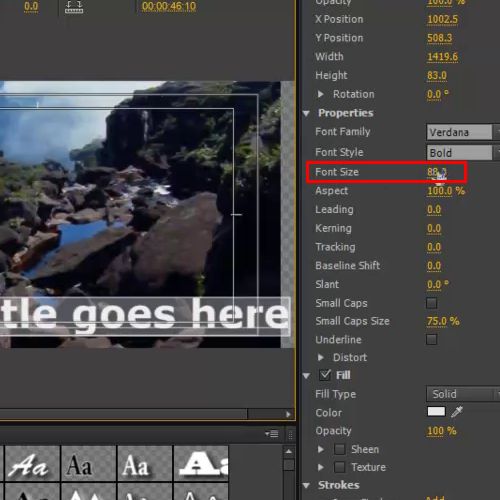
Now select the text and move towards the right hand side of the window in order to select the fonts. For this tutorial, we will be selecting “verdana” for the font, keeping the size at 83 and choosing “Regular” for the font style.
Step 6 – Using the “roll/crawl” option
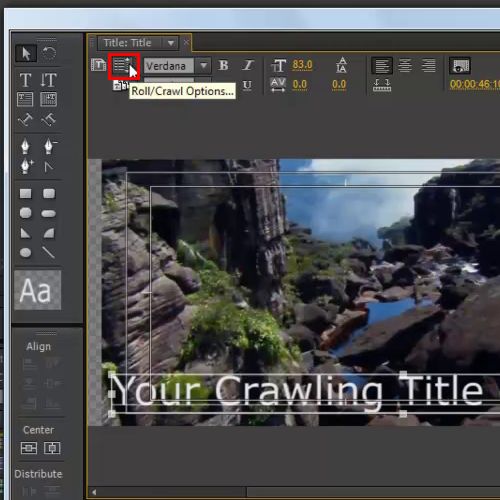
Once this has been done, you will be required to move your cursor towards the top and click on the “Roll/Crawl” option.
Step 7 – Editing the title
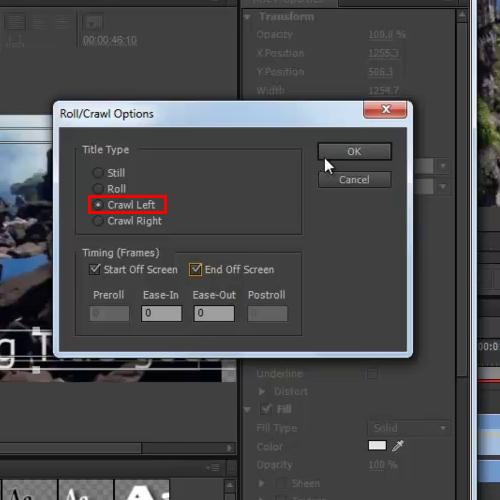
With that done, a new window will pop up. Here, you must choose the “Crawl left” option and check both the “Start off screen” and “End off Screen” options. Once done, click on the “OK” button and close the Title Editor window in order to proceed further.
Step 8 – Dragging the clip to the overlay layer
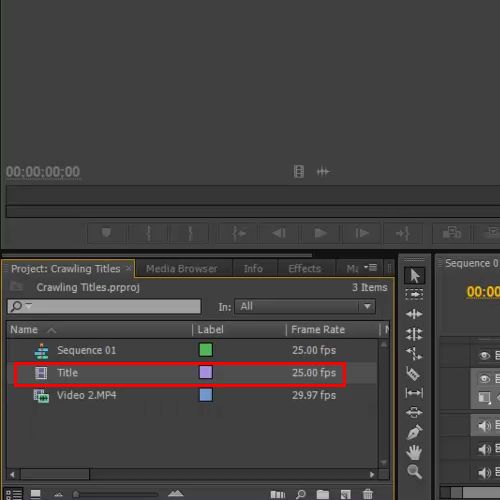
Now, move to the media library and drag the title clip onto the Overlay layer.
Step 9 – Stretching the title layer
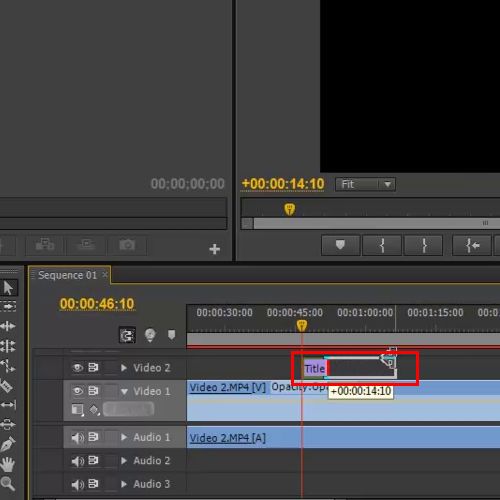
Lastly, you will need to stretch the title layer in the timeline according to the footage and you would be done.
Step 10 – Viewing results
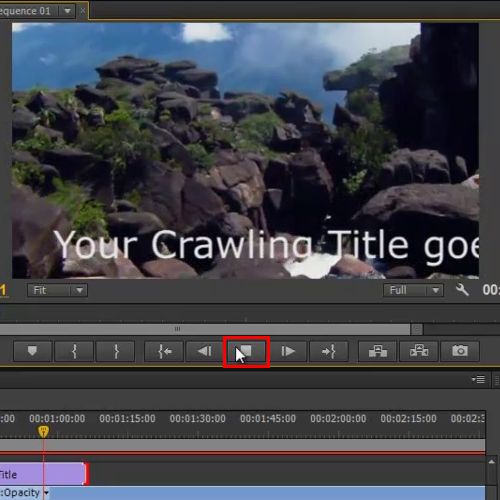
You can now finally click on the play button in order to see the title on the video clip. You can go over the precious steps carried out once again in order to ensure all actions have been correctly executed, in order to get the best results.
 Home
Home