In this video tutorial we will show you how to make the glass button with Adobe Photoshop.
In order to make the glass button with Adobe Photoshop you have to launch the program. Go to the “File” menu and choose “New” option to create a new document. In the appeared window set the document properties and press “OK”. Go to the toolbar of the program, choose the “Zoom Tool” and scale the document area for comfortable viewing if you need it. Choose the “Rounded Rectangle Tool” in the toolbar, then click on the “Foreground Color” icon to open the “Color Picker” window.

In the appeared window choose the color that you need, then press “OK”. Create the rounded rectangle in the document area, holding the left mouse button and moving the mouse. Go to the “Layers” palette and click on the “Add a layer style” icon.
In the appeared menu choose the “Gradient Overlay” option.
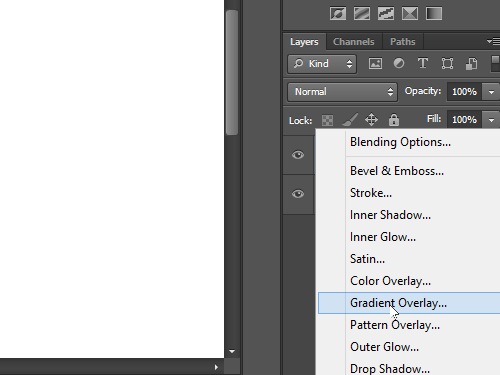
In the appeared window set the scale and opasity as you need with the sliders, then switch on the “Inner Glow” tab. Set the opasity of the inner glow that you need and choose the “Normal” blend mode from the “Blend Mode” drop-down menu. Set the size value in the “Elements” section that you need, then go to the “Drop Shadow” tab.
Set the opasity of the shadow, distance and size that you need and go to the “Stroke” tab.
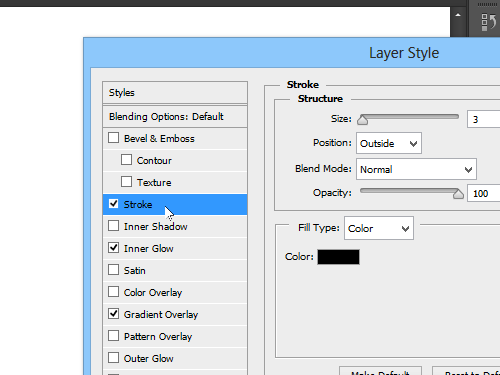
Set the stroke size as 1 px, click on the “Color” icon in the “Fill Type” section. In the appeared window choose the color that you need and press “OK”. In the previous window click “OK” too. Go to the toolbar and click on the “Foreground Color” icon to open the “Color Picker” window. In the appeared window choose the text color of the button and press “OK”.
Choose the “Horyzontal Type Tool” in the toolbar and type the name of the button.
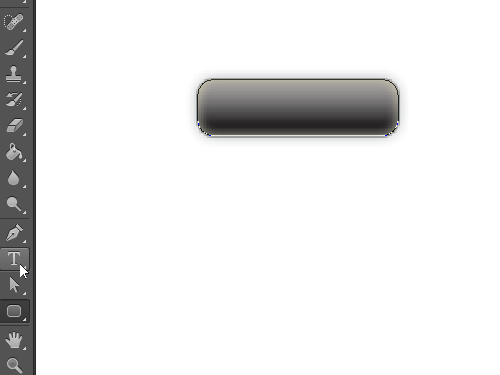
Switch on the “Move Tool” and place the name on the button. Go to the “Edit” menu, choose the “Free Transform” option from the drop-down menu and transform the text as you need.
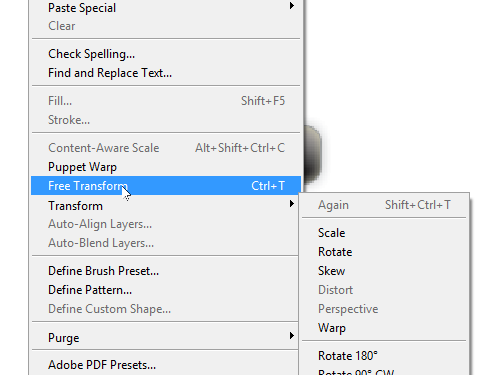
Double click on the text to apply the transformation. Choose the “Rounded Rectangle Tool” in the toolbar and click on the “Foreground Color” icon to open the “Color Picker” window In the appeared window choose the color that you need and press “OK”. Create the rounded rectangle on the button about half the size. Go to the “Layers” palette and set the opacity of the created rectangle that you need with the slider in the “Opacity” menu.
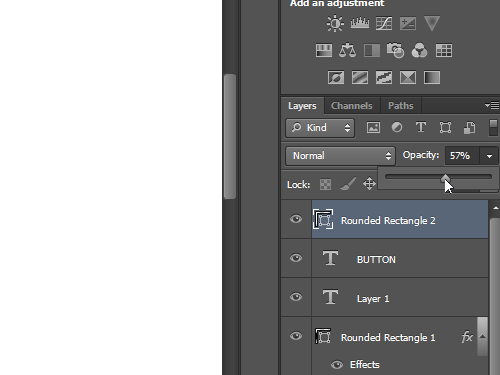
Select the text layer and also set the opacity of the button name that you would like to see. Now the glass button has been successfully created with Adobe Photoshop.
 Home
Home