In this video tutorial we will show you how to make heat wave effect with Adobe Photoshop.
Launch the Adobe Photoshop. Go to the “File” menu and choose “Open” option. In the appeared window select the image you want to edit and press “Open”. Go to the “Image” menu and choose the “Image Size” option from the drop-down menu. In the appeared window note or keep in mind the image size and press “Cancel” button.
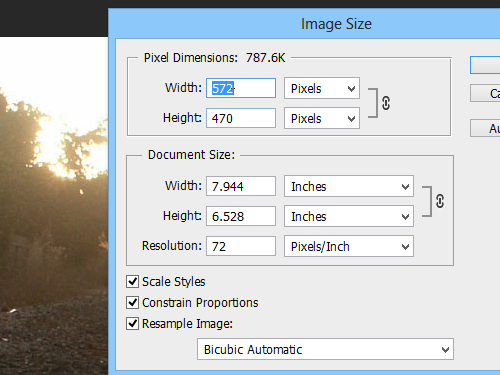
Go to the “File” menu and choose “New”. In the following window set the same size as the size of the image where you wish to apply the heat wave effect and press “OK”. Go to the toolbar and click on the arrow near the “Color Picker” icons. Then set the black foreground color.
Select the “Paint Bucket Tool” from the toolbar and click in the document area to apply the selection fill.

Then choose the “Rectangular Marquee Tool” and create rectangle wile holding the left mouse button and moving the mouse.
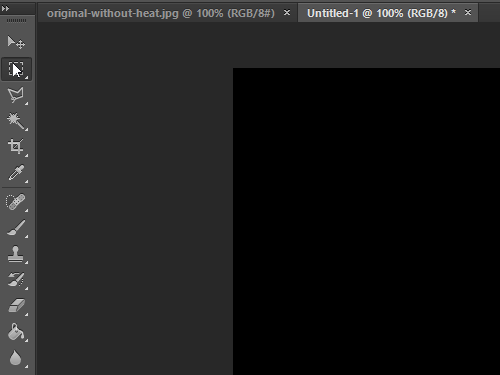
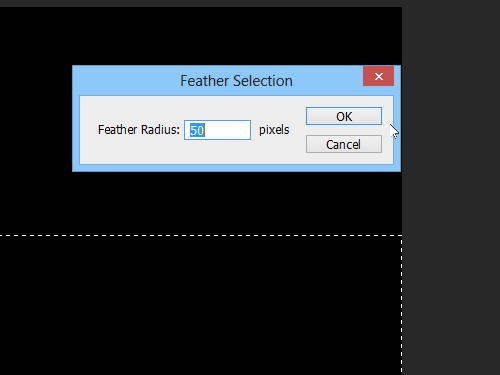
Go to the “Select” menu, choose “Modify” from the drop-down menu and select the “Feather” option from the submenu. In the appeared window set the feather radius in the pixels and press “OK”.
Go to the toolbar and click on the arrow near “Color Picker” icons. Then set the white foreground color. Choose the “Paint Bucket Tool” and click in the selected area.
Then go to the “Filter” menu, select the “Distort” option, and choose the “Ripple” option from submenu.
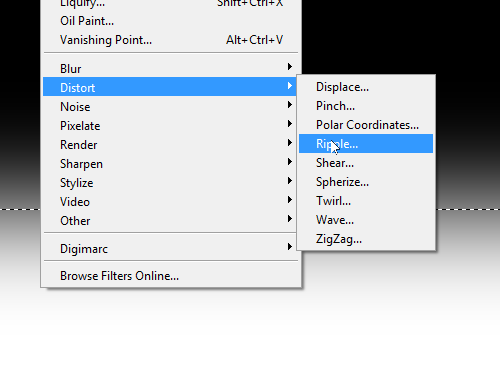
In the appeared window set the amount of the ripple onto 700%, and press “OK”. Then press the keyboard shortcut “Ctrl+F” to enhance the effect.
Go to the “Filter” menu, choose the “Distort” option, and select the “Wave” option from submenu.
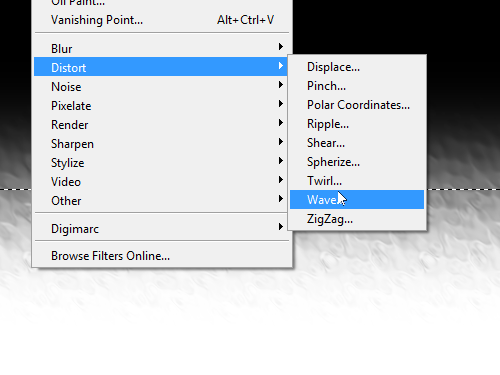
In the appeared window set the wave option if you need it and press “OK”. Then press the keyboard shortcut “Ctrl+D” to deselect the area. Go to the “File” menu and choose the “Save As” option. In the following window set the file location and PSD file type from the “Format” drop-down menu. Then press “Save”. Then switch onto the image tab where you want to apply the heat wave effect.
Go to the “Filter” menu, choose the “Distort” option from the drop-down menu and select the “Displace” option from the submenu.
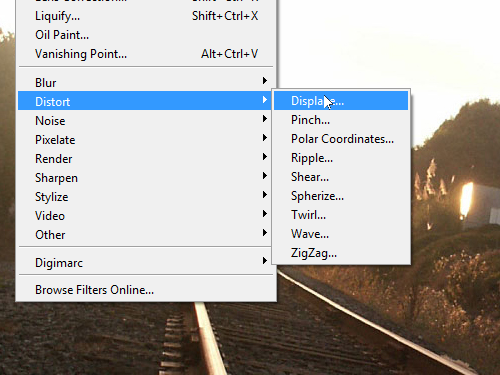
In the appeared window set the scale values and press “OK”. In the following window select the saved PSD file and press “Open”. Then press the keyboard shortcut “Ctrl+F” to enhance the effect. As you can see, the heat wave effect has been successfully created with Adobe Photoshop.
 Home
Home