Panoramic images have a dramatic impact that ordinary photos do not. They make the viewer feel as though they are actually in the scene, rather than just viewing it. It is very easy to make panorama in Photoshop by using multiple images. This can be done easily through the “Photomerge” command. This command has the ability to stitch photos together in just few clicks and hence create a panorama image.
In this tutorial, you will learn how to create such an image using Adobe Photoshop.
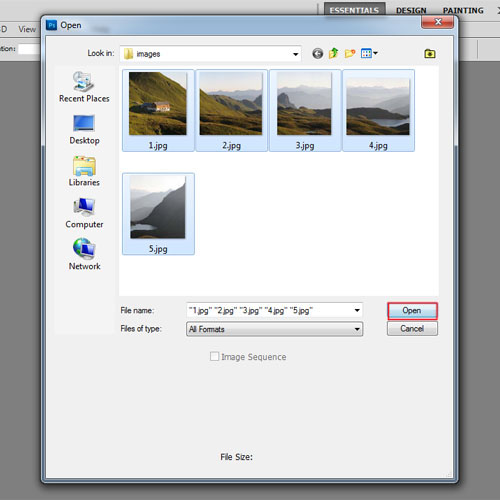
Step # 1 – Load an Image
We will start this tutorial by launching Adobe Photoshop. Then open all the images which you want to use to create a panorama. Go to “files” option at the top toolbar and select “open” from the menu. Open them sequentially, starting with the leftmost one first.
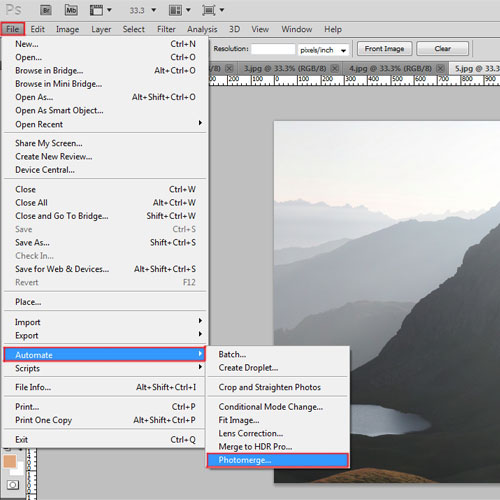
Step # 2 – Go to Photomerge option
Once all the images are opened then again go to the “file” menu. When it opens, select the “Automate” option from the list and then click on “photomerge” when the new list appears.
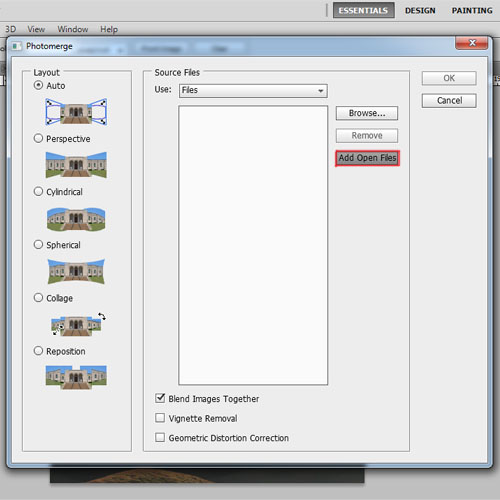
Step # 3 – Add the files
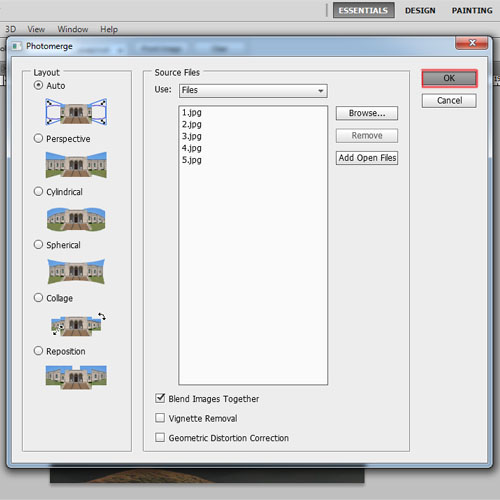
When the photomerge dialog box appears, click on the “Add open files” button. It will automatically load the images which are opened to make a panorama in Photoshop. If the file names are out of order then we need to arrange them accordingly, starting with the left most at the top.
Step # 4 – Merge the files
Now click “ok” and Photoshop automatically analyzes and blends the photos. The program will automatically select the images one by one and attempt to merge them into one panoramic photo.
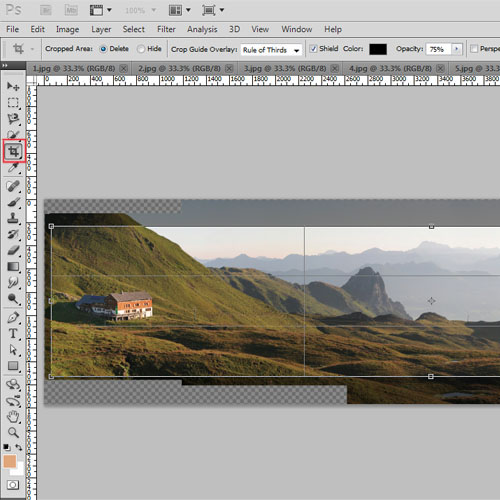
Step # 5 – Crop out the area
When the panorama is created, its edges are not in a regular shape. To give the panorama a regular shape, we will select the “crop tool” and crop out the image. Your image is now ready.