In this video tutorial we will show you how to make scary face with Adobe Photoshop.
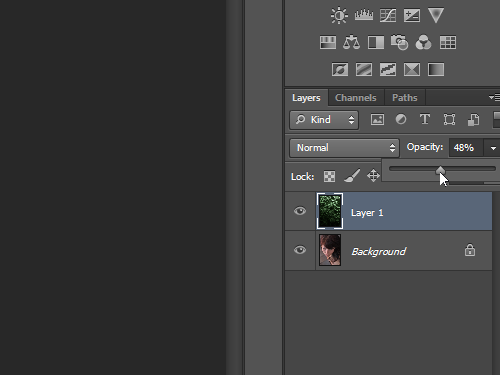
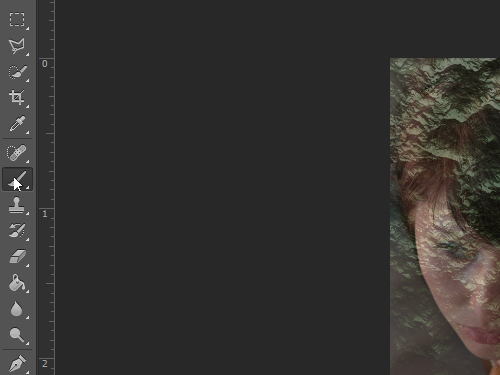
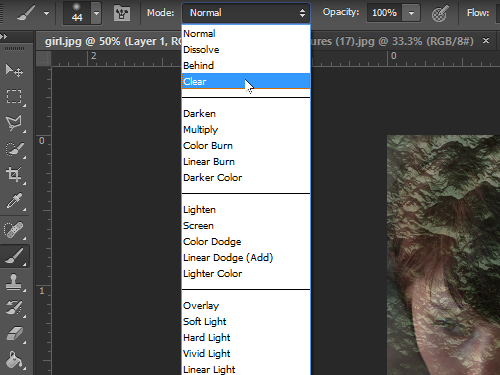
In order to make scary face with Adobe Photoshop you have to launch the program. Go to the “File” menu and choose the “Open” option. In the appeared window select the images you want to edit while holding the “Ctrl” key on the keyboard and press “Open”. Grab the texture image and drag it to the image you want to make scary. Set the layer opacity that you need with slider from the “Opacity” menu in the “Layers” palette, then choose the “Brush Tool” and choose the “Clear” blending mode in the “Mode” drop down menu.


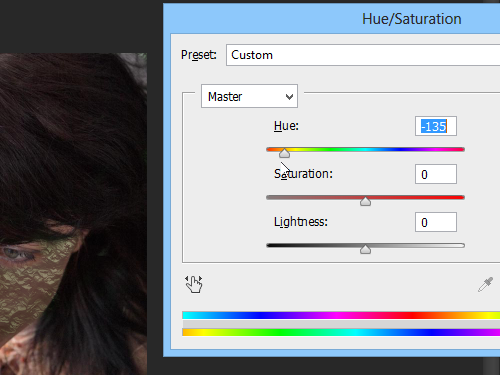
Clear the part of texture outside the face with the “Brush Tool”, then remove the texture in the lips, eyes and nose area. Switch to the “Move Tool” and press the “Сtrl+U” keys combination.
In the appeared window set the “Hue” slider on the position that you need, then press “OK”.

In the “Layers” palette set the layer opacity that you need with slider from the “Opacity” menu. Now the scary face has been successfully made with Adobe Photoshop tools.
 Home
Home