While working in Adobe Illustrator it is important to keep in mind that the image you are working on needs to be a vector one. The easiest way to draw a vector image is by making shapes in Illustrator. Creating shapes in Illustrator cs5 is very easy by means of the shape tool. Once you have made an Illustrator shape you are ready to apply all the features of that this software offers on to it. Follow this step by step guide to learn how to make shapes in Adobe Illustrator.
Step # 1 – Make the shape
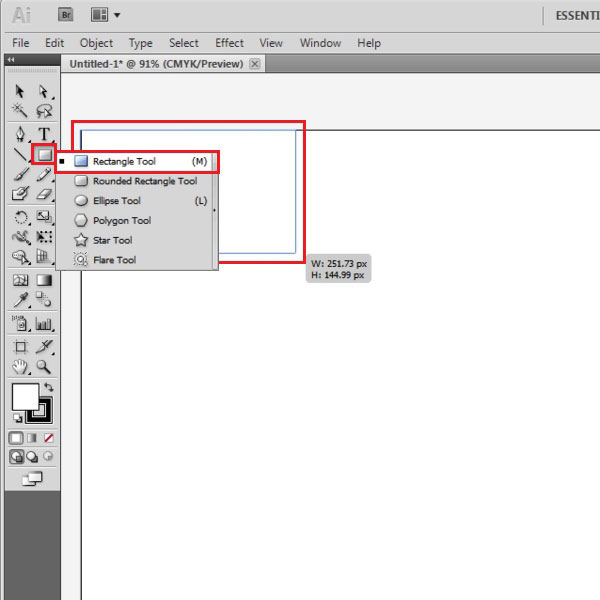
First of all, select the shape tool from the tool panel available on your left hand side. If you keep pressing down on the shape tool, you will get the option of selecting different shapes that you wish to draw.
Choose the rectangle tool; use it to make the rectangular shape. After you have made the shape, you can go back to the tool and select another option to make a different shape.
Step # 2 – Overlap the shapes
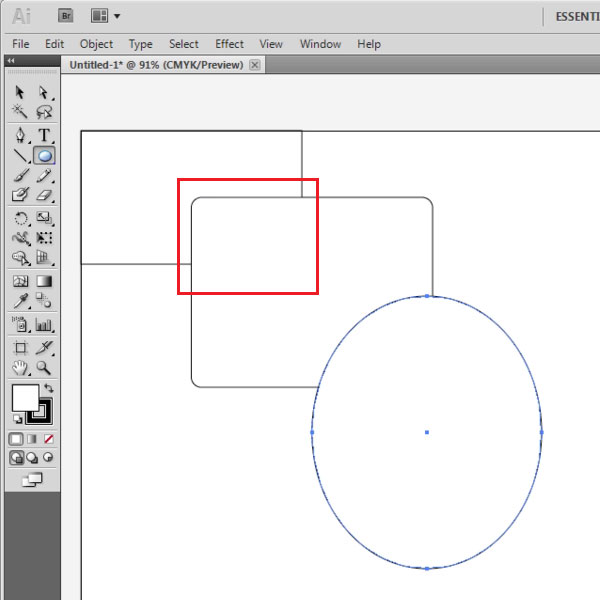
You can make the different shapes overlap one another. In this way, the top shape covers the one behind it. Make designs or patterns with these shapes in whatever way you want.
Step # 3 – Alter the size of the shape
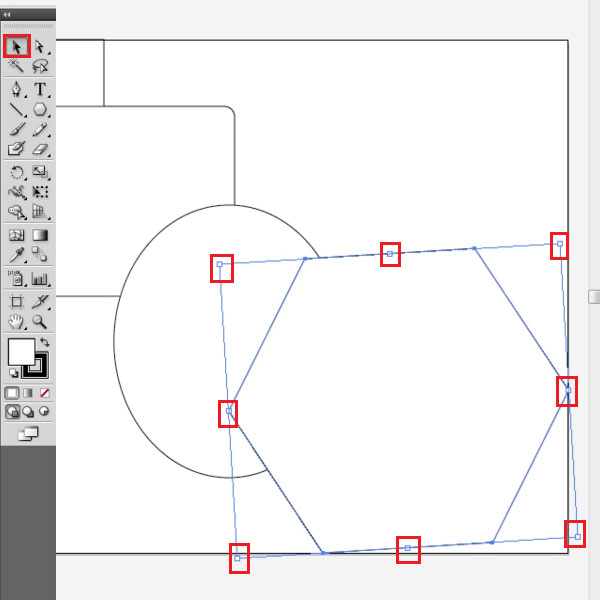
When you draw an illustration, you can vary its size according to your requirements. Its proportions can be varied once the shape has been made. Use the bounding box to stretch it in whatever way you want. The shape can be rotated as well. To do that, use the “selection tool” and rotate it from the corner when the double arrow appears as shown.
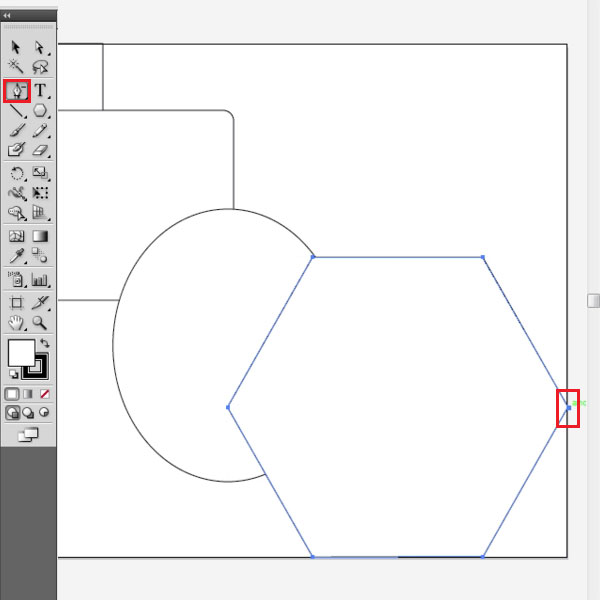
Step # 4 – Delete anchor points on the shape
Anchor points are automatically present on each illustration, making it a vector image. You can use them to alter the shape itself. In order to do this, go to the pen tool and select the “delete anchor point tool”. Click on the anchor point you wish to remove. The Illustrator automatically joins the rest of the anchor points together. The proportions of this new shape can also be changed through the “selection tool”.
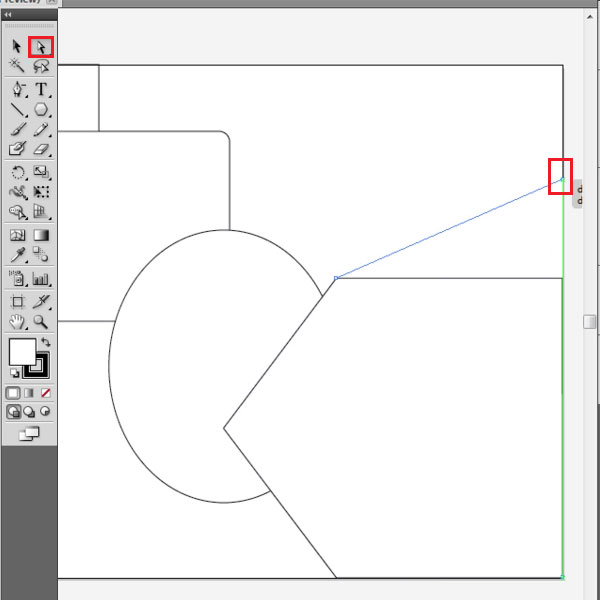
Step # 5 – Modify the shape
By choosing the “direct selection tool”, you can further alter the image. Use this arrow and drag the anchor points in whatever direction you want. Press the “ctrl + z” keys on your keyboard if you wish to undo your action.
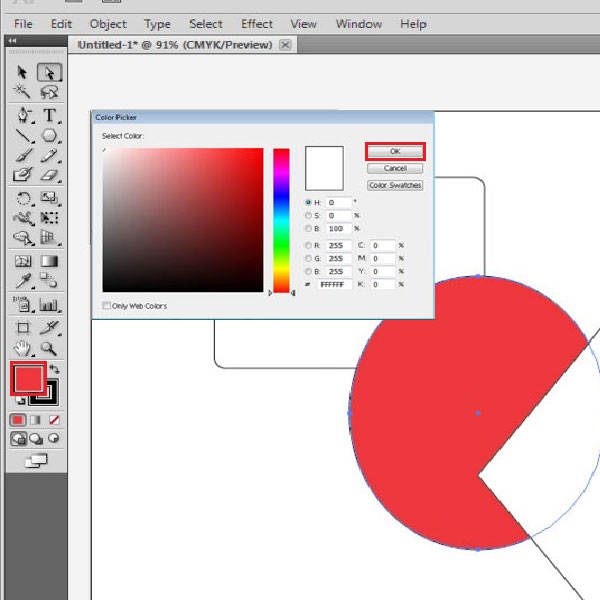
Step # 6 – Change the color of the shape
The color of these shapes can also be changed. If you wish to change the color of the circle, then simply select it, double click on the color box and choose the color you want. Press the “OK” button to apply the color you selected.