In this tutorial you are going to learn how to make someone slim in Photoshop.
Step # 1 – Duplicating the Layer
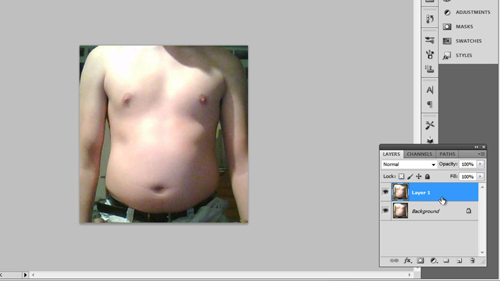
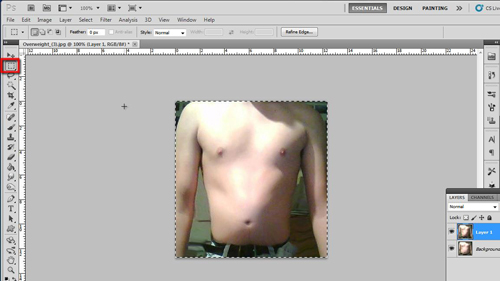
You can see here that we have a picture of an overweight persons abdomen. This is just an example that we are going to show some key techniques on – these techniques can be applied to all other photographs you want to slim down. First make sure the background layer is selected and press “Control” and “J” on the keyboard to duplicate the layer.
Step # 2 – Using the Freeze Mask on the Arms
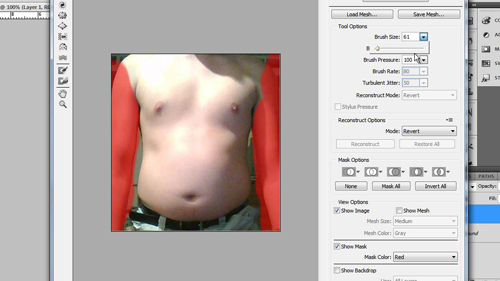
Now, in the main menu click “Filter” then “Liquify”. A window will open and this is where you can make changes to the image in a precise way. As we are focusing on reduce the fat of the abdomen we need to freeze the arms so that they are not caught up in the adjustment. From the menu on the left click “Freeze Mask Tool” and select a “Brush Size” on the left that will allow you to just mask over the arms. If your brush does not seem to be hard enough, increase the “Brush Pressure” option on the right. Cover the arms completely in a mask.
Step # 3 – Adjusting the Waist Size
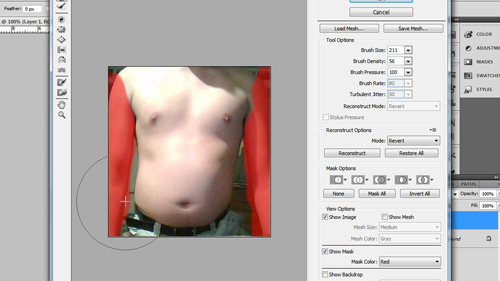
Now, the first area we want to reduce in size is around the sides of the waist. Click the “Forward warp tool” and select a brush size that is quite large compared to the image as this will allow a more gentle adjustment. A high brush pressure works well here. Here we are aiming to continue the ‘V’ shape down from the shoulders to the waist so we will use this tool to push in the sides of the body – here we need to adjust the trousers as well so that the image looks natural.
Step # 4 – Reducing the Abdomen and Chest Size
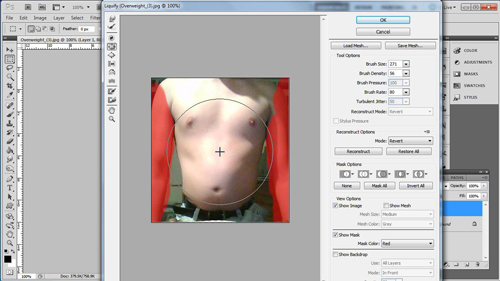
With the waist size adjusted we need to move onto the abdomen. This will require a different tool, so from the menu select the “Pucker tool”. First we are going to go for an overall reduction so select a large brush size and click in the center of the abdomen until the desired reduction is achieved. You will also want to reduce some of the size around the chest so select a smaller brush size and reduce this area as well.
Step # 5 – Tidying up the Image
It is starting to look effective now, but there is some distortion around the waist so lets select the “Forward warp tool”, select an appropriate brush size and use it to push the waist in some more. When done click “OK”. There is also some distortion at the bottom so let’s select the “Rectangular marquee tool” and crop the image. Now by pressing “Control” and “Z” to go back we can see how this compares to our original image – as you can see the result is effective and that is how to make someone slim in Photoshop.
 Home
Home