Masking in flash is an important concept. It is used to hide a part of the content and show another part. Thus mask is a layer that shows only the area that has to be shown. A mask can be of any shape. Any symbol can be used as a mask. After creating a mask, it can be animated as well to create effects. Follow this guide to learn how to mask in Flash.
Step 1: Create new flash project
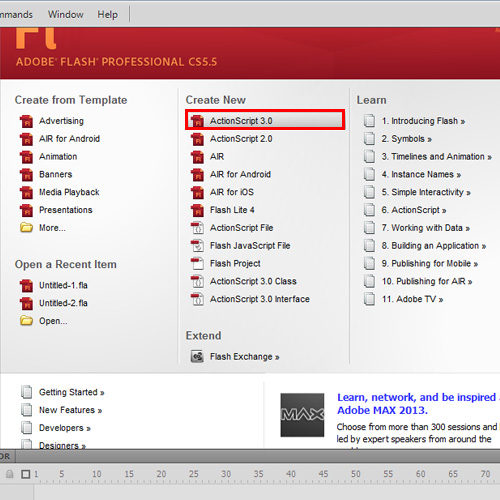
In this tutorial, we will teach you how to mask in Flash. To start with, open a flash file of type ActionScript3.0.
Step 2: Import an image
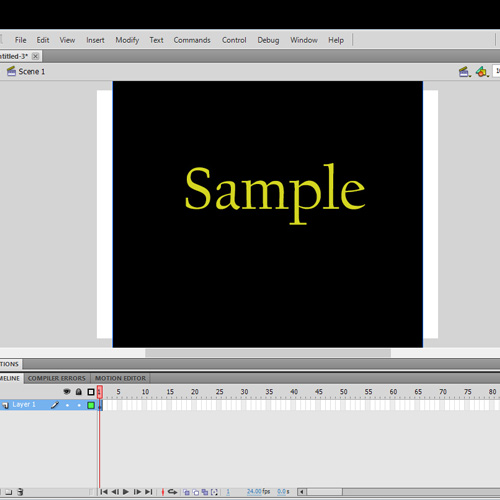
Now import an image to use it as the basic element up on which masking will be done. Place it in the required position.
Step 3: Open Layer Properties
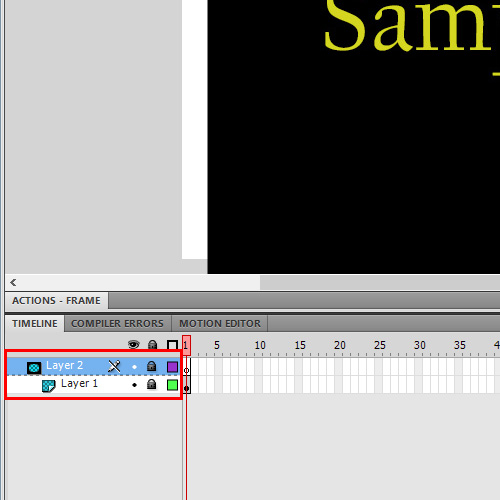
Create a new layer in the timeline. Right click to open the contextual menu and choose properties. Select the option “Mask”. Notice the change in the layers icon. This icon denotes the mask layer. With layer1 in selection, right click to get the context menu. Choose properties and select the option “Masked”. Thus Layer1 is the masked layer and Layer2 is the masking layer.
Step 4: Select shape for the mask
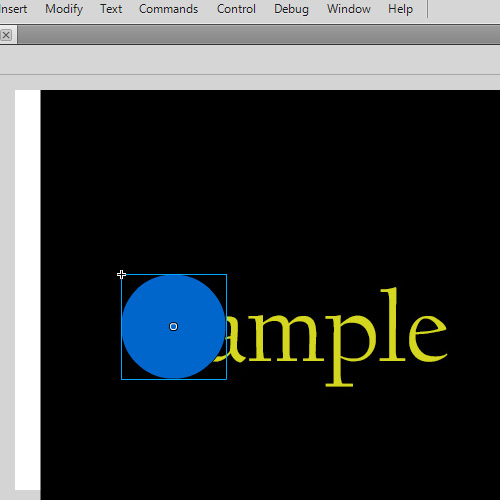
Choose the shape you want to mask the layer1 with. The shape will be the visible area. Here let’s choose the oval tool and draw a circle. Place it on the left side of the stage. Also convert the shape to a symbol.
Step 5: View the animation
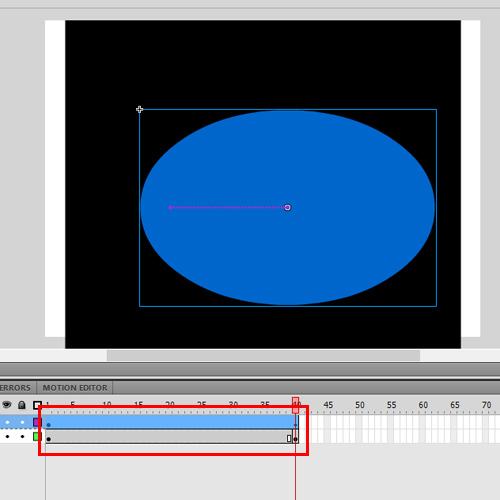
Now let’s animate our mask. Select frame 1 of the layer2 where the oval shape is drawn and in the context menu, choose motion tween. Click on Frame40 and Insert a KeyFrame. Also insert a KeyFrame on frame 40 of Layer1. Expand the oval to cover the part of the image which should be visible at the end of the animation. Here, the whole word will be visible at the end. To view the animation, press the CTRL+Enter key. In this way, masking in Flash will be done for the shape and the animation.
 Home
Home