This tutorial will teach you some basic techniques to put a soft focus on an object by applying a few image filters. Color correction and playing with the different hues is very important for any designer. We would cover the basics of how to work with different exposure levels and working with different color settings for an image. There are a number of other effects that can be combined together for example the Orton effect, to name a few. With this image focusing, you can add depth to your image.
Follow this step by step guide to learn how to play with the colors of an image in Photoshop.
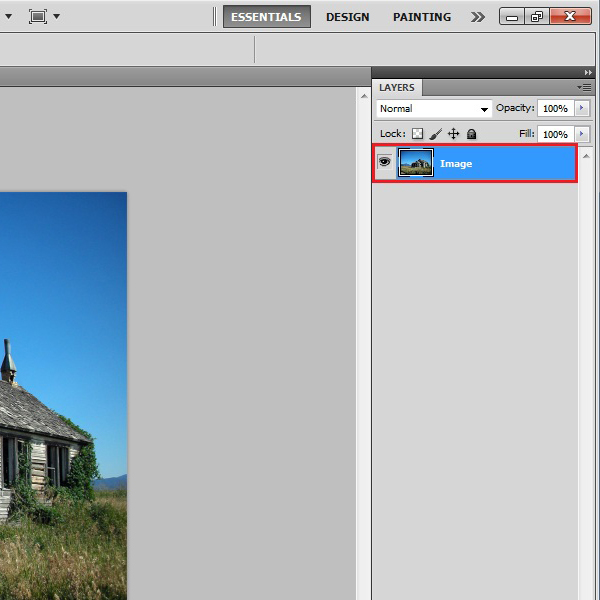
Step # 1 – Load an Image
In the first step, launch Adobe Photoshop and load an image on which you want to work on. It is recommended to choose such image in which has the object at the center. The results might vary according to the image you pick up.
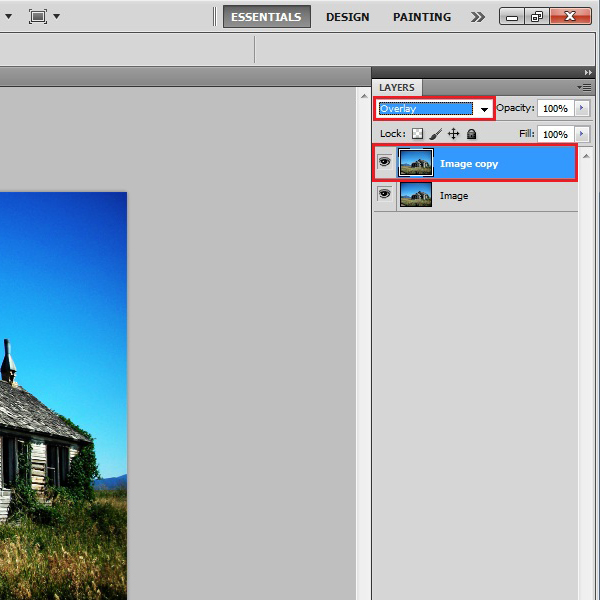
Step # 2 – Change the Blending Mode
After loading the image, right click on the name of the layer and select the “Duplicate Layer” option from the menu. Now change the “Blending Mode” of the duplicated layer to “Overlay”.
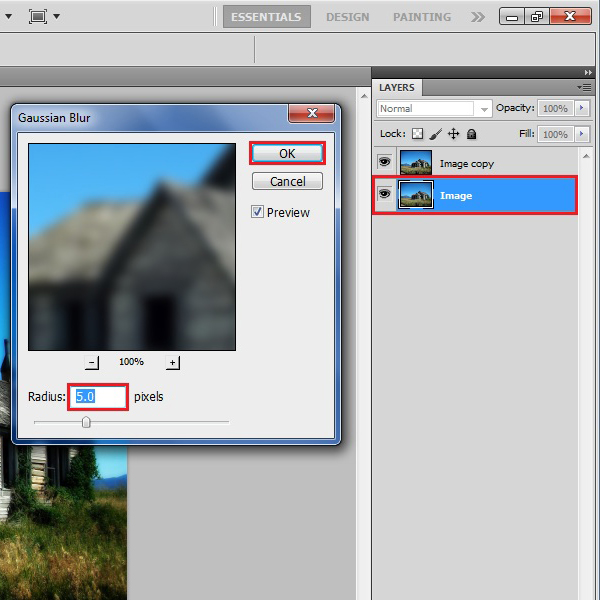
Step # 3 – Apply the Gaussian Blur Filter
Once done, click on the original layer to select it. Now go to the “Filter” menu, select “Blur” and click on the “Gaussian Blur” filter from the list. In the filter’s settings panel, set the “Radius” to “5 pixels” and click on the “OK” button to apply this filter on the image.
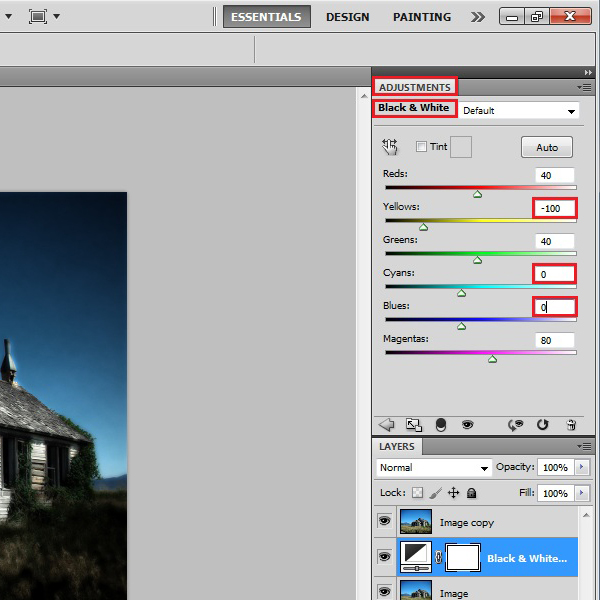
Step # 4 – Add an Adjustment Layer
After applying the Gaussian blur filter on the image, click on the “Adjustment Layer” icon which is available at the bottom of the layer panel. Now select the “Black and White” adjustment layer option from the menu. In the adjustment layer settings panel, change the value of the “Yellows” to “-100 points”, “Cyans” to “0 points” and “Blues” to “0 points”. And that’s basically it.