In this tutorial you are going to learn how to reduce blur using shake reduction in Photoshop. This can be helpful if the photographer accidently moved or got bumped while taking the photo. It’s important to note that this feature is not meant help you refocus on different objects in the photo but rather offer a solution for light blurring of your photo due to accidental movement during the shot.
Step # 1 – Open Photoshop & Your Image
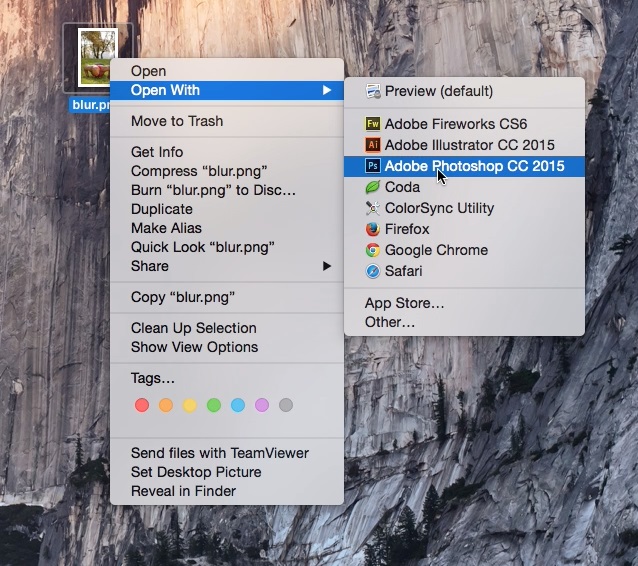
Open Photoshop & import the image you want to reduce the blur on. As a quick note, you’ll save yourself a step if you simply right click on the image first and then select, “Open in Photoshop”.

Step # 2 – Convert Image to Smart Object
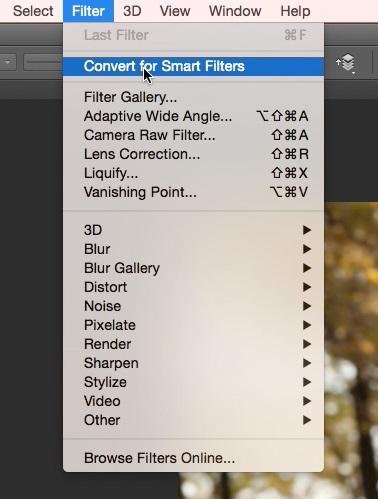
Before starting the shake reduction process, it’s always a good idea to convert your image to a smart object. This way, you can still make changes to the image later on if needed. To do this go to Filter – Convert for Smart Filters

Step # 3 – Filter – Sharpen – Shake Reduction
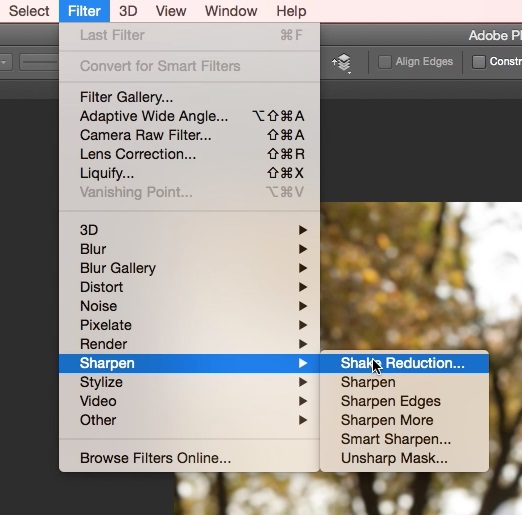
In the Photoshop menu, go to Filter – Sharpen – Shake Reduction.

Step # 4 – Adjust Custom Parameters
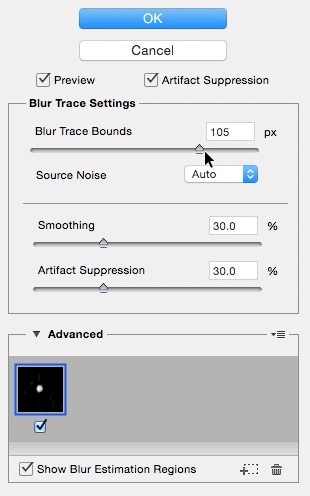
Photoshop will then begin analyzing your photo for blur and try to figure out the best way to sharpen it. Once completed, you will see that it does a very nice job in sharpening the image. To soften it and make it less noticeable, adjust the Blur Trace Bounds slider to your liking. Then hit “Ok”.

You have now successfully reduced blur using shake reduction in Photoshop. This was a Howtech.tv tutorial, thanks for watching!
 Home
Home