In this video tutorial we will show you how to use lightroom spot removal.
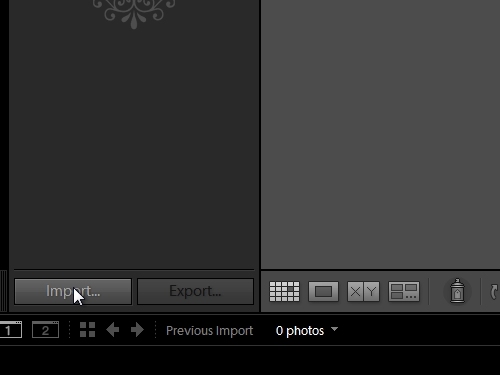
In order to use the spot removal in lightroom, open the Adobe Lightroom. Press “import”.
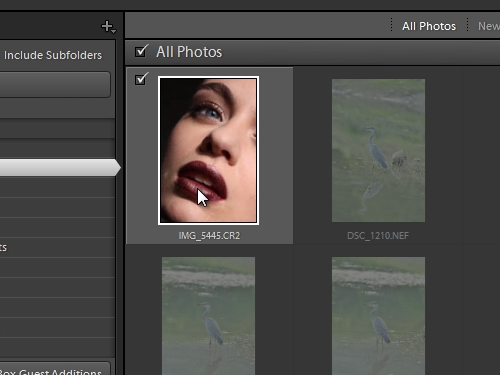
Select a photo and click “Import”.
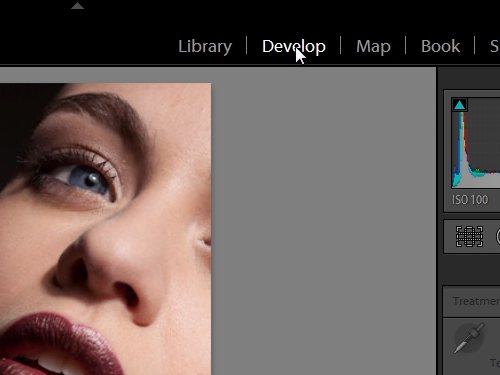
Go to the “Develop” tab.
Zoom in on your photo. Select the “Spot removal” tool.
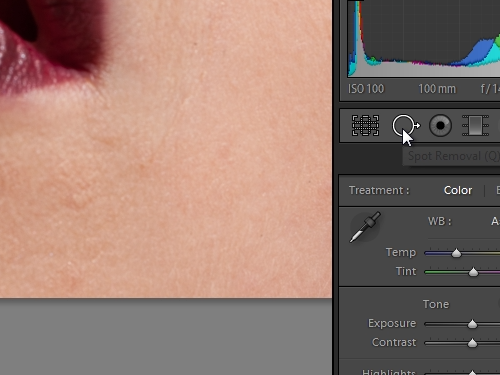
Adjust the size of the tool by dragging a slider. Click on the area you wish to edit.
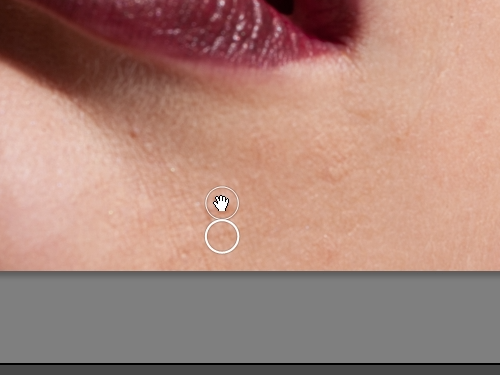
Then, move the circle aside, where the desirable area is and click again. Adjust the size of a “spot removal” tool. Select a spot you want to remove and drag aside from the circle. Select another spot and repeat the action. To confirm the changes, click on “Spot removal” again.