If you have a work group windows makes it easy to rename this to make home or office networking as simple as possible for computer users.
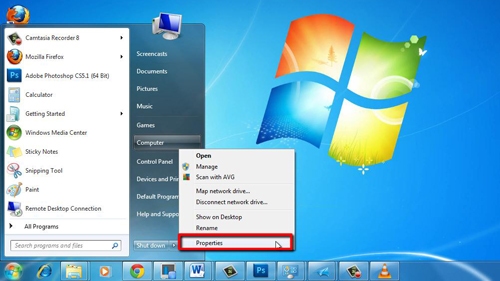
Step # 1 – Opening System
In order to access “System” click on the “Start” button and right click on “Computer”. From here select the “Properties” option from the list that appears.
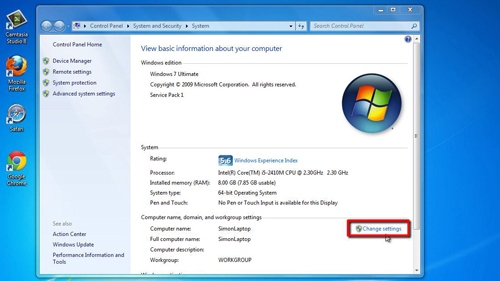
Step # 2 – Changing Your System Settings
You’ll now be presented with the “System” window. At the bottom of this window you will find a section called “Computer name, domain, and workgroup settings”. At the right of the frame, click on the “Change Settings” link.
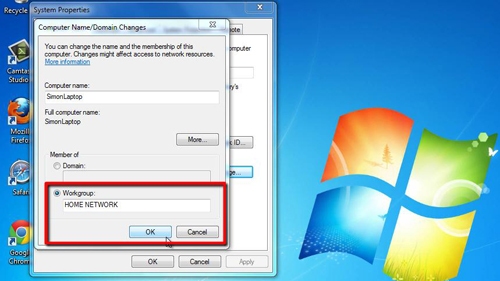
Step # 3 – Renaming the Work Group
This will load the “System Properties” window. Click on the “Change…” button at the bottom of the window. This will open “Computer Name/Domain Changes”. At the bottom you will see the “Member of…” frame, and “WORKGROUP” in capitals, which is the current name. Type your chosen name here, for example “HOME NETWORK”. Click “OK”.
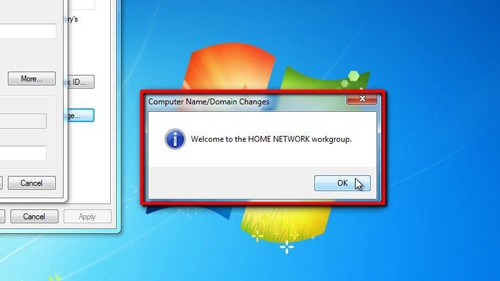
Step # 4 – Finalizing the Rename
The computer will process the request for a moment. A dialog box will then appear welcoming you to the renamed workgroup, click “OK”. To complete the change to the work group windows must be restarted, click “OK” on the dialog box telling you this, and restart the machine.