In this video tutorial we will show you how to render in After Effects with a transparent background.
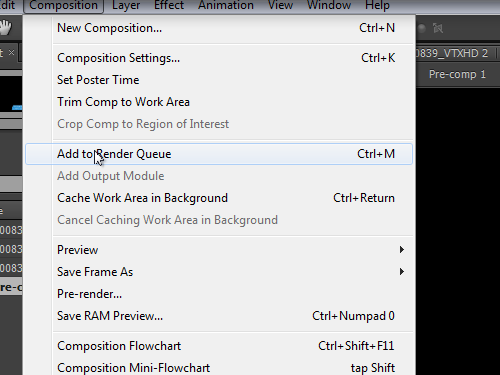
Open the After Effects project. Then go to the “Preview” tab and click “RAM Preview” to check the project. Set the playhead at the beginning of the video and go to the “Composition” menu.
In the appeared menu choose “Add to Render Queue”.

Then go to the “Output module” line and click on the “Lossless” option.
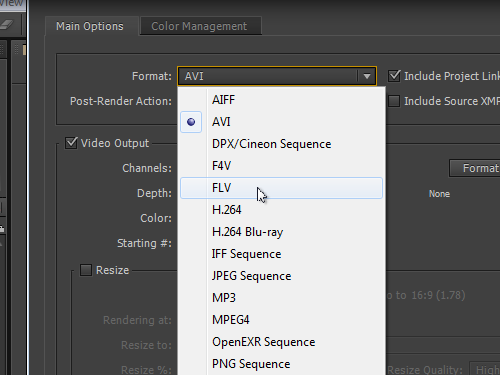
In the next window find the “Format” option inside the “Main options” tab and choose “FLV” from the drop-down menu.

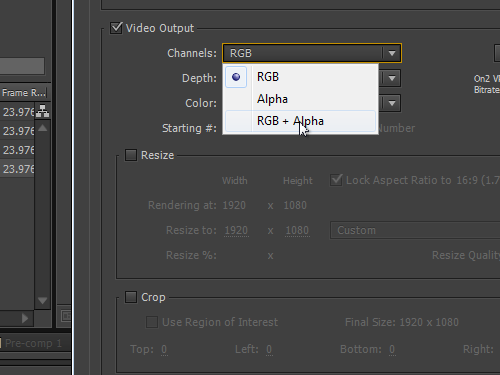
Go to the “Video Output” option and choose “RGB+Alpha” from the drop-down menu.

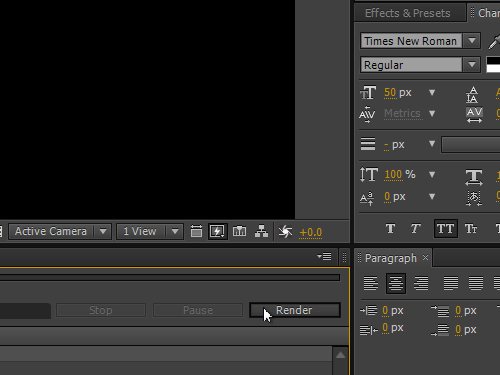
Then check the “Audio Output” option and set the audio quality mode to 48.000 kHz, stereo. Press “OK” button. Go to the “Output To” line and click the “Not yet specified”. In the appeared window check the format of the file and press “Save”. Then press the “Render” button to start the process.

When the rendering process is complete, switch to the composition tab and double-click on it. Choose the previously saved file and press “Open”. Drag and drop the imported file into the time line. Then click “RAM Preview” in the “Preview” tab and check the project. As you can see, now your project has been successfully rendered with a transparent background.
 Home
Home