Rotating planes and objects in Google Sketch Up is fairly simple. You can move around different planes and complete objects by means of the SketchUp rotate tool very easily. This is a useful software when it comes to drafting. If you do not have it already you can download SketchUp easily from the internet.
To understand how to rotate and scale objects in Google SketchUp follow the steps below.
Step # 1 – Making a 3D rectangle
To get a better understanding of this make a rectangle and change its dimension to 3D by using of the “Push/Pull” tool.
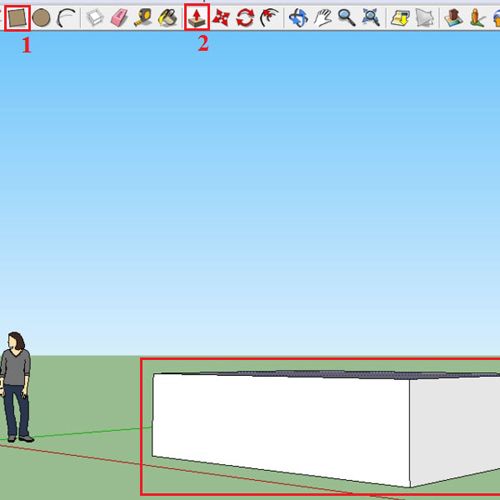
Step # 2 – Selecting the “rotate” tool
Select the “rotate” tool from the tool panel or by going to the “tool” menu. The keyboard shortcut for this is “q”.
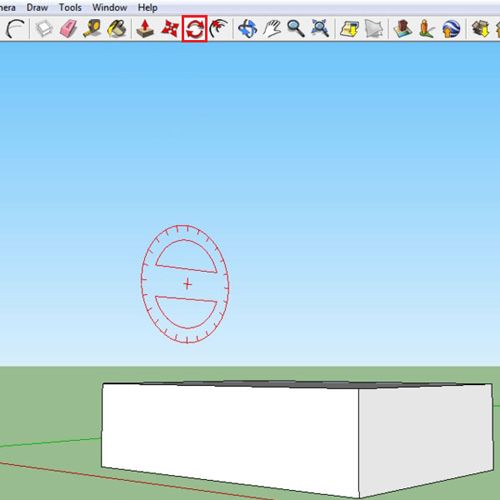
Step # 3 – Snapping the protractor to an axis
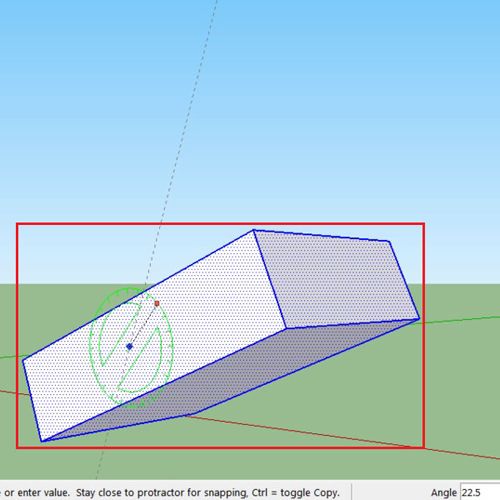
The protractor that emerges by the selection of the “rotate” tool also snaps to an axis. This is shown by the change in its color. Whichever axis it snaps to it changes to its color according to that. In the image shown it is snapped to the green axis.
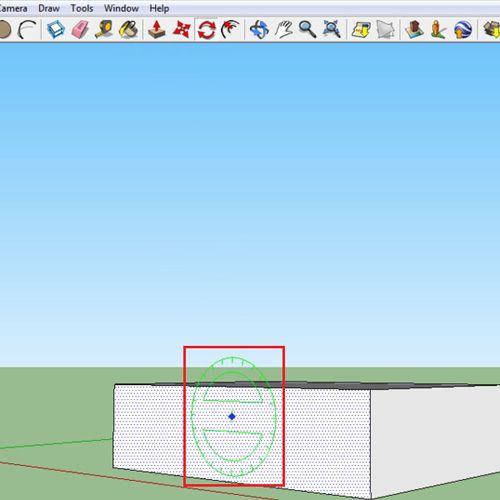
Step # 4 – Changing the angle of a plane
Once you choose this tool, you can rotate planes separately or the whole object. To move a single plane, select it with the “rotate” tool. The way to go about this tool is to click on the portion you want to rotate then turn the protractor to the angle you want to shift the object to and click again. Once you do this, the plane will now rotate according to the angle you specified.
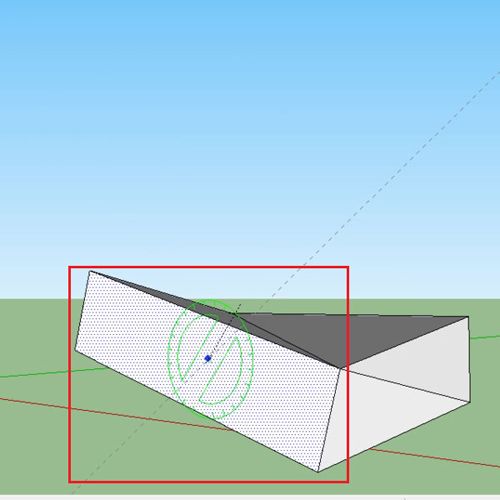
Step # 5 – Rotating the complete object
To change the angle of the complete object, first select it by means of the “select” tool. Next, specify the angle from the “rotate” tool as you did earlier and shift the object accordingly.
Step # 6 – Scaling the object
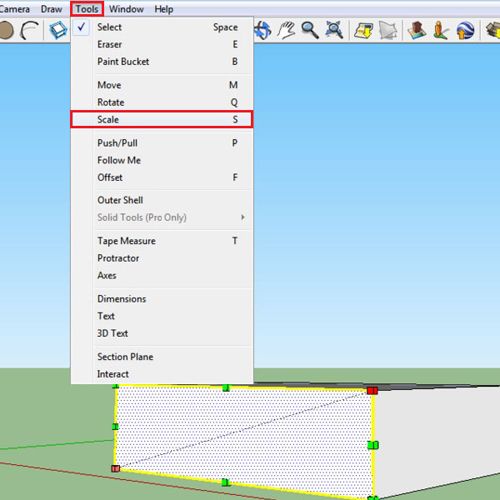
Google SketchUp also allows you to scale different illustrations as well. For this, go to the “tool” menu and choose the “scale” option. From this when you click the object, grip points appear on it. You can use these grip points to alter the illustration. The shape can be modified diagonally, vertically or horizontally.
Step # 7 – Altering the object proportionately
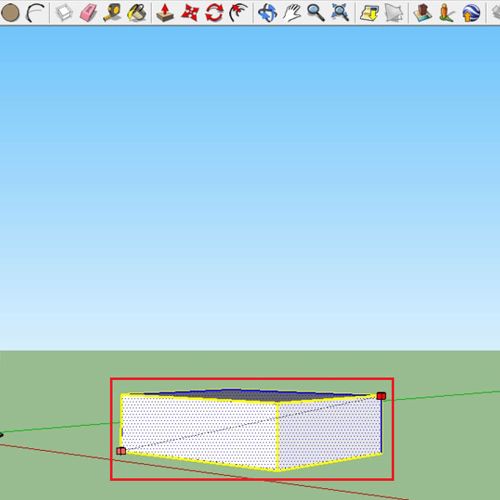
To increase or decrease the size proportionately in Sketch Up, keep pressing the “shift” key and change it by means of the grip points.
Step # 8 – Changing the pivot point
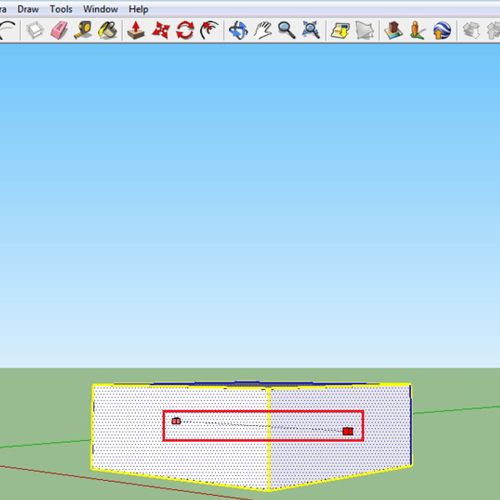
Right now, when you alter the size, it either moves towards or away from the corner points. To shift this point to the center keep pressing “ctrl” and now the size is modified keeping the center as the pivot point rather than the corner ones.
To learn more about this software and gain hands on experience you can download SketchUp easily from the internet through Google.
 Home
Home