Saving a file as read only can be a great way to share your files without other people being able to adjust the data. This tutorial will show you how to save excel as read only.
Step # 1 – Choosing to Save As
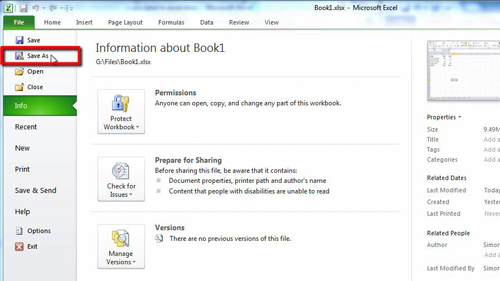
Here we have just finished creating a spreadsheet that contains some cost information. Click the “File” button in the top right corner and then click on the “Save As” button in the new menu that has appeared.
Step # 2 – Opening General Options
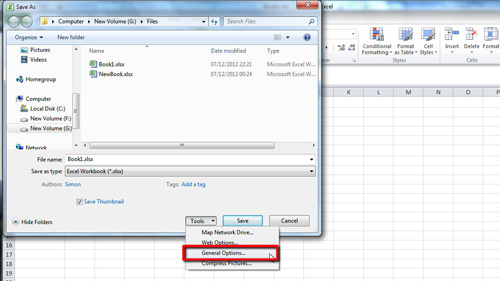
This will open the “Save As” window. At the bottom of the window there is a drop down list called “Tools”, click on this, and in the menu that appears click the “General Options” button. This will open the “General Options” window.
Step # 3 – Saving the File
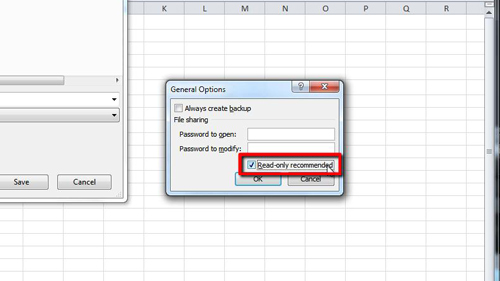
At the bottom of this window is a check box that is called “Read-only recommended”, select this option and click “OK”. Now choose a destination for the file and name it. Finally click “Save” and that is how to save excel as read only.