In this video tutorial we will show you how to save Photoshop file with a transparent background.
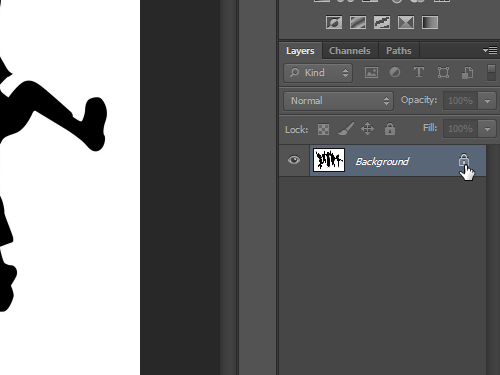
Launch the Adobe Photoshop. Go to the “File” menu and select “Open” from the drop-down menu. In the appeared window, select the image and press “Open”. Go to “Layers” and double click on the “Lock” icon to unlock the layer.

Then move the cursor to the image and click on it to select the background. Press the “Delete” key on the keyboard and delete the image background. When it’s done, go to the “File” menu and choose the “Save As” option.

In the appeared window select the format that allows you to save the image with a transparent background from the drop-down menu. For example, select the PNG format.

Then click the “Save” button. In the following window set the PNG format options and press “OK”. Now open the PNG image and as you can see, the file has been successfully saved with a transparent background.