There are a lot of times when we take pictures and they come out tilted because of the angle we took photographed the image at. What Photoshop CS5 does is that it helps you straighten the image.
In this tutorial for Photoshop cs5 you will be learning how to perform the action of straightening an image as per your requirement.
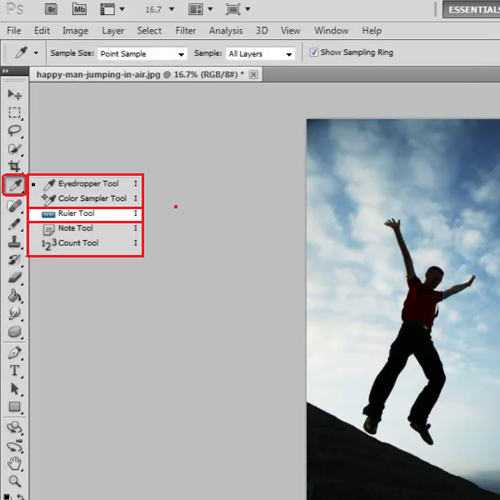
Step # 1 – Select the ‘Ruler Tool’
First you need to select the ‘Ruler Tool’ from the ‘Eyedropper Tool’ menu present at the toolbar on your left.
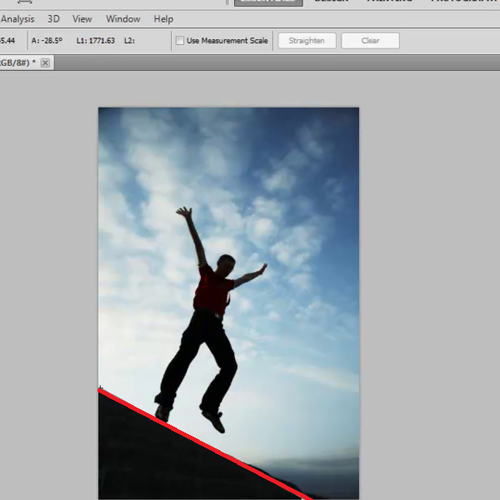
Step # 2 – Draw a line
After selecting this tool, use it to draw a line on the picture where you think it should get straightened from. Make sure you make the line as accurate as possible as that will ensure that your image is straightened properly.
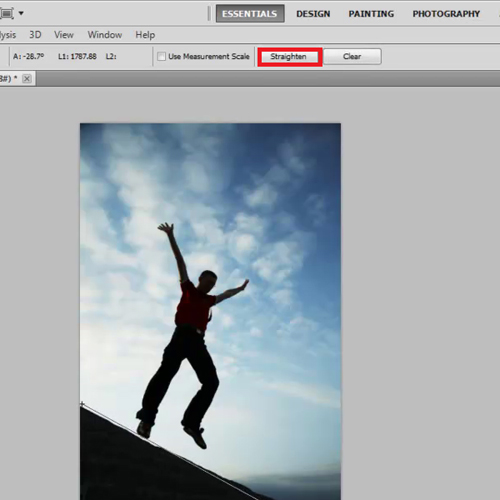
Step # 3 – Select the ‘Straighten’ option
As soon as you are done making the line there is an option that becomes visible at the top called “straighten”. Click on it to change the angle of your image and to make it straight. With this one click Photoshop straightens, crops and rotates the picture for you.
Use this tutorial for Photoshop cs5 to learn how to correct the angle of your photographed images so as to alter and straighten them as per your requirement.