In this video tutorial we will show you how to do a photoshop face swap.
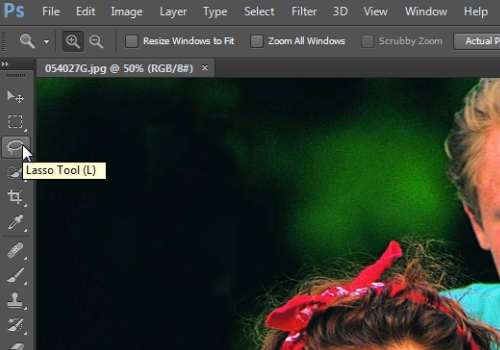
In order to do a photoshop face swap, launch the Adobe Photoshop. Go to the “File” menu, press “Open” and choose a photo you want to edit. Then select the “Zoom tool” from the toolbar and click on the photo to zoom in. Then select the “Lasso tool” from the toolbar.

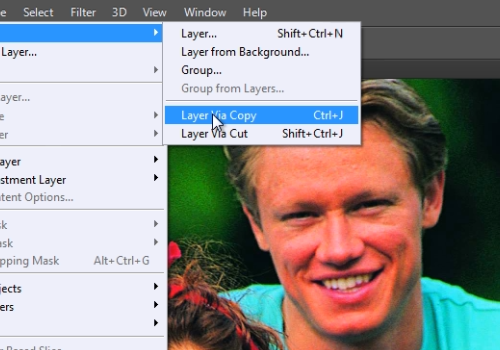
Then select the face with this tool. Go to the “Layer” menu, click “New” and choose “Layer Via Copy”.

Choose “Move tool” from the toolbar. Move the selected face area to another face on the photo. Then select the “Eraser tool” from the toolbar.

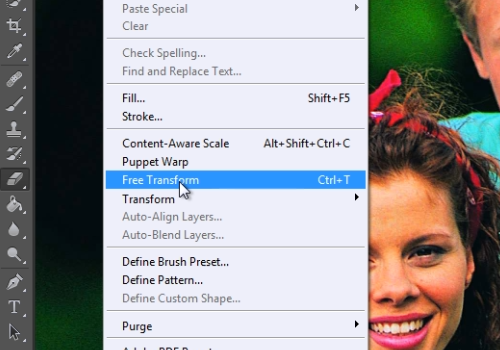
Choose needed “Opacity” and just move the eraser tool by the edges of the transferred face. Then go to the “Edit” menu and choose “Free Transform”.

Adjust size and position of the swapped face. Go to the “Layer” menu and choose “Flatten Image”.
 Home
Home