Learn how to change one face on another in Photoshop
In this video tutorial we will show you how to swap head in Photoshop.
In order to swap head or face in Photoshop, open the Adobe Photoshop. Go to “File” tab, press “Open” and choose files to edit.

Choose the “Lasso Tool”. Select the face by the edge.

Then click on “move tool”. With the left mouse button press on the selected part of the face and just drag it to another opened image.
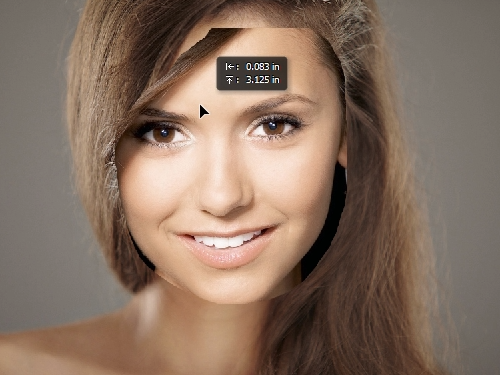
Click on “Opacity” and move slider to 63%. Adjust the position of the face. Go to “Edit” tab, choose “Free transform”.
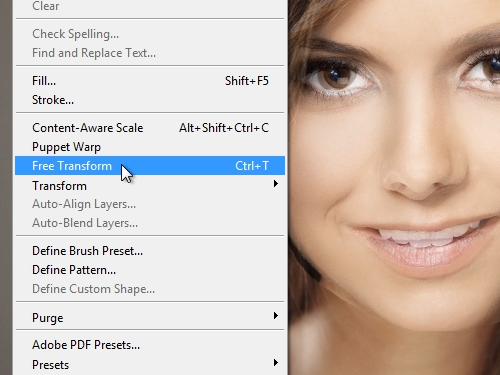
Adjust the face position again. Confirm the transformation. Move “Opacity” slider to 100%. Click on “Add vector mask” for the “Layer1”. Click on “Layer mask thumbnail”.
Choose “Brush tool”. Select the size of a soft brush, for example 166 pixels. Choose 73% “opacity” for the brush. Now combine photos by applying “Brush tool” around the edges of the added face.
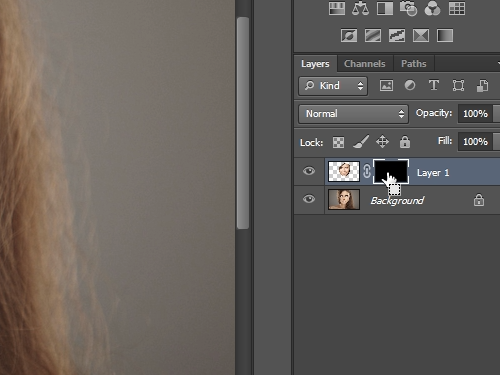
Switch foreground and background colors in the process to soften the edges.
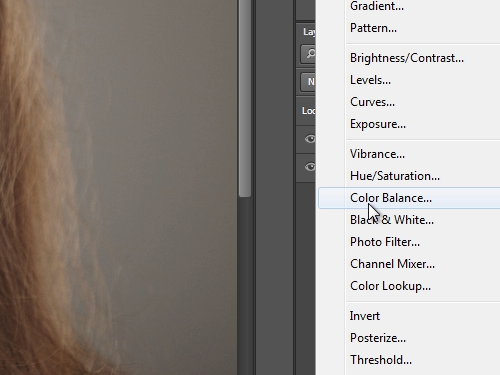
Create new fill adjustment layer and choose “Color balance”.
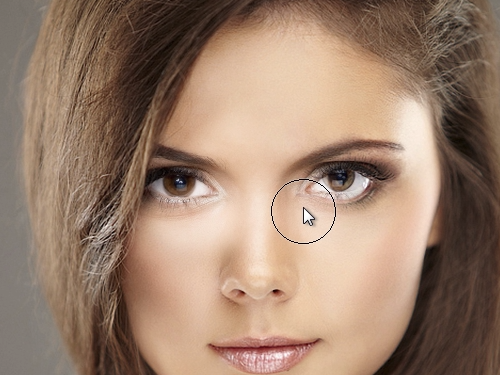
Move slider to “+16” in red scale. Move slider to “-10” in yellow scale. Close the window. Go to the “layer” tab and choose “Merge down”.
Click on the “eye” icon to see the changes in layer. Go to the “File” tab and choose “Save as”. Type a name for your file and select “JPEG” format for a photo, then click “Save”. In the following window select JPEG options and press “ok”.
 Home
Home