Google SketchUp allows you to create 3-dimensional objects along with simple 2-dimensional ones. 3D models are fairly simple to make with the help of the “Push/Pull” tool.
To understand how to turn shapes in a SketchUp layout to 3D look at the steps below.
Step # 1 – Make two rectangles
To do so, first make two rectangular shapes with the “rectangle” tool. This creates a 2D image whose dimensions can be then altered.
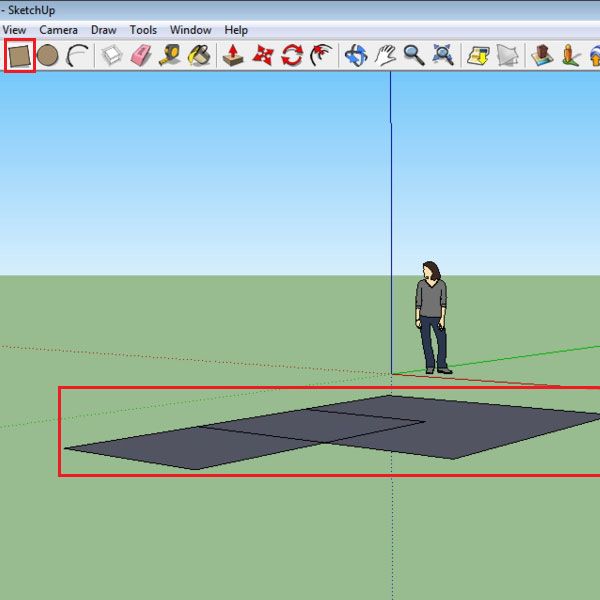
Step # 2 – Select the “Push/Pull” tool
Turn this to a 3D form by using the “Push/Pull” tool. If the dimension of a shape can be changed then spots appear on the surface you are hovering above. This happens when the “push/Pull” tool comes in contact with the surface.
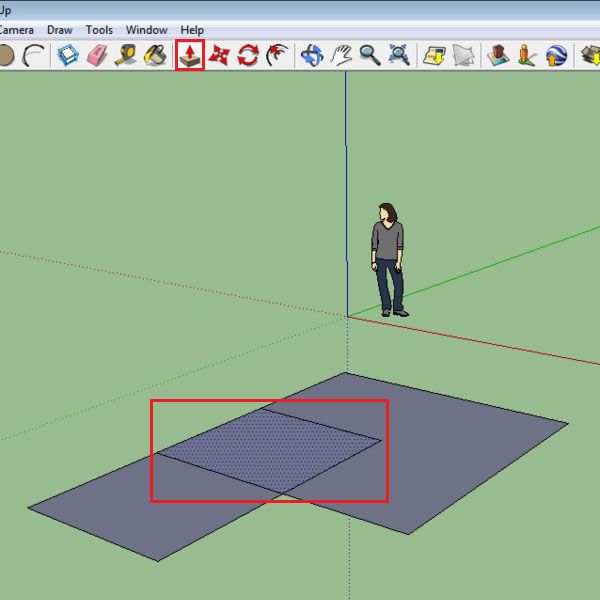
Step # 3 – Create a 3D shape
Since you made two intersecting rectangles, three outlined shapes can be seen. Click on any and drag it upwards by means of the “Push/Pull” tool and a cuboid is created.
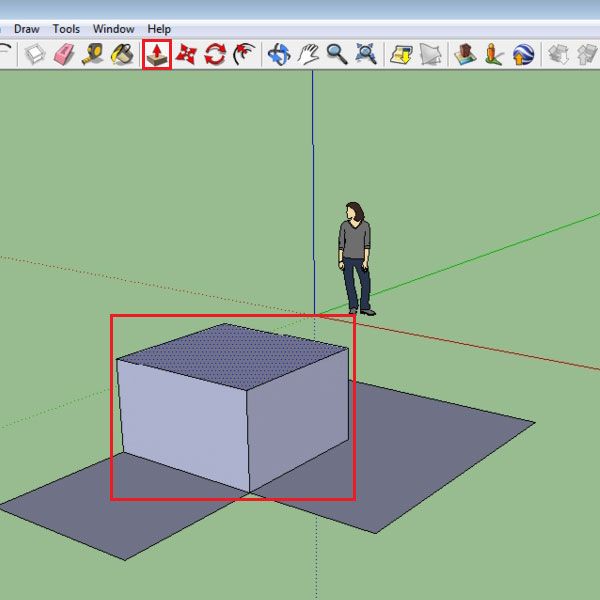
Step # 4 – Modify surfaces
Once this is made, you get new surfaces that can be expanded. Increase or decrease the dimensions of the illustrations that you create. However, whenever you are dragging any shape you will see that there is a certain offset limit after which you cannot stretch it. This depends on the offset of the previous illustration.
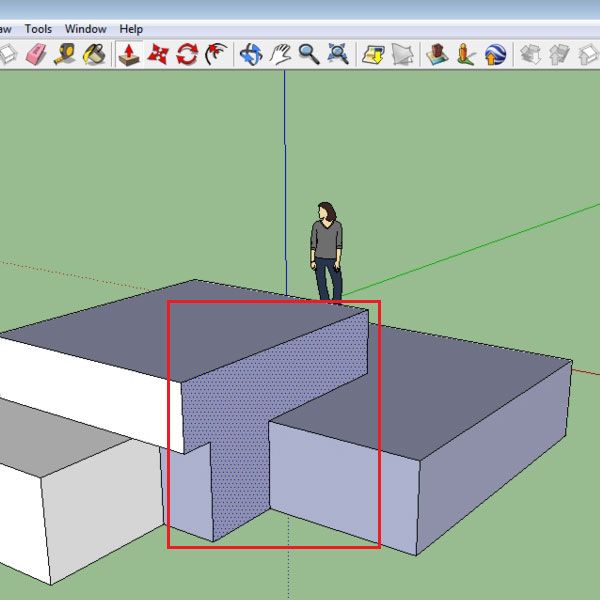
Step # 5 – Create a cylinder
3d models of cylinders and polygons can also be made the same way using this tool. Select the “circle” tool and make it 3D. After you do so you will realize that a cylinder cannot be expanded horizontally.
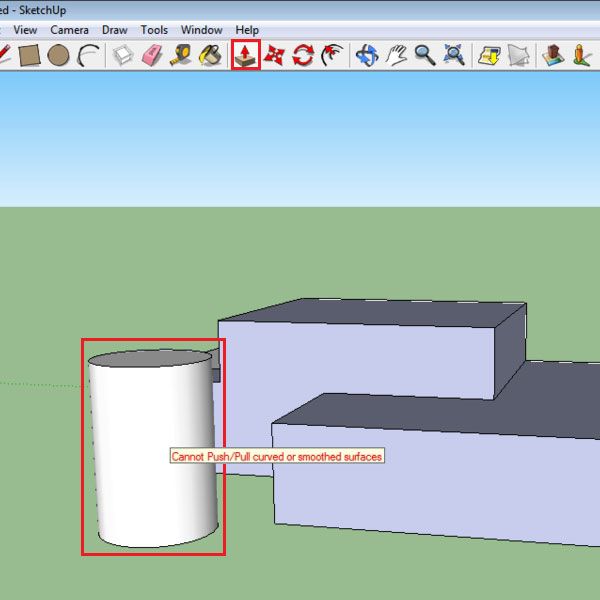
Step # 6 – Make a 3D polygon
To make a circular horizontal expansion in your SketchUp layout, use a polygon. First pull the 2D shape vertically, when you do so you will see that different sided surfaces appear.
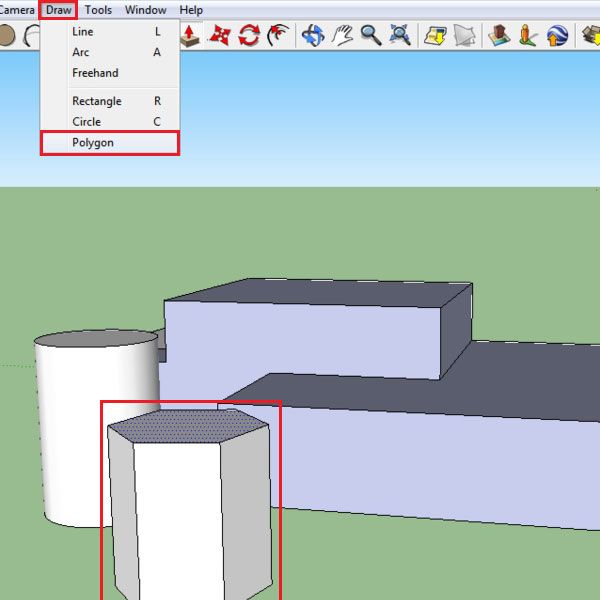
Step # 7 – Expand the polygon surfaces
These surfaces that emerge on the 3D polygon can now be stretched outwards according to your requirement.
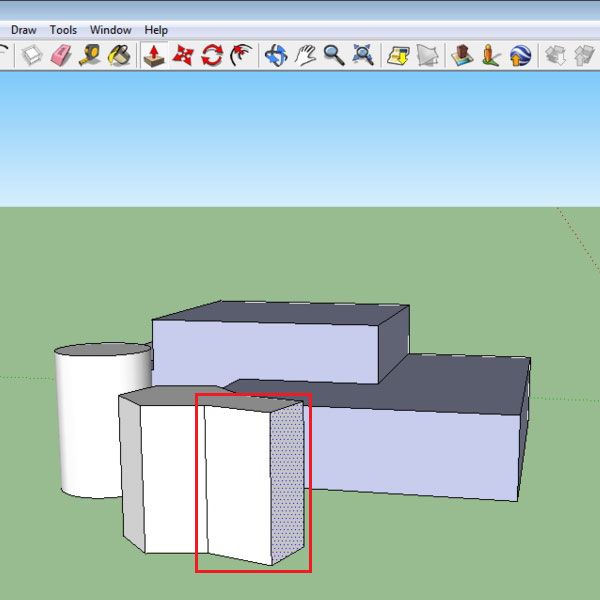
 Home
Home