Dos Box is an Emulator program that enables you to run a DOS simulation program. By downloading and installing the Dos Box in your computer, you can enjoy classic Dos Games in Windows 7. It offers a DOS mode like interface which runs on command lines. You can use hundreds of Dos commands in it. Initially you have to configure Windows 7 DOX Box settings and mount a C drive. After that you can use it just like you’d use DOS mode. Follow this step by step guide to learn how to use dosbox in windows 7.
Step # 1 – Download the Dos Box application
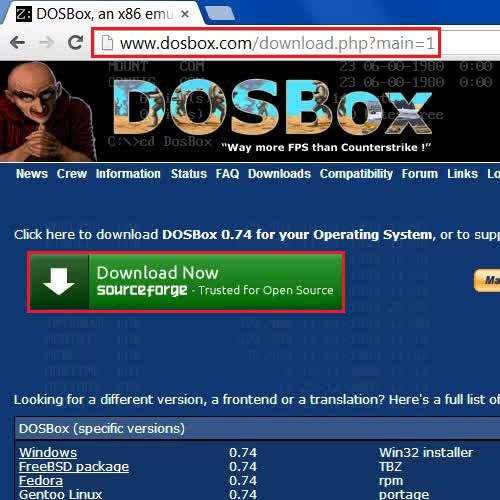
In this tutorial, we will guide you on how to use the Dosbox in windows 7. For this purpose, first of all log on to http://www.dosbox.com. Now select the “Download” tab and click on the “Download Now” button from the main page to download the installation file.
Step # 2 – Install the Dos Box application in your computer
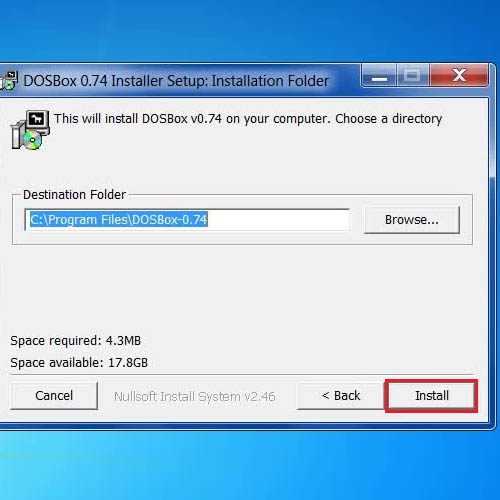
Once the Dos Box installation file has been downloaded, click on it and select the “Open” option from the menu to start its installation. Now click on the “Next” button, choose Dosbox components and select the installation directory from the installation wizard. Once it has been installed, close the wizard and double click on the Dosbox icon available on the Desktop in order to open the program.
Step # 3 – Use the Dos Box to run various Dos applications and commands
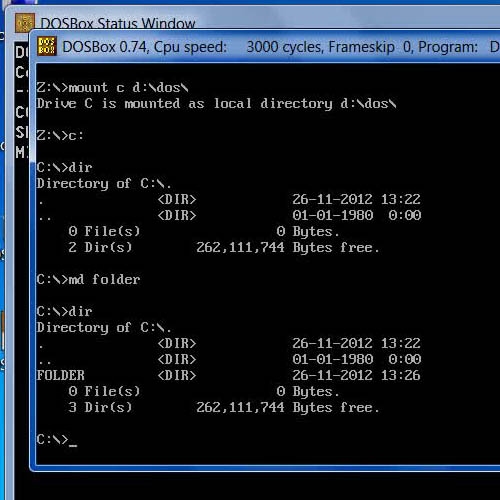
Once the Dos Box application has opened, first you have to mount the “C Drive” in your hard disk. In order to do so, type in the following command:
“mount c d:dos\”
Once you have mounted it, enter the “C :” command to enable the mounted “C Drive” and configure windows 7 dosbox .Once done, you can execute all DOS Commands in Doxbox interface.