While working in Illustrator it is always beneficial to know how to use rulers, guides and grid in Adobe Illustrator. This provides a better outcome for your Illustrator drawings and Illustrator artwork. The way to use these features is extremely simple. Through Illustrator guides, you can work on your artwork and come up with a better designed product in the end.
Step # 1 – Viewing your rulers
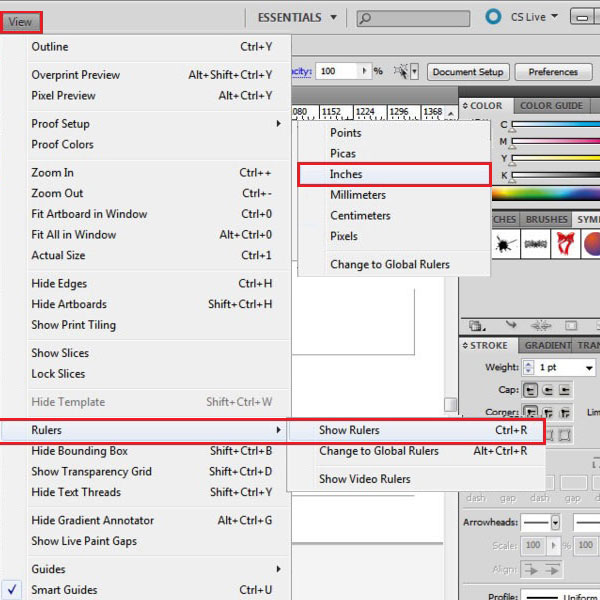
To view your rulers go to the “view” menu, then “rulers” and click on the “show rulers” option. After doing so, a vertical and a horizontal scale will appear. You can choose the measurement in which you want your rulers to be in. Simply right click on the scale and a popup menu will give you the option to choose from. In this case, we will select inches.
Step # 2 – Adjusting rulers according to the artboards
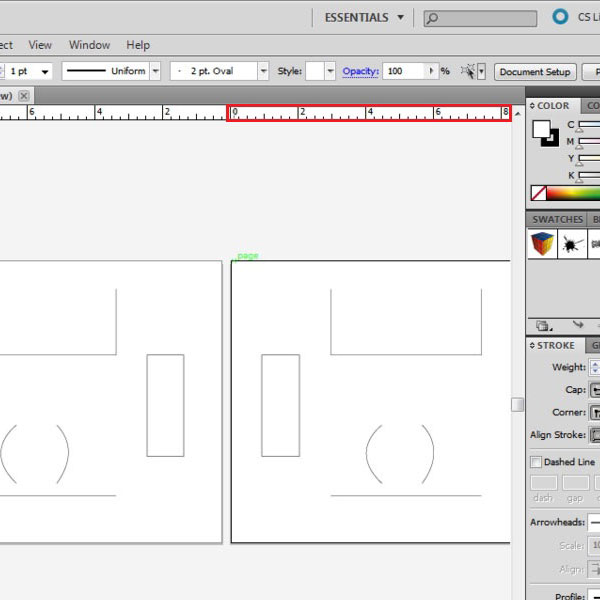
As you can see there are two artboards present here. What is a good feature of Illustrator cs5 is that whichever artboard you select and work on, the rulers adjust to it. For example, in this case when the artboard on the left is selected, notice the horizontal and vertical scale. They both start from where your artboard starts. If you now begin working on the other artboard, the scale shifts and now starts from where this artboard begins.
Step # 3 – Switching to “global rulers”
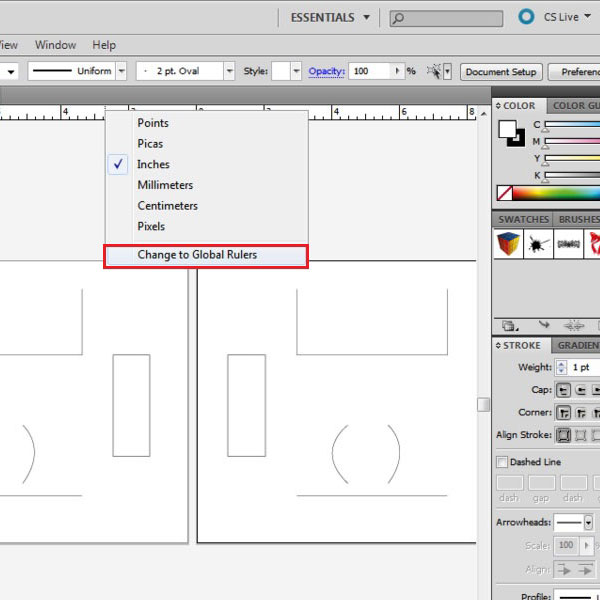
You can change this and shift to one single scale by right clicking on the scale and pressing the option titled “Change to Global Rulers”. Now, only one ruler will run across both the artboards. For now, we will work on artboard rulers by changing the option back from the same place.
Step # 4 – Aligning your work through smart guides
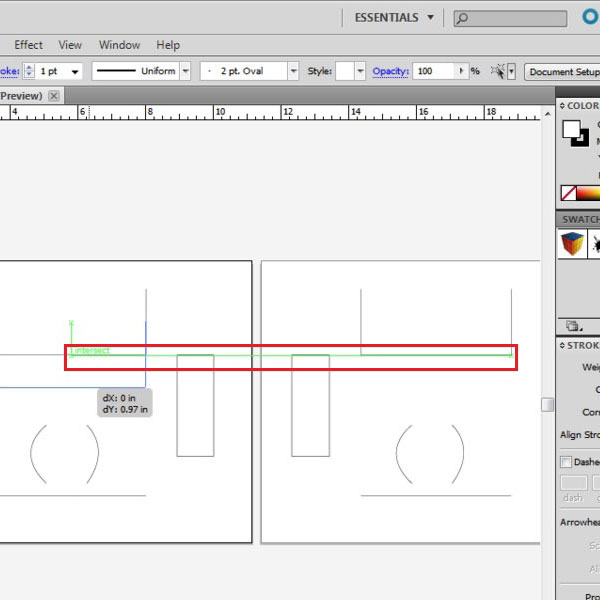
For better design results, Illustrator also helps you align your images. For example, if you create a rectangle, you can align it with the other shapes present with the help of smart guides that are the green lines that appear. These lines will appear as soon as you are in the same line as another shape.
Step # 5 – Aligning your work manually
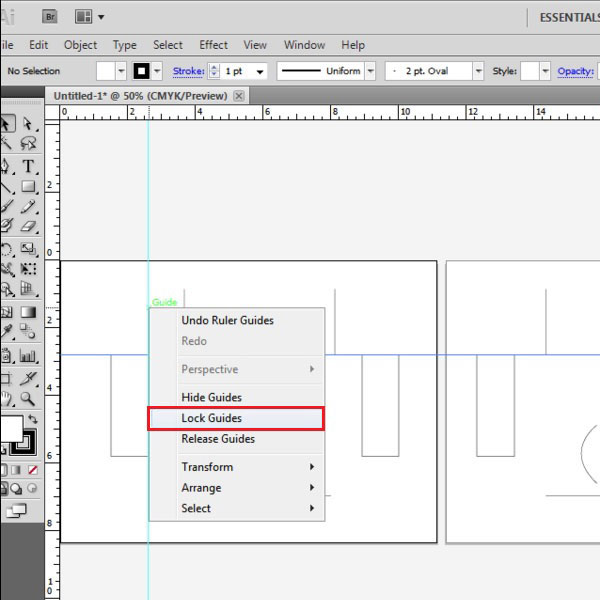
You can also manually make guides. This can be done by dragging the ruler. If you drag from the vertical axis, then a vertical guide will appear. You can use it to align your images. The same can be done from the horizontal axis. You would want to lock your guides so that they don’t move while you are working. To do this, right click on it and from the popup menu select the “lock guides” option. Now they will not move, unless you deselect this option.
Step # 6 – Turning shapes into guides
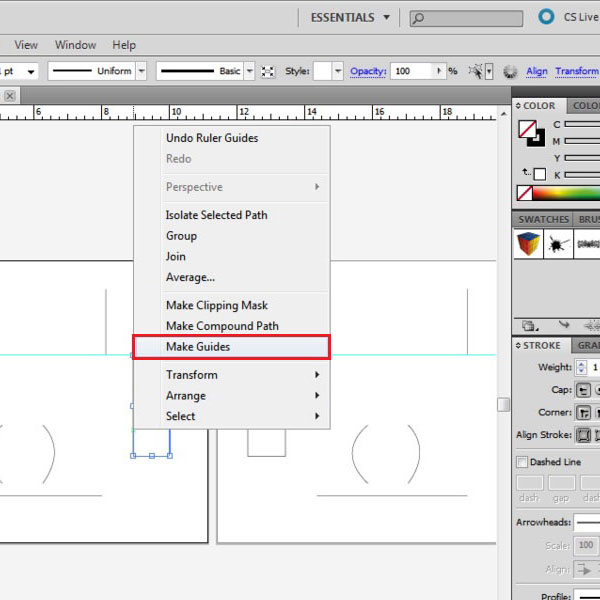
As a further advantage, you can even turn shapes in to guides. For this make any new shape, or choose an existing one. Once this is done, right click and select the “make guides” option. This will turn you illustration into a guide. Now, you can align other images according to this shape as well.
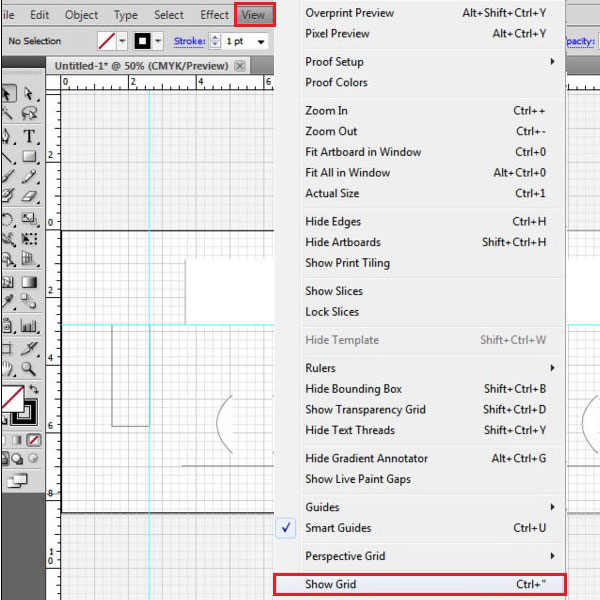
Step # 7 – Working on a grid
You can even work on a grid to know the exact measurement of your drawings. To enable grid go to the “view” panel on the top, drop down and select the option titled “show grid”. Now you can see an entire grid covering the screen.