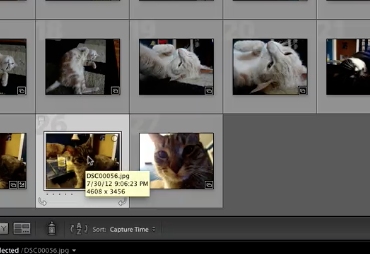
To use lightroom noise reduction first we need to select the photo we’re going to work on.

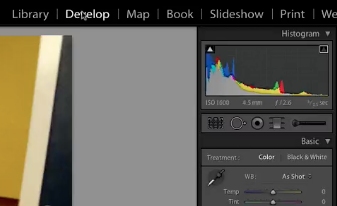
Then click on the develop module.

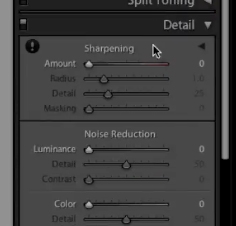
You’ll need to scroll down to the detail section on the right hand tool bar and click on the arrow to open it. This will open the noise reduction palette.

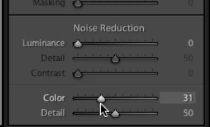
You’ll want to move the color first. Generally 25-30 is a good starting point for this. This setting basically recognizes what colors the noise is generating and reduces it.

Once you’ve adjusted that to your liking move up to the luminance. Adjust the luminance so the noisy area looks smooth. This setting will basically making something that looks like sand look really smooth. You don’t want to over do it and have it be all blurry, but find a good setting.

Then use the detail slider to fine tune it even more.

Then if you need contrast add that in. As a rule usually luminance is set highest, detail to the left of that, and then contrast to the left of detail if at all.

 Home
Home