In this tutorial you will learn how to use the Bird’s Eye View feature in Photoshop.
This trick is very simple and will help you speed up your editing process.
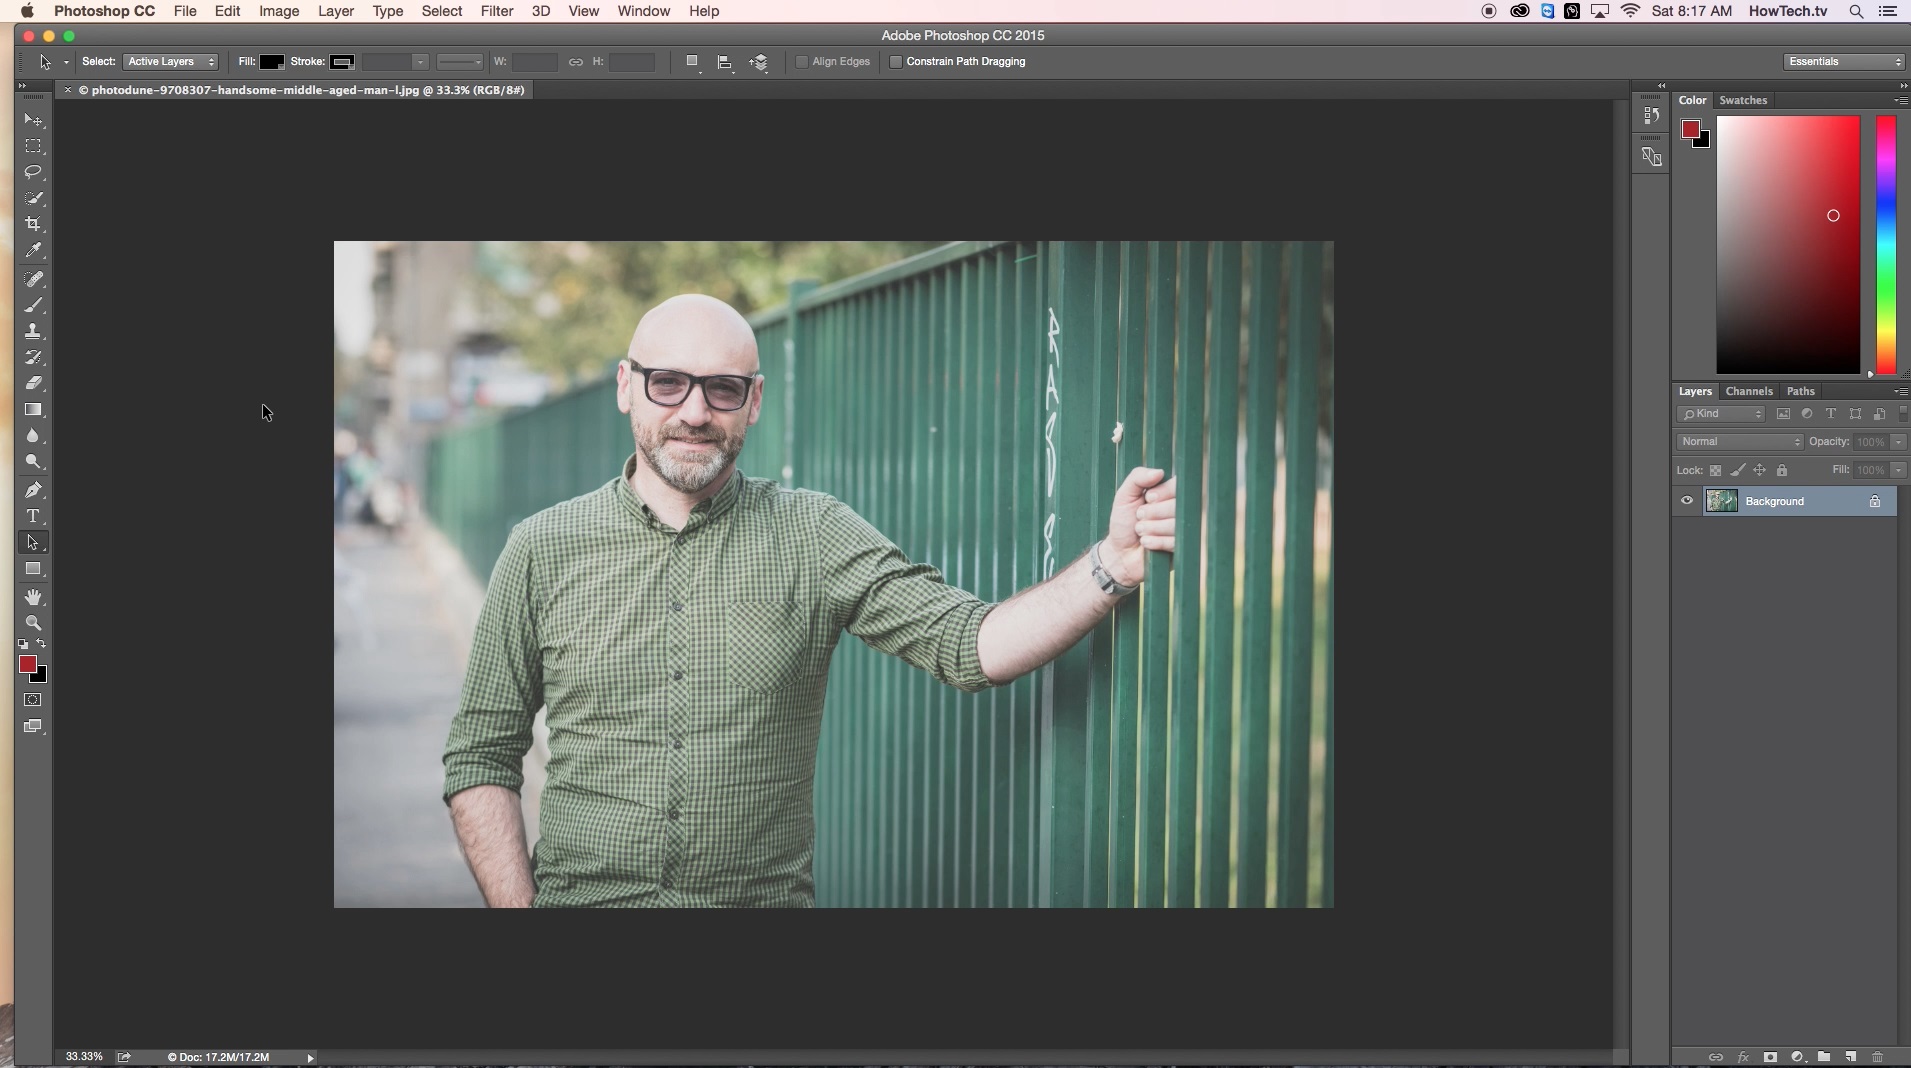
Step #1 – Open your image in Photoshop
When you want to zoom in on a particular area of your image, to touch it up, it can be one step too many. You have to hold down command or control + or – and then pan down to the desired area.

Step #2 – Activate Birds Eye View Feature
Hold down “H” on your keyboard as well as your left click on your mouse or trackpad. You will then see a rectangle outline the hand tool. Simply navigate to the area you want to zone in on and release the left click.

Step #3 – Move to a new area to work on & practice technique
Hold the “H” key down again, and the left click and find a new area to work on. This technique will save you significant time when you need to punch in quickly and touch up a specific area of your photo.

With the bird’s eye view feature you can quickly zoom in to specific areas on your image. This feature acts as two in one. A zoom and a pan.
You have now successfully learned how to use the Photoshop Bird’s Eye View feature.
 Home
Home