In this tutorial you will learn how to use the Photoshop Filter Gallery. The Photoshop Gallery works as an effects panel that you can tweak to get your perfect shot.
Step #1 – Open your image in Photoshop
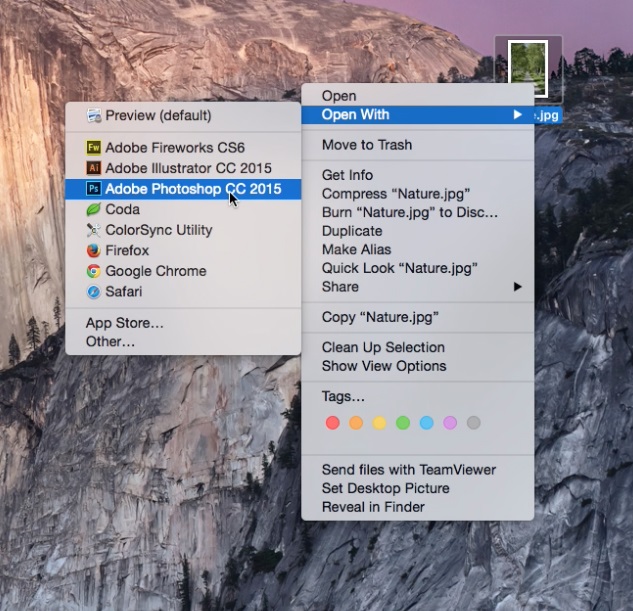
Right click the image you want to edit, and select open in Photoshop.
Step #2 – Filter – Filter Gallery
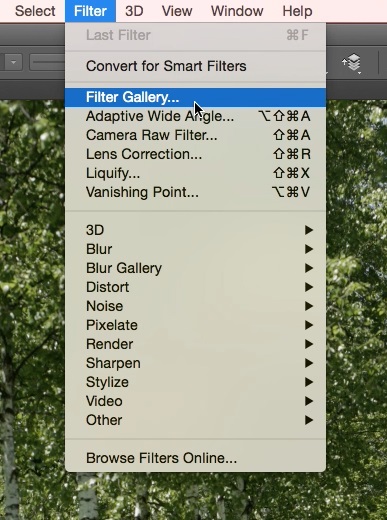
In the top menu bar, go to Filter – Filter Gallery. Photoshop will then take you to a separate window where you can begin the editing process.
The Photoshop Filter Gallery is very similar to using the adjustable filters on Instagram when you edit a photo.
Step #3 – Explore Filter Presets
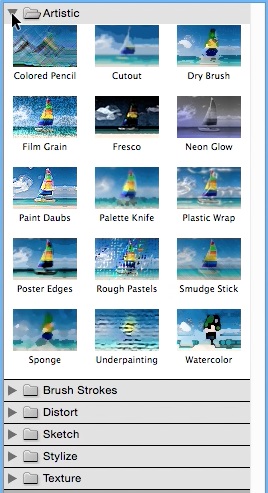
On the right hand side you will notice several style drop down menus. Artistic, Brush Strokes, Distort, Sketch, Stylize, and Texture. Click the dropdown arrow of the style you’d like to explore and begin finding a look that you like.
As we skim through the various filters, you can see the customizable parameters change on the right hand side. It’s important to note, that depending on the RAM in computer, it may take longer to render each filter to your image.
Step #4 – Select Stylize – Glowing Edges
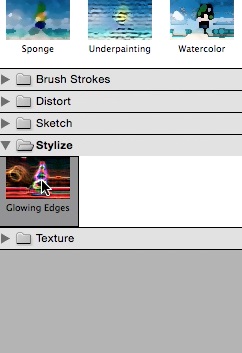
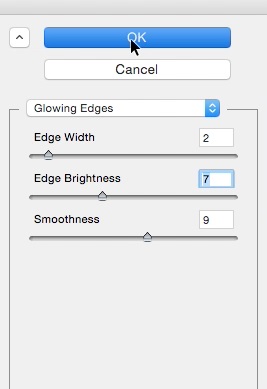
Lets select Stylize – Glowing Edges. Once you adjust the sliders to your liking, click “Ok” in the top right hand corner of the screen.
You have now successfully learned how to use the Photoshop Filter Gallery.
 Home
Home