Amongst different SketchUp tools a really helpful one is the “offset” tool. It can be used for various purposes and is very useful when you want to make internal borders within objects especially for doors, windows and other detailing in your SketchUp layout.
To learn how to use the offset tool in Google SketchUp follow the steps given below.
Step # 1 – Make a 3D shape
By using the “rectangle” tool make a shape. After doing so, make it 3-dimensional by means of the “Push/Pull” tool.
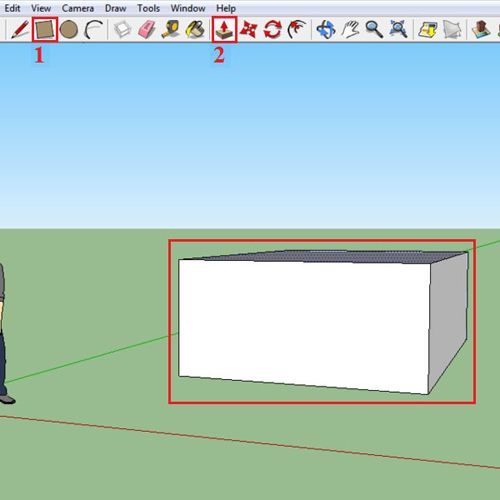
Step # 2 – Select the “offset” tool
Choose one surface that you want to work on. Select the “offset” tool from the panel above to create another path on this surface. This can also be selected from the “tool” menu on the top.
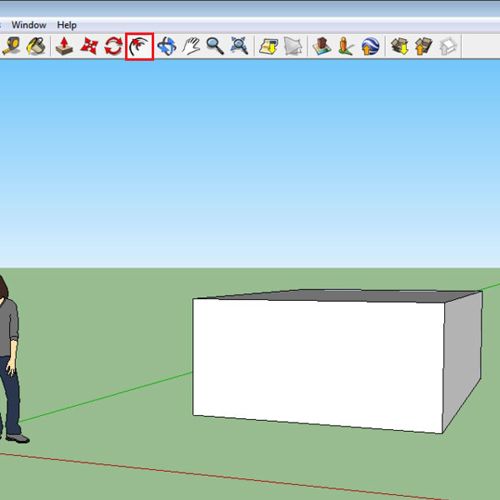
Step # 3 – Offset a path
Next, click on the surface you want to offset. When you do, you can set the distance manually. Over here create two offset paths.
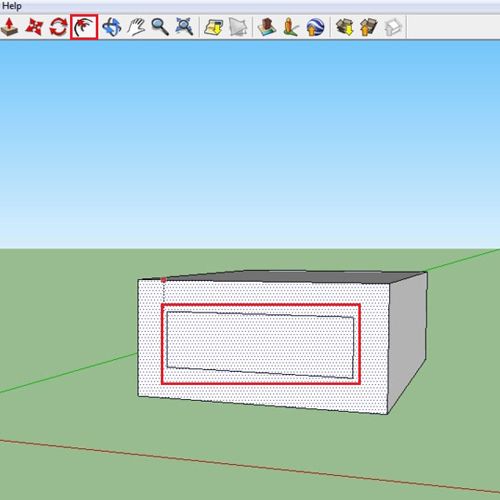
Step # 4 – Make the offset 3D
From the “Push/Pull” tool you can push these planes inwards or outwards. Expand or contract them according to your requirement.
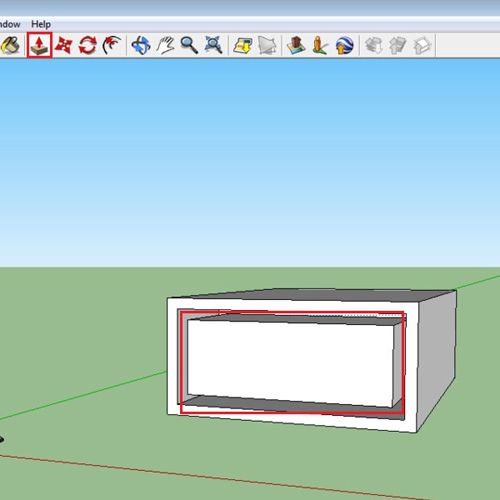
Step # 5 – Add lines to the object
From the offset tool it is very simple to create windows or openings on the same object that you just made.
To do this first create their basic outlines. For this purpose use the “line” tool at the top. Make two halves by drawing a line at the midpoint. Further create lines at the midpoints of the two portions as well.
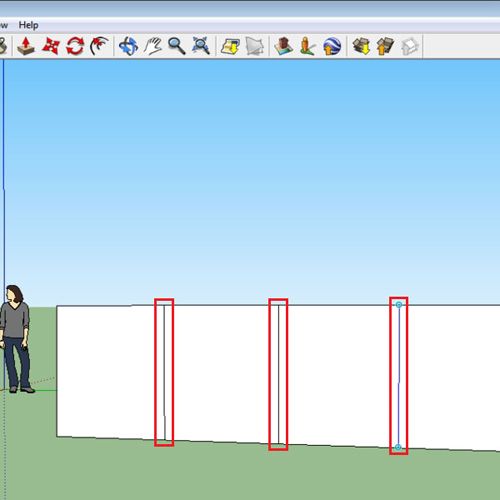
Step # 6 – Offset the portions
Now you have four parts on the surface. Use the “offset” tool to create internal outlines of these portions.
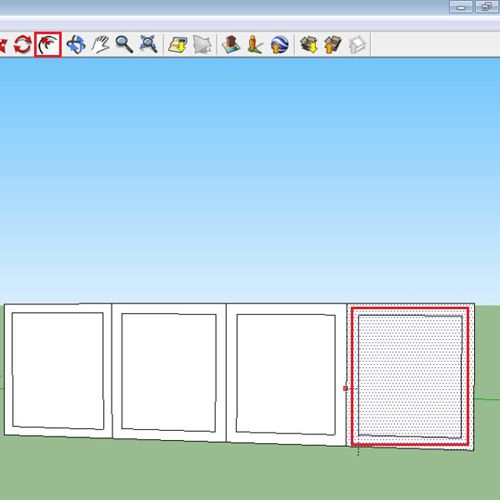
Step # 7 – Push the planes inwards
From the “Push/Pull” tool push these internal planes towards the inside. This creates a little depth inside the window.
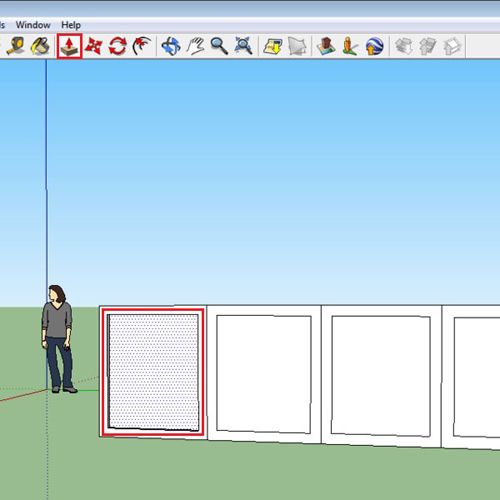
Step # 8 – Delete the planes
You can delete the inside planes by using the “select” tool to click on them and pressing the “delete” key on the keyboard. It now gives a window effect.
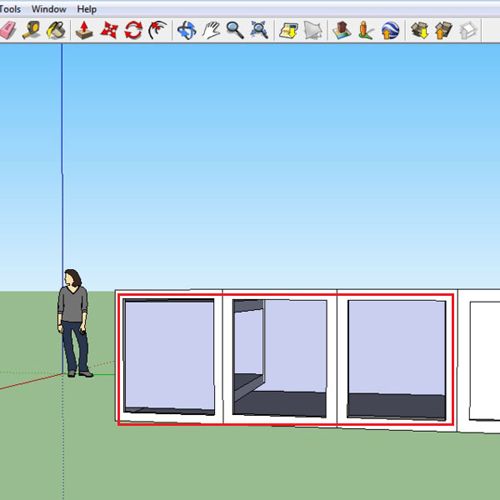
Step # 9 – Make an irregular shape
You can even use this tool to create an irregular “offset”. For this first draw a shape by means of the “line” tool.
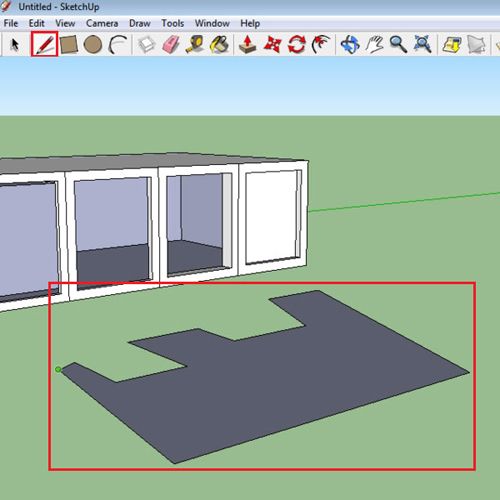
Step # 10 – Create an irregular offset
However, if you want to create an irregular offset in your SketchUp layout, do it by shifting your cursor while clicking once and then moving this tool around. When you release the mouse click you will be able to see different boxes. As all of these are divided by borders, different planes can be created.
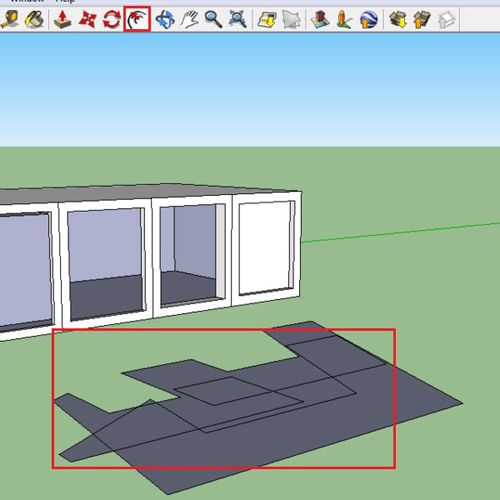
Step # 11 – Create 3D objects
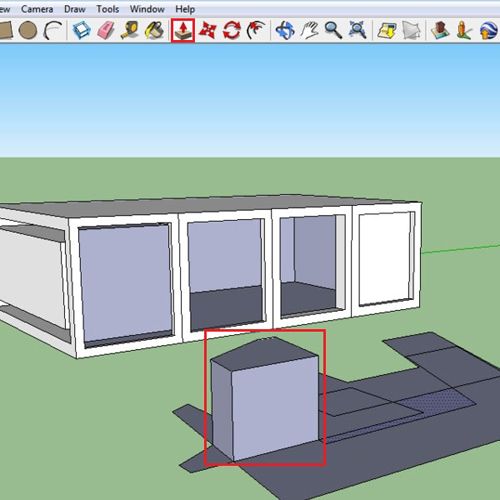
See this by selecting and using the “Push/Pull” tool from the SketchUp tools and changing their dimensions. However, if a complete irregular shape is formed from the offset then it is possible that the software will not understand the shape, hence, will not allow you to create a 3D shape out of it.
 Home
Home