In this video tutorial we will show you how to use Photoshop vector mask.
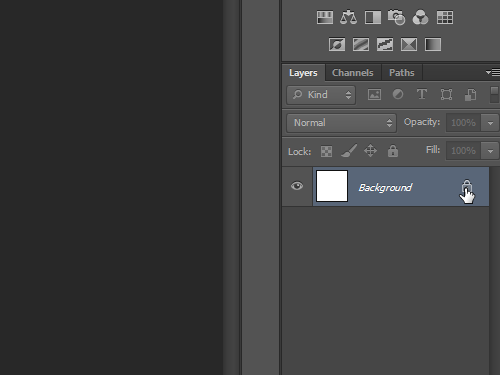
Launch the Adobe Photoshop. Go to the “File” menu and select “New”. In the appeared dialog box set the document properties. Then click on the “OK” button to create the document. Go to the “Layers” palette and double click on the “Lock” icon to unlock the layer.

In the appeared window click “OK”. Click on the “Custom Shape Tool” icon.
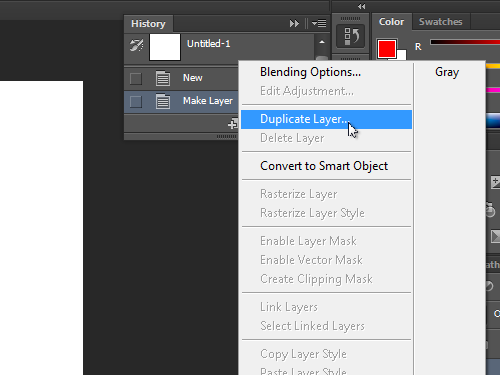
Then right click on the layer in the “Layers” palette and click on “Duplicate Layer” in the popup menu.

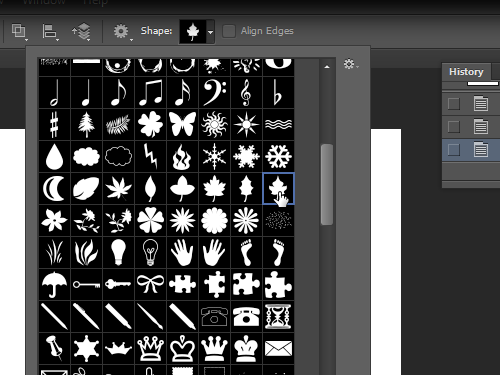
In the opened window, click on the “OK” button. Go to the “Custom Shape Tool” attributes panel and select a shape for the tool.

Create a shape in the document area by clicking on the canvas and moving the cursor while holding the left mouse button. Then click on “Add a mask” icon in the “Layers” palette. As you can see, the vector mask has been successfully created. Go to the toolbar and click on the “Direct Selection Tool” icon. Go to the document area and adjust the vector mask. You can apply the vector mask to any objects or images.
 Home
Home