When working with Microsoft Outlook, one can create a number of calendars and group them into various categories. Outlook calendars can also be edited to meet the user’s requirements and multiple calendars can be opened and used simultaneously. Working with a calendar in outlook is not as difficult as it may appear to be.
In this tutorial, we will teach you how to work with multiple calendars.
Step 1: Creating calendars
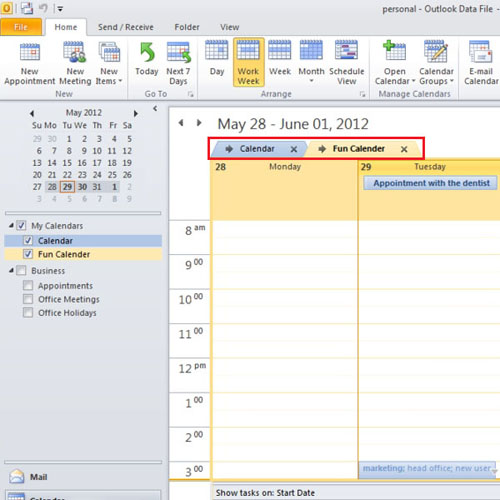
First of all while working with a calendar in outlook, click on the “calendar” tab in the “navigation bar”. You will notice that one calendar titled “personal” has already been created. You can switch between calendars by clicking on one and deselecting the other.
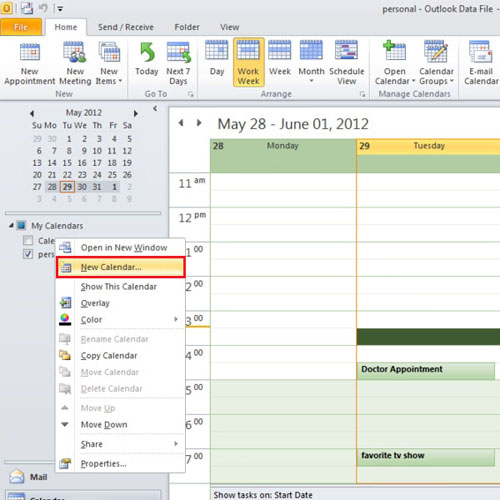
If you want to create a new calendar, go to the “calendar” option and right click on it. Select the “new calendar” option from the drop down menu. Multiple calendars can be created in the same manner.
Step 2: Grouping calendars
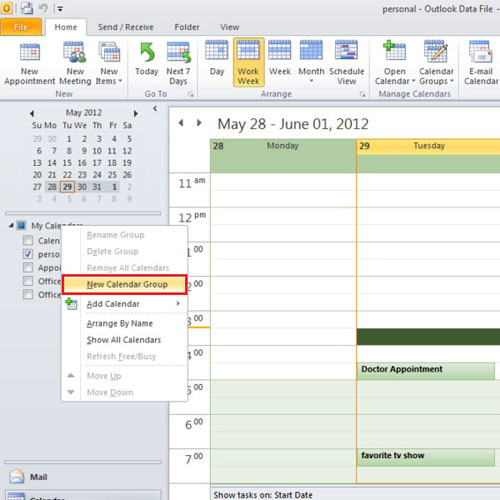
When wanting to create a new group of calendars, one must right click on the calendar and select a new group. Once this has been done, the group must now be named.
Step 3: Adding calendars to a group
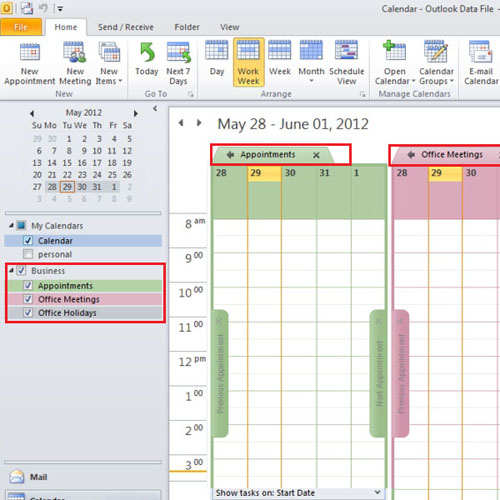
To add calendars to the group, one must simply drag and drop them in the desired location. Once this has been done and all the calendars have been added to the group, they can be viewed simultaneously by clicking on the business check box.
Step 4: Viewing calendars simultaneously
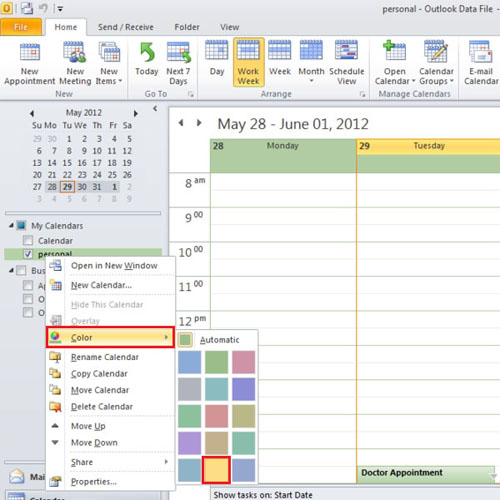
When all the calendars are selected simultaneously, outlook will change the view automatically. One can even choose to change the color of the calendar or even rename it. To change its color, right click on the calendar and go to “colors”. Here, a color that best meets your requirements can be chosen.
Step 5: Renaming calendars
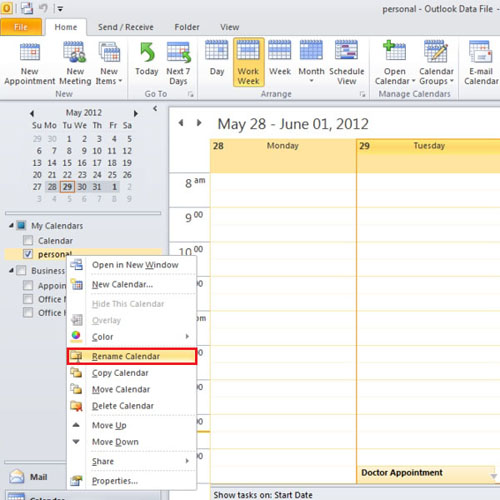
Moreover, in order to name outlook calendars, right click on them and select the “rename” option. Now type in the new name and click on the “ok” button.
Step 6: Superior imposing calendars
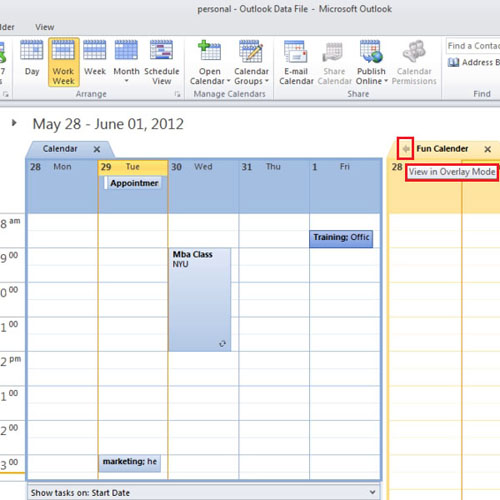
One can also choose to impose one calendar over another. In order to do so, open two calendars together and you will notice a left pointing arrow on top of the calendar. Click on this arrow and the calendars will be placed on top of each other. In the same way, more calendars can be added.
Step 7: Seperating calendars
In order to separate the calendars, close it by pressing the small “x” or divide it by clicking on the
“over lay” button denoted by the arrow now pointing towards the right.