Knowing how to work with date and time in excel can come in handy when you need to enter time stamps somewhere or you want to add a date to a specific entry. One should know how to enter time and date in Excel and how to do their formatting.
Follow this step by step tutorial to learn how to work with times and dates in Microsoft Excel.
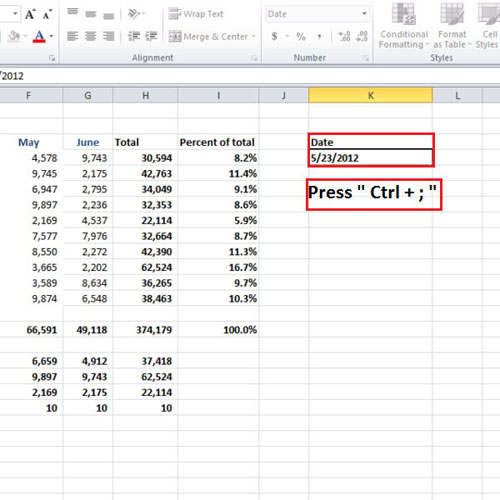
Step # 1 – Enter the date
In order to enter date in Microsoft Excel, write “ctrl + ;” and the current date will be displayed. The date that is entered using this shortcut key does not change with time. It is more like a time stamp and it remains the same.
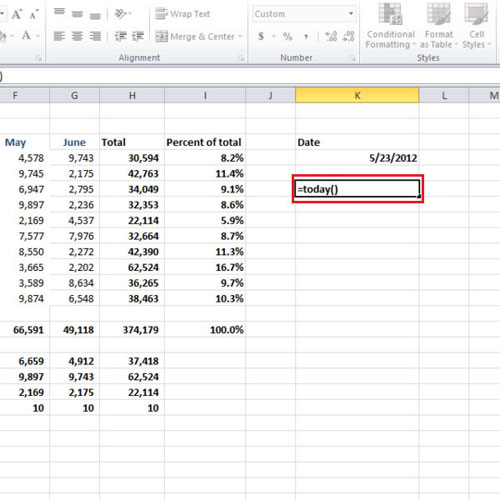
Step # 2 – Enter the today function
Another other way of entering the date is by using the “today” function. The date will be changed if you open the Excel document few days later. Write “=today()” and press the “enter” key to apply the function.
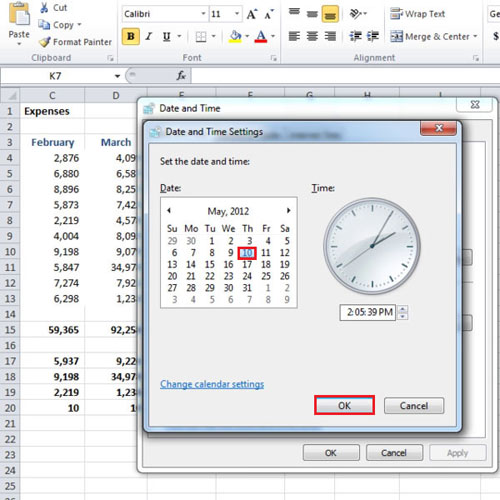
Step # 3 – Set the date of your computer
Instead of waiting for the date to change as the day changes, you can temporarily change the date of your computer. The date in this tutorial has been changed to 5/10/2012. When you will go back to your Excel worksheet, you will not see any changes in the date until you either enter something or make a change. To change the date, Excel has to recalculate and that only happens when you make some changes or enter something new in the sheet.
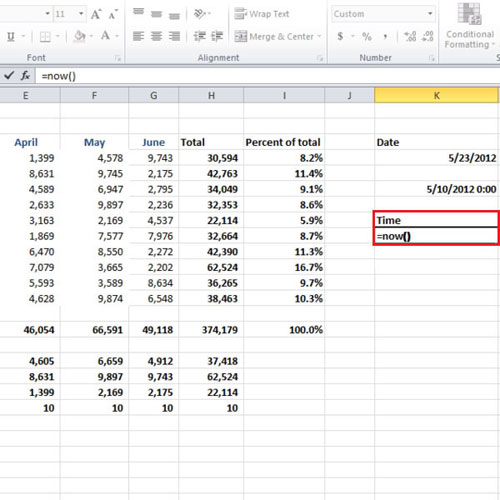
Step # 4 – Enter the Now function
If you want to add time along with date in Excel, then use the “now” function.
Write “=now()” and press the “enter” key to apply it.
Step # 5 – View the time and date
Now the next time when you open Excel, the time will change along with the date. In order to view the current date and time in Excel, make sure that you make some changes in the sheet so that Excel has to recalculate and incorporates the changes.
