In this tutorial you will learn how to zip word files so that they can be easily and efficiently stored on your computer.
Step # 1 – Zipping an Individual Word Document
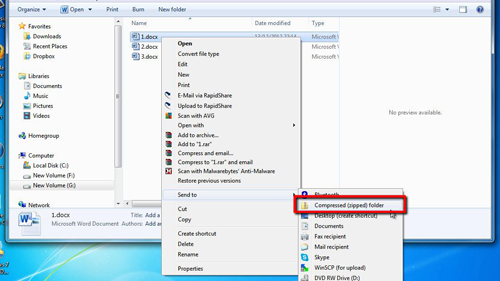
Locate the Word documents that you want to zip. Here there are several documents all in one folder. We are going to zip the document called “1” first. Right click on it and in the menu that appears navigate to “Send to”. In the next menu click on the “Compressed (zipped) folder” option. Almost immediately a new file will appear in the folder called “1.zip”, click elsewhere in the folder to complete the process.
Step # 2 – Zipping Multiple Documents
To zip several documents at once you need to select them. Hold down the “Control” key on the keyboard and use the mouse to select the files. In this example we are going to be zipping all of the Word files in this folder. As before right click on one of the files and navigate to “Send to” then click on “Compressed (zipped) folder”. A file will appear, rename it to avoid confusion.

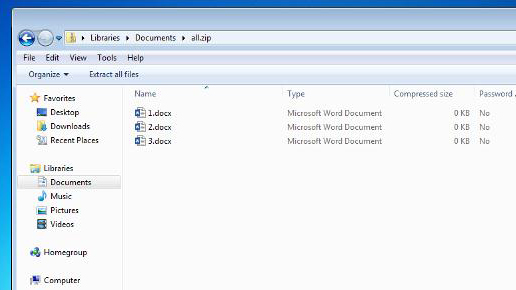
Step # 3 – Opening the Zip Files
Now we know how to zip word files it is important to know how to access them. Double click on the just created file, here “all.zip”. A folder will then open, giving you access to your zipped Word documents.