Exporting an excel file to a text document can be a great way to increase the compatibility of the file and share it with more people. This tutorial will show you how to export excel data to a text file.
Step # 1 – Opening the Save As Window
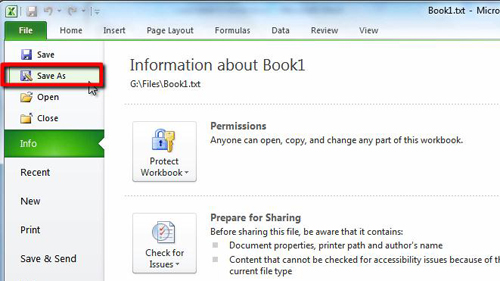
First of all open the Excel sheet that you want to export as a text file. Click the “File” button in the top left hand corner and in the menu that appears select the “Save As” option. This will open the “Save As” window.
Step # 2 – Choosing the Save Type
In this window you will see a drop down box at the bottom called “Save as type:”. In this box you need to select the option for “Unicode Text”. Name the file and then click “Save”. Two dialog boxes will appear, click “OK” and then “Yes”. This is essentially how to export excel data to a text file.

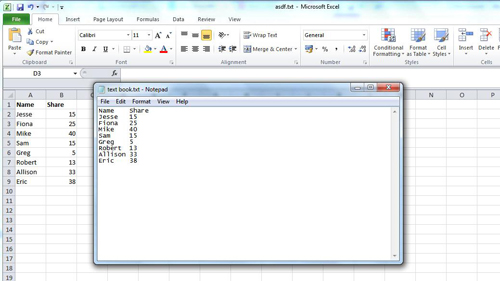
Step # 3 – Viewing the Text Version
To view the text file go to the destination where you saved it and open the file. Here the file is called “text book.txt”. As you can see the data has been taken from Excel and made into a simple text file.