Text in Illustrator can be worked upon and given various effects to produce different outputs. One such effect is to create a chiseled effect in Adobe Illustrator.
To learn how to create a chiseled effect in Adobe Illustrator follow the steps below.
Step # 1 – Create the background
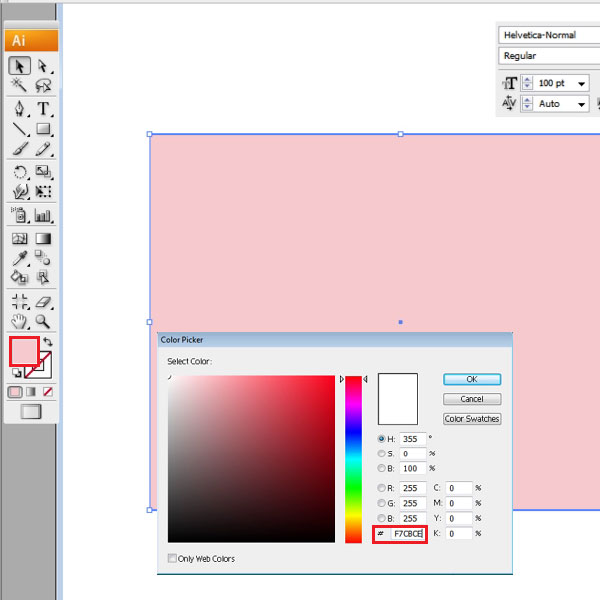
First create a background by making a rectangle using the shape tool. Insert a soft color in the background. You can even leave the background as white.
Step # 2 – Insert text
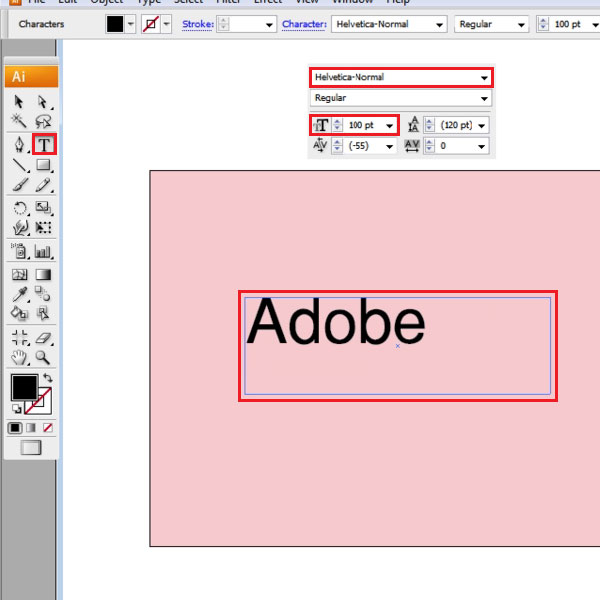
Now insert text on to the page. Over here the font type is “Helvetica-Normal” and the font size is “100pt”.
Step # 3 – Remove color of the fill
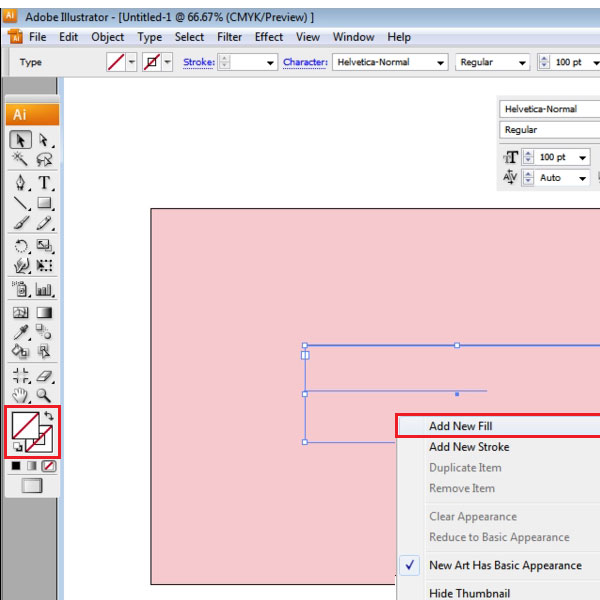
Now remove color from the text by going to the color box at the bottom of the tool panel and clicking on the “none” option; that is the white box with a red diagonal line on it.
Step # 4 – Add new fill
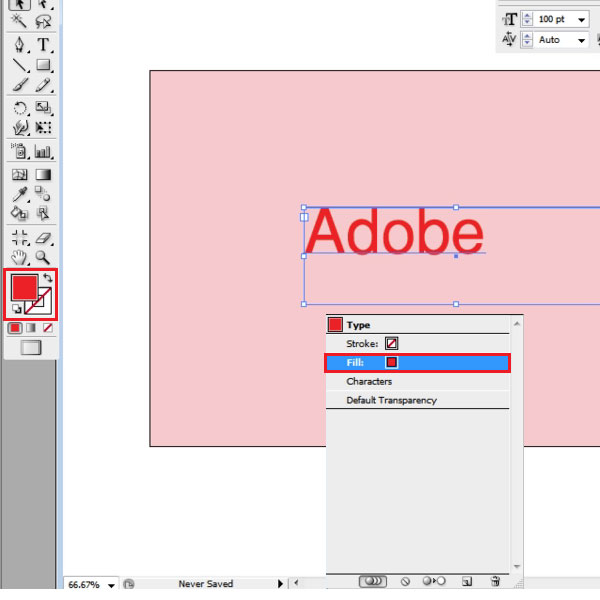
While selecting the text box go to the appearance panel, click the drop down arrow on the right and add a new fill. Enter color into this using “ED2224” for the fill.
Step # 5 – Add “inner glow” effect
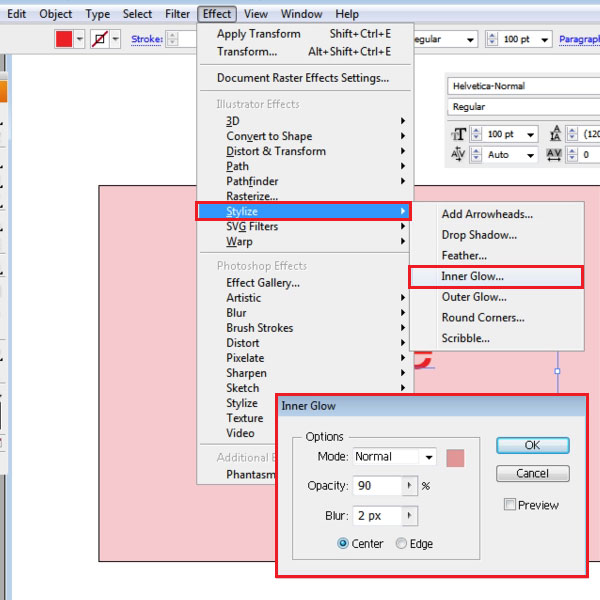
Next step is to add an effect to this fill. For that go to the “effect” menu, go to “stylize” and select the “inner glow” option. Once the settings for this open, choose the “normal” for the mode, keep the opacity at “90%” and the blur at “2px”. This can vary according to the size of your text. Click on “center” and press “ok” to continue.
Step # 6 – Add effect to another fill
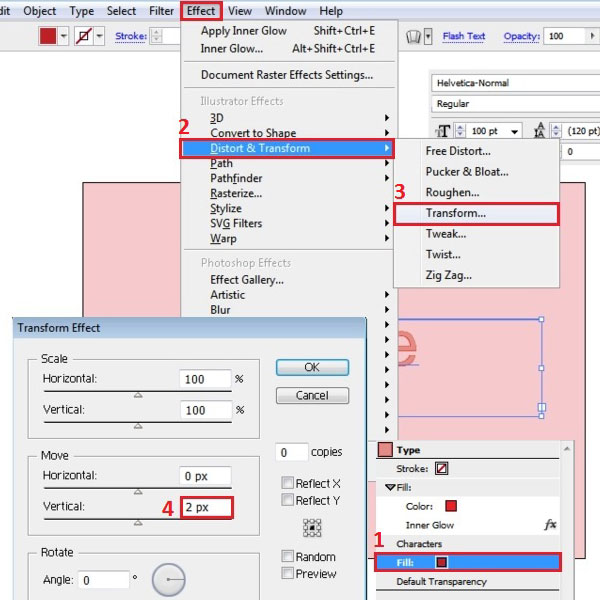
Next, add another fill and use “BE2026” for the color fill. Keep selecting it and go to the “effect” menu. From there drop down to “distort and transform” and then click on the “transform” option. In its settings change the vertical move to “2”.
Step # 7 – Insert a third fill
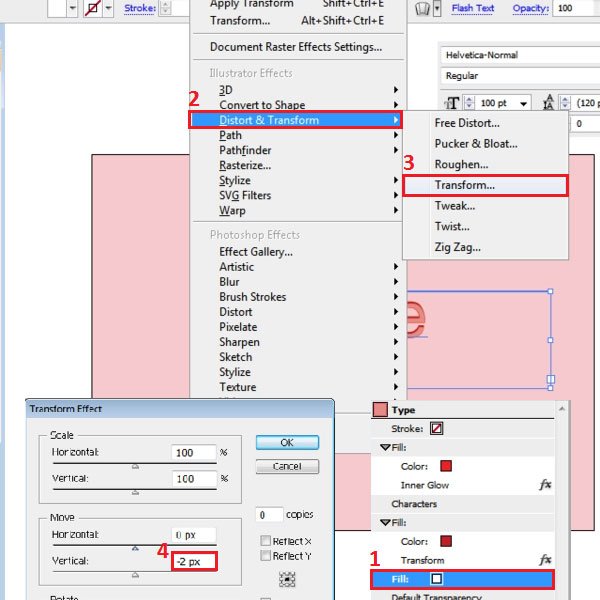
Add another fill and keep its color white. Add the transform effect the same way by going to, effect> distort and transform, and choosing the transform option. In the transform settings change the vertical move to “-2”.
 Home
Home