Different effects can be created in Adobe Illustrator using various methods. Through a very simple method you can learn to create wrapped text in Illustrator.
To know how to create a text effects in Illustrator look at the steps given below.
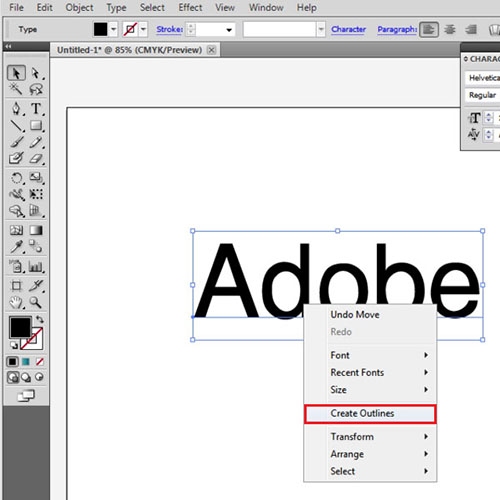
Step # 1 – Create Outlines
Choose any font with a high font size, preferable the font type is “Helvetica-Normal”. Create outlines of the text by right-clicking on it and choosing the “Create Outlines” option. Then right click to “Ungroup” the text.
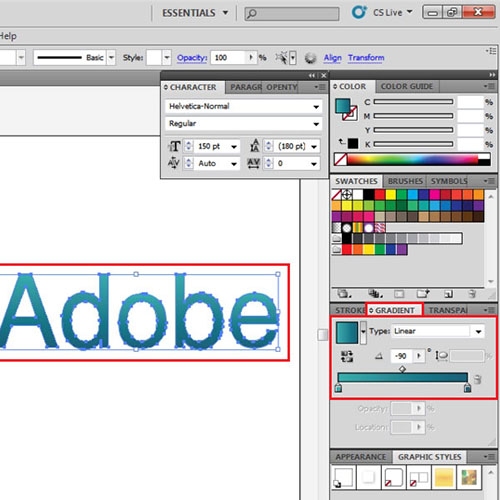
Step # 2 – Add Gradient
Once you have done that while selecting, add Gradient to it of your choice with the gradient angle as -90 degrees. This brings a darker shade at the bottom of the wrapped text that is being made.
Step # 3 – Make a bandage
After this, start with making the bandage. For a better view or a close up of the letter you are working on, zoom in. Create a bandage strip from the pen tool.
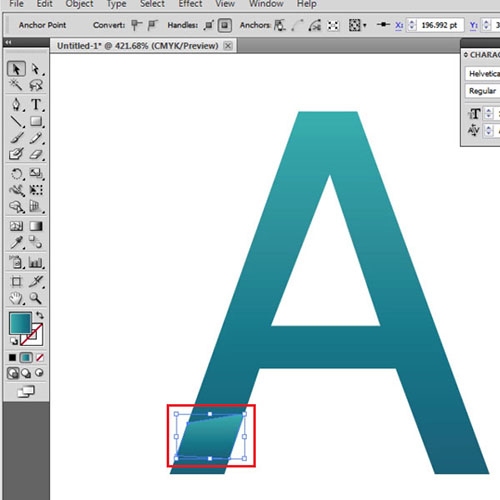
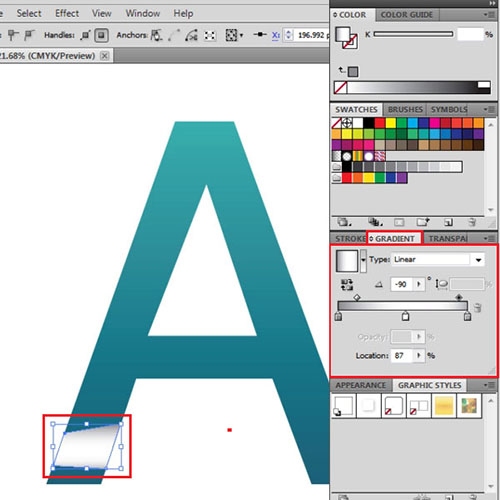
Step # 4 – Add Gradient to the shape
Add a Gradient with three color stops to it, the first one as gray, second as white and third as a lighter gray than the first one.
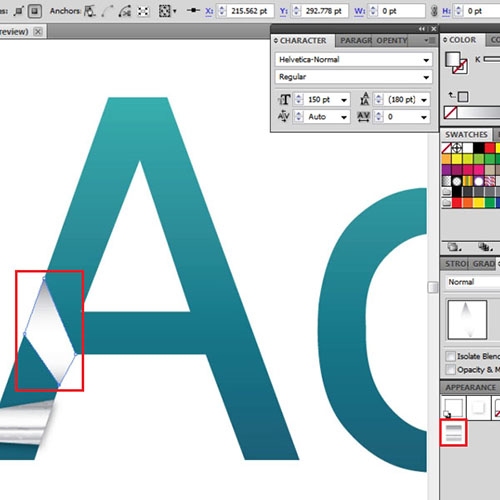
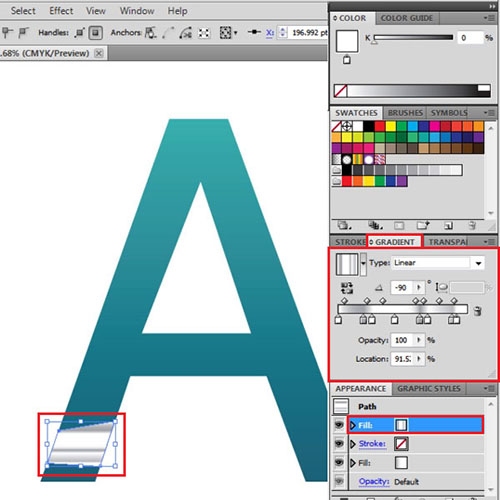
Step # 5 – Add a new fill
Add a new fill from the appearance panel; introduce five more gradient sliders to make a total of eight. Arrange them and add proper shades or tints of gray as shown. Change its blending mode to “Darken” from the “Transparency” panel.
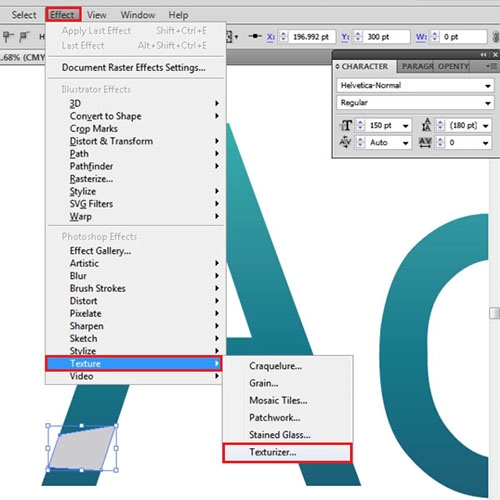
Step # 6 – Add another fill
Add another fill, change its color to a shade of gray and to give it a Texture effect in Illustrator open the Effect settings by going to Effect > Texture > Texturizer.
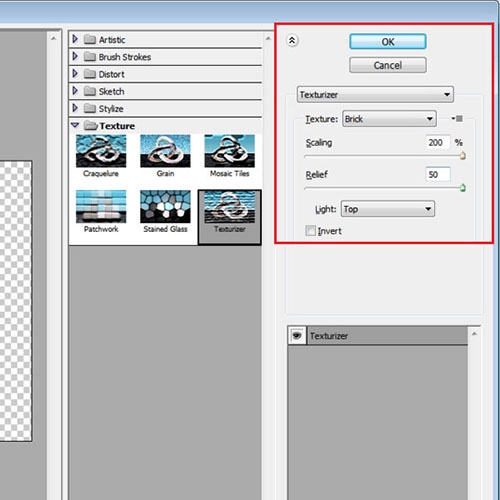
Step # 7 – Adjust the “Texturizer” settings
In the “Texturizer” settings panel that opens enter the texture as “Brick”, Scaling as “200” and the Relief as “50”.
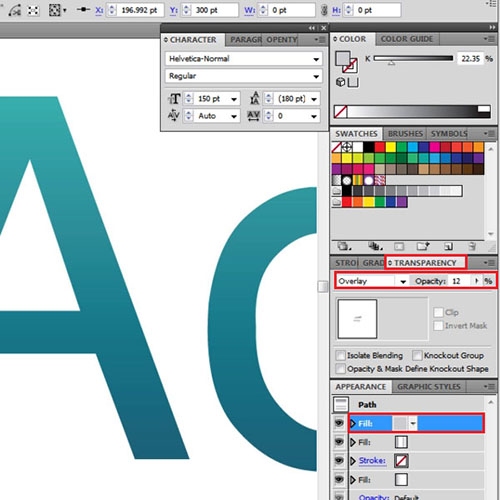
Step # 8 – Alter the “Transparency” settings
Once you have applied the “Texturizer” effect go to the “Transparency” panel and change its blending mode to “Overlay” and reduce its opacity to “12”.
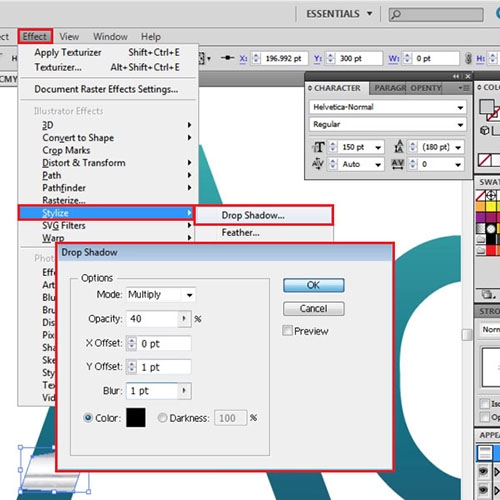
Step # 9 – Add the “Drop Shadow” effect
Select the complete path and go to the “Effect” menu, in the drop down to “Stylize” and select the “Drop shadow” effect. Enter the opacity as “40”, X offset as “0”, Y offset as “1” and blur as “1”.
Step # 10 – Make a Graphic style
Once you have made the bandage, select it and create a new Graphic style. Now you can make the bandages wrapping up the letter and simply apply this Graphic style on all of them to complete the wrapped text effect.