There are many ways of creating text in Illustrator. Text can be created from the Type as well as other tools. Balloon text can be made by using the pencil tool in Adobe Illustrator.
To understand how to create text effects in Illustrator such as the balloon text, follow the steps given below.
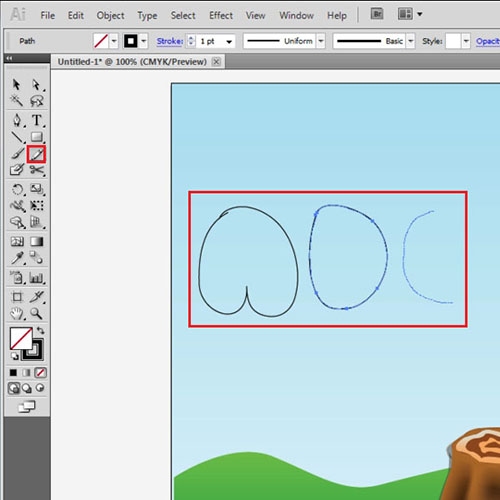
Step # 1 – Draw the letters
Over here a scene setting has already been made, what we would enter now are the lettered balloons.
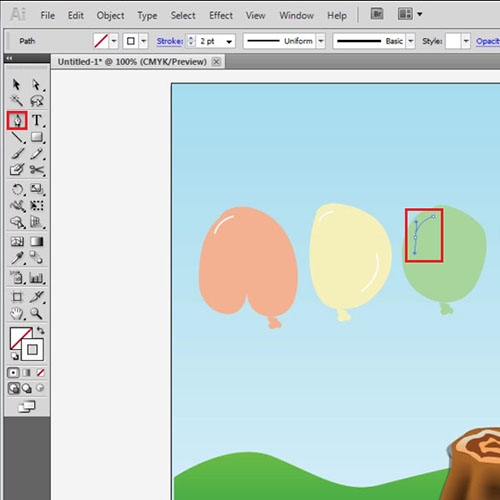
First select the “Pencil” tool and use it to draw inflated letters. To make it visible add a black stroke to it for now.
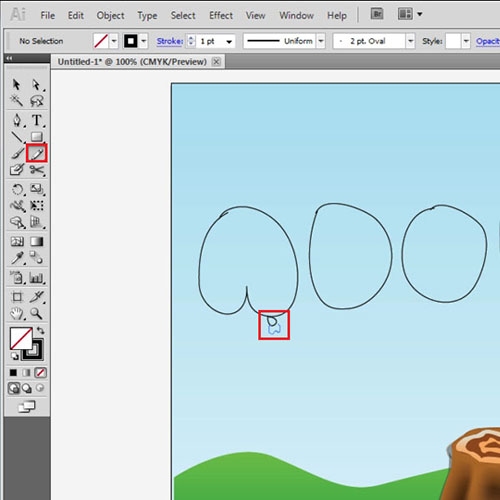
Step # 2 – Make the balloons ties
After making the letters make the lower portion of the balloons with the “Pencil” tool. Make a circle followed by an irregular shape.
Copy and paste the same shapes to make the bottom portion of the other balloons as well.
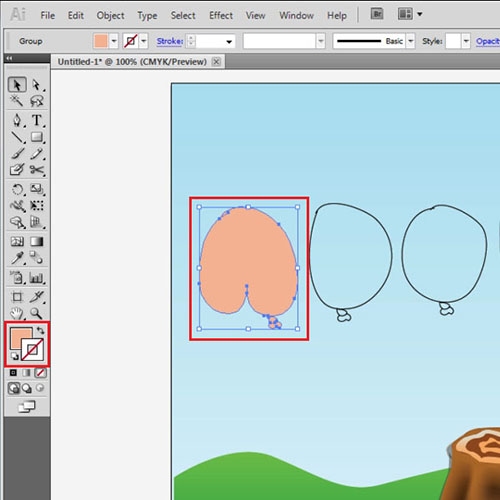
Step # 3 – Add fill to the balloons
Now fill each balloon with a separate color and remove the stroke as you do. You can use a different color for each balloon or the same for all.
Step # 4 – Draw highlights
Use the pen tool, with a white stroke and no fill added to draw highlights on each balloon. Draw an extra highlight on “D” and “B”.
Step # 5 – Alter the balloons
Select the balloons change their blending mode to “Multiply” from the appearance panel and reduce their opacity.
Position the balloons as per your requirement.

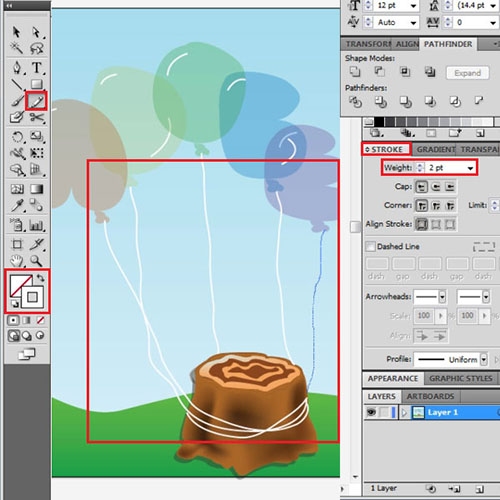
Step # 6 – Draw the threads
With a stroke weight of “2”, draw the threads of these balloons such that the balloons seem tied up to the log.
You can use this technique to also give similar text effects in Illustrator.