Icons in Illustrator can be easily made using basic shapes. In this tutorial, we will be teaching you how to make a vector messenger icon in Adobe Illustrator completely from scratch.
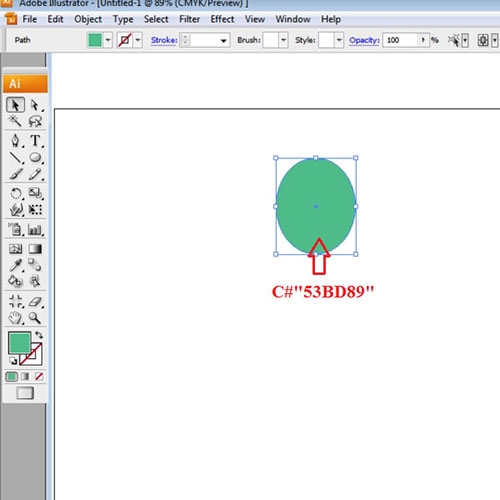
Step # 1 – Make the head
To start making icons in illustrator, select the shape tool. If you keep pressing on the tool bar, six options appear. From that choose the ellipse tool shape. Make the head by creating a circle. Fill it with “53BD89” for the color value.
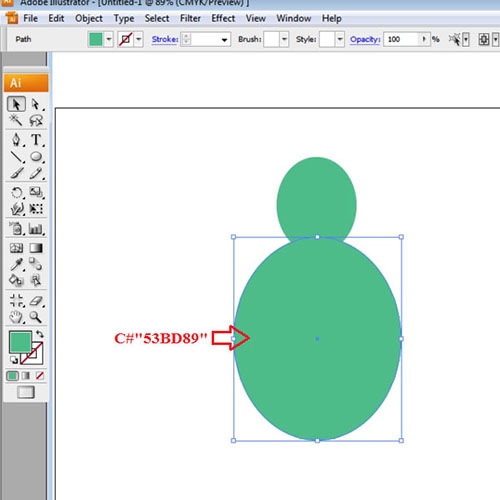
Step # 2 – Draw the body
Now, make the body using the ellipse tool. Draw it while using the same ellipse tool. Use the same color for the body, as well as the hands that you will make.
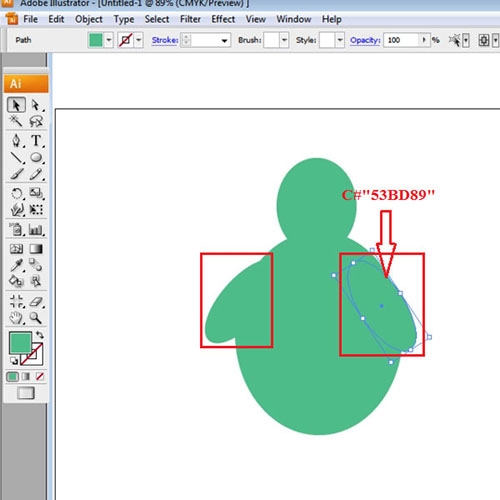
Step # 3 – Create ellipses for the hands
Use the shape tool for the hands as well. Make the hand less circular and more like a longitudinal ellipse. Rotate this shape to position the hand at a proper angle. While selecting the hand, with the help of the “selection tool”, copy and paste it by pressing “ctrl + c” and then “ctrl + v”. Position the second hand by rotating it and moving it accordingly. Send the second hand behind the body by right clicking on it, dropping down to “arrange” from the popup menu and clicking on the “send to back” option. And that’s it for your basic messenger icon illustration.
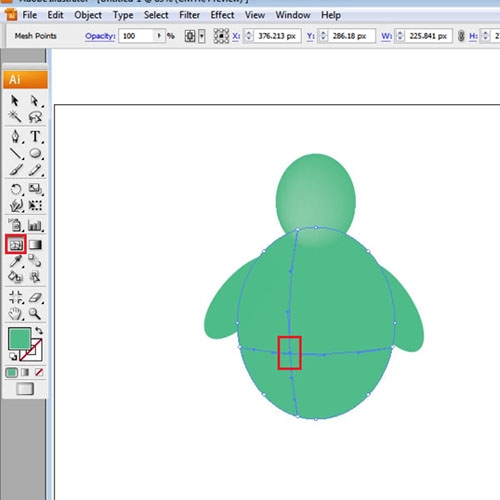
Step # 4 – Add mesh points
To create color variations in the image, we will use the mesh tool. Select it from the tool panel towards the right. Click where you want to add another anchor point, within the circle, to change the color.
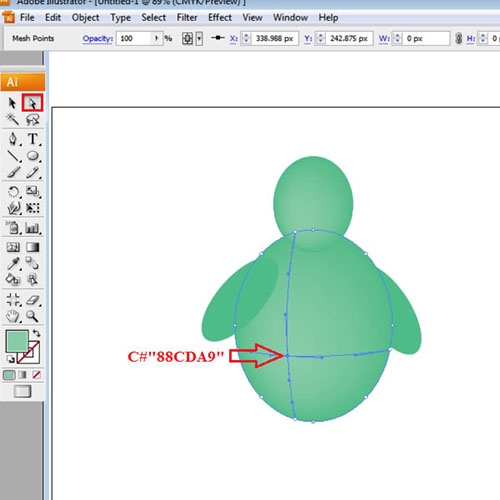
Step # 5 – Mesh colors
Choose the “direct selection tool”. A shortcut to select this is by pressing “A” on your keyboard. With the help of the direct selection tool, click on the anchor point that you just entered, change its color by double clicking the color box. The color value for this tint used over here is “88CDA9”. If the lighter color is selected and you add an anchor point from the mesh tool, then the light color will automatically be added to the new point that you add. You can have many anchor points for your mesh.
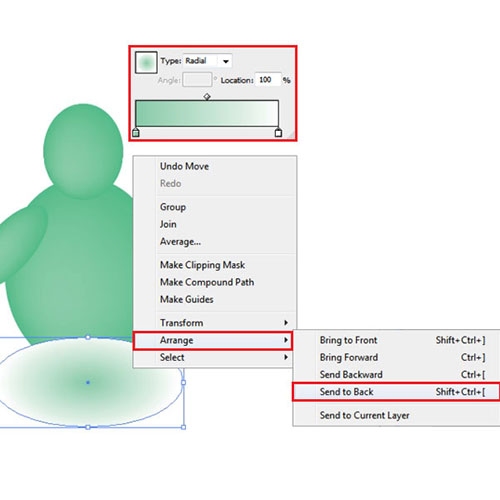
Step # 6 – Create a shadow
To create a shadow for this figure, first create an ellipse. Add gradient to it through the gradient panel on the right hand side. Change the type of the gradient from “linear” to “radial”. Replace the color of the gradient slider on the right, with the light green color that you just added to the image. Make sure that the gradient moves from white to light green. Adjust the gradient sliders accordingly. Alter the size of the ellipse so that it compresses vertically. Right click on the shape, go to “arrange” from the menu and select the “send it to back” option. Adjust this shadow according to your image and you’re done.