You can add different styles to illustrations and text in Adobe Illustrator. Using simple shapes and effects we will teach you how to create a vector blueprint in Adobe Illustrator.
Step# 1 – Insert the stroke and inside fill
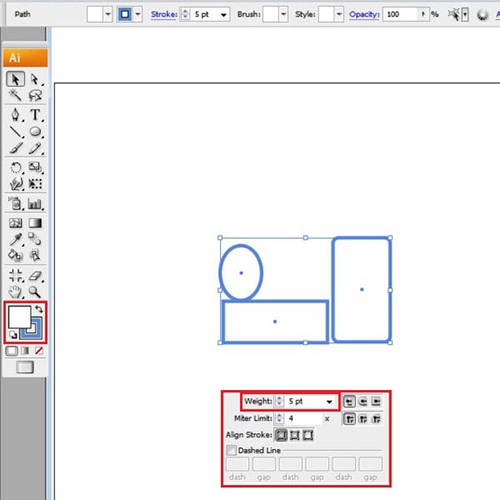
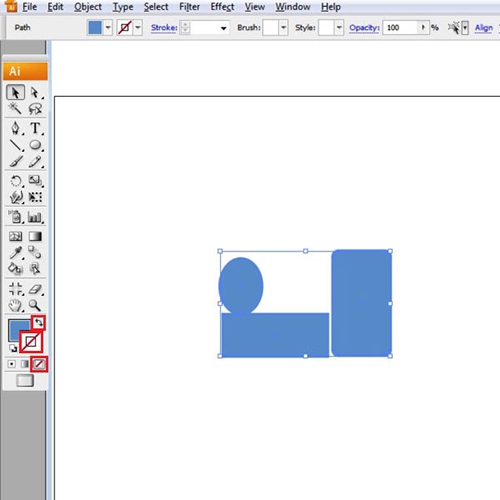
To create a blueprint effect, begin with making shapes or any illustration on the canvas. After making the shapes, increase their stroke weight to “5” from the “stroke” panel. Now, change the stroke color. To do that, double click on the stroke box and enter “5A8BC8” for the color value. Fill in the inside of the shapes with white.
Step # 2 – Make a copy of the Illustration
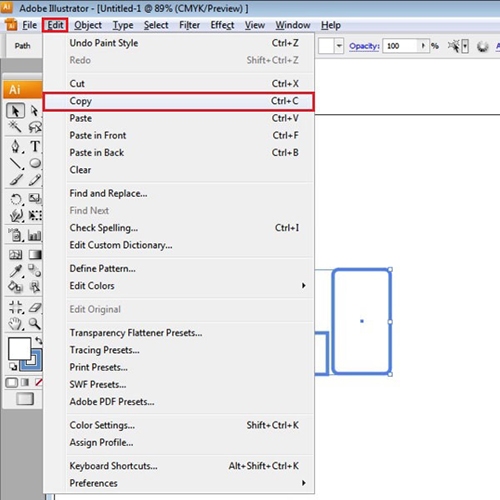
After this, select all the shapes from the selection tool. Keep pressing down the “shift” key and select all the shapes on the canvas. Make a copy of these shapes by going to the “edit” option on the menu panel on top and selecting the “copy” option.
Step # 3 – Paste the copy
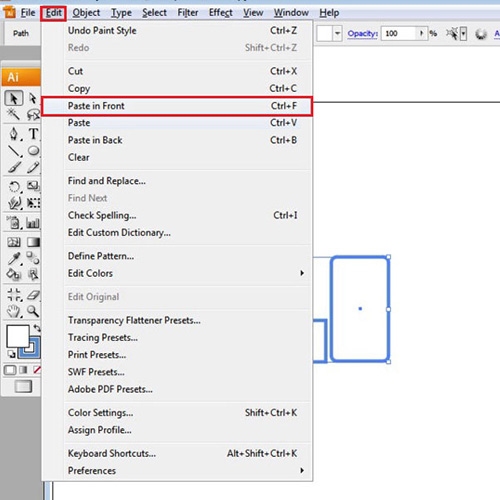
Paste this copied illustration by selecting the “paste in front” option from the “edit” menu. Now we will create a blueprint effect on the duplicated illustration.
Step # 4 – Remove the stroke
Click on the double arrow present between the color and stroke box. This will invert the colors of both the color fill and stroke fill. With that done, the shapes will get filled with blue color and a white stroke. Once done, remove the stroke from the duplicated illustration only.
Step # 5 – Apply the scribble effect
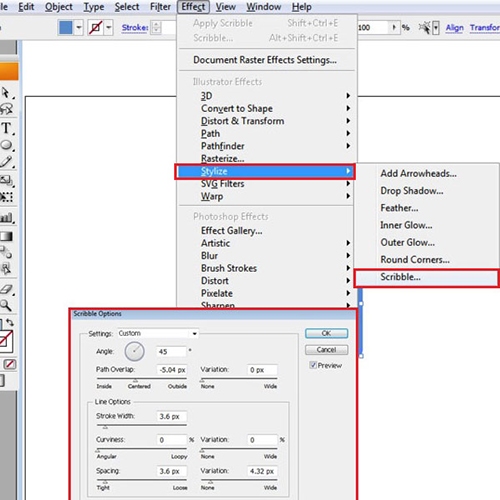
Now to add the vector blueprint effect, we will apply the “scribble” effect. Do this by going to the “effect” menu on the top. From there, move over to “stylize” and select the “scribble” option.
Step # 6 – Insert rectangles
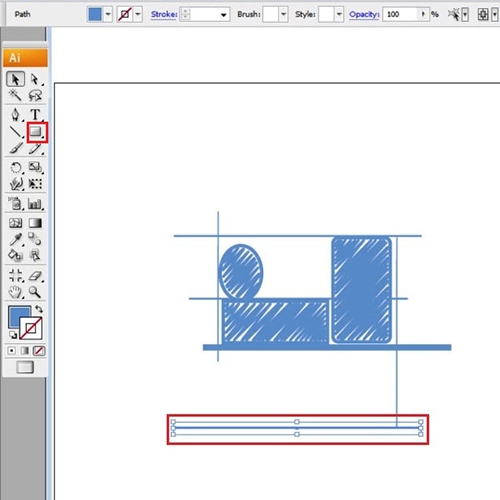
To add to the effect, what we’ve done is used the rectangle shape tool and created several shapes appearing as lines of different thickness, kind of like a measurement scale drawn on the illustration.
Step # 7 – Add text to the image
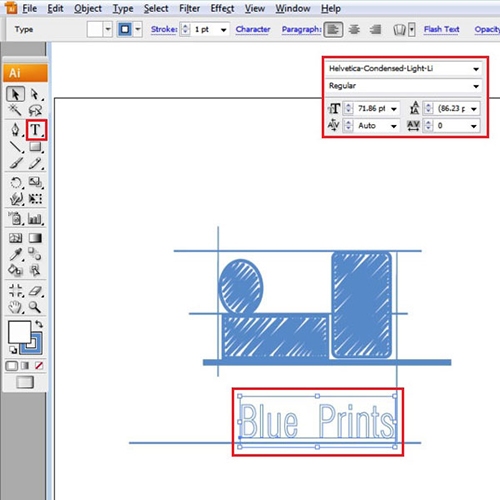
You can add text to your illustrations as well. Select the text box and insert your text. Choose “Helvetica-Condensed-Light-Li” as the font type while keeping its size “24”. For the text, reduce the stroke weight to “1” and change the stroke color to the blue color previously used as the inside fill. Use white as the inside color for the text.
Step # 8 – Added dashed lines
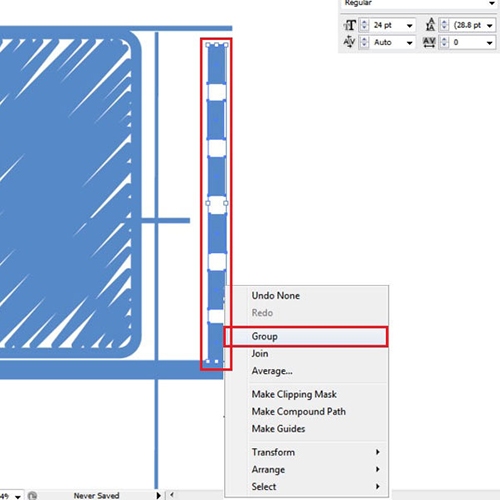
To add dotted lines either, make it by clicking on the “dashed line” option or from the rectangle tool. Zoom in to the place where you want to add a dotted line. Make a small rectangle from the shape tool. Copy and paste the same rectangle by pressing “ctrl + c” and then “ctrl + v”. Repeat this step and arrange these small rectangles in a straight line. Group these shapes by selecting all of these rectangles, right clicking and choosing the “group” option. Copy and paste the group wherever you want to make more dotted lines. The sizes of the dotted lines can also be altered.