It is very important to know how to use the pen tool in Adobe Illustrator for any work that is to be done in this software. The pen tool is a very important tool in Illustrator cs5 as most of the vector images created in it are made by means of this tool. To understand more about it you must view the steps given below.
Step # 1 – Using the pen tool
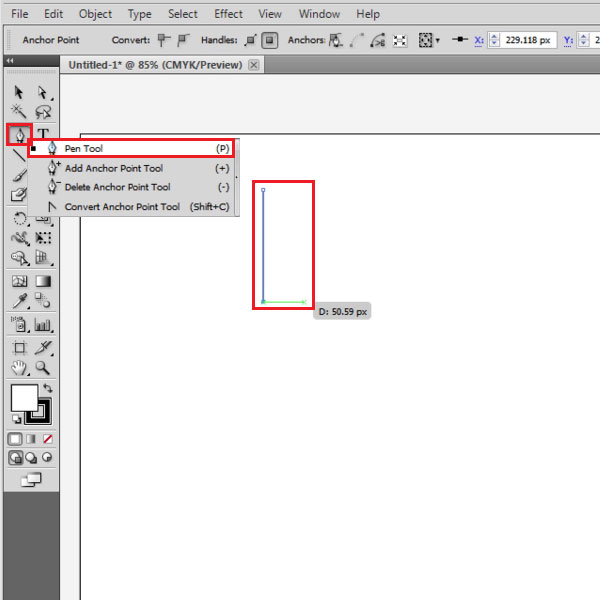
Click on any part of the page. Rather than making the whole line yourself, what you will need to do is define the end point of your line and illustrator will create the line for you.
Suppose you want to make a shape. Click at the point, where you want the line to end as shown. The line will now automatically be created. As you keep adding end points, they keep joining these lines, which make your required illustration.
Step # 2 – Deselecting a drawing
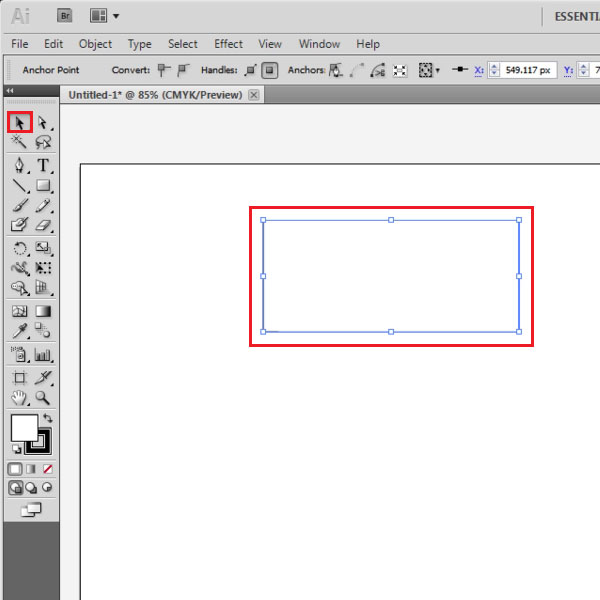
If you wish to start working on a new drawing that is not connected to the current one you can press the selection tool button, deselect the shape that you just created and then start using the pen tool again. A shortcut for this is to hold the “ctrl” key on the keyboard.
Step # 3 – Closing a shape
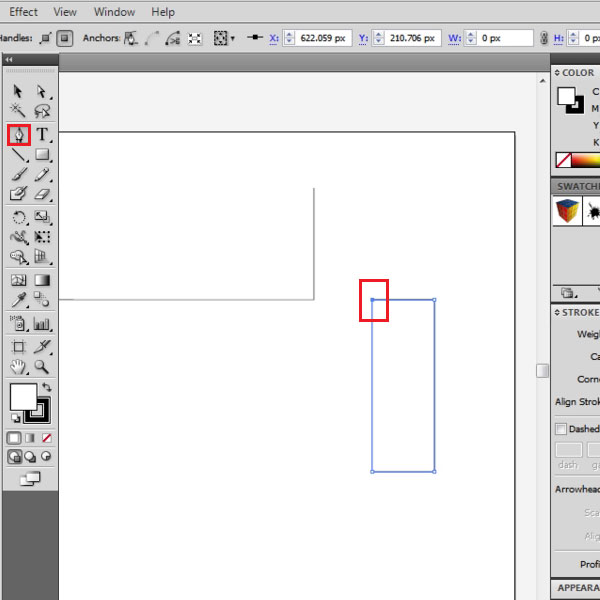
You can also close a shape. Make separate rectangles on the side. To close the first shape, draw all of its borders. Your fourth anchor point should come on the first one. Now, when you click somewhere else on the page and make an anchor point it will start making a new line or shape as you want. You can make another closed rectangle on the other side. Notice how it is not connected to the previous rectangle that you made.
Step # 4 – Removing anchor points
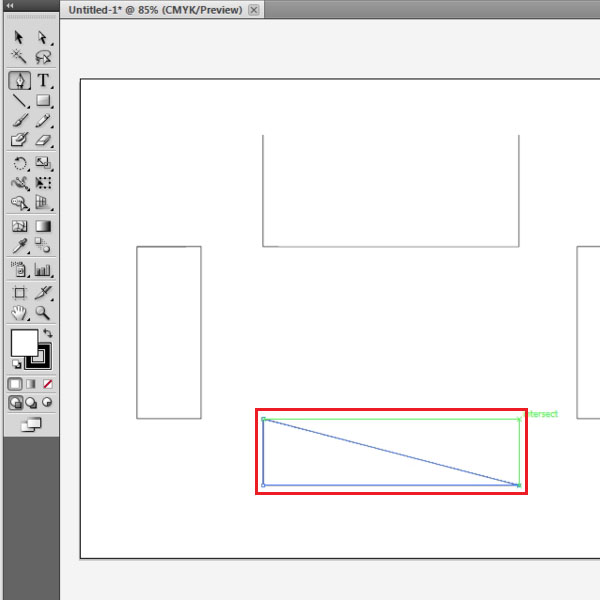
You can also remove the anchor points that you have put in by clicking on them again. To understand this, make a rectangle. Draw this shape, in the same way as you made the two closed shapes above. After doing so, click on one of its anchor points and the illustrator removes it and joins the remaining points together. When two of the anchor points are removed, it just joins the two points left which creates a single line. To deselect it and start working on something else press the keyboard shortcut ‘ctrl” and deselect when the arrow appears.
Step # 5 – Making a curved path
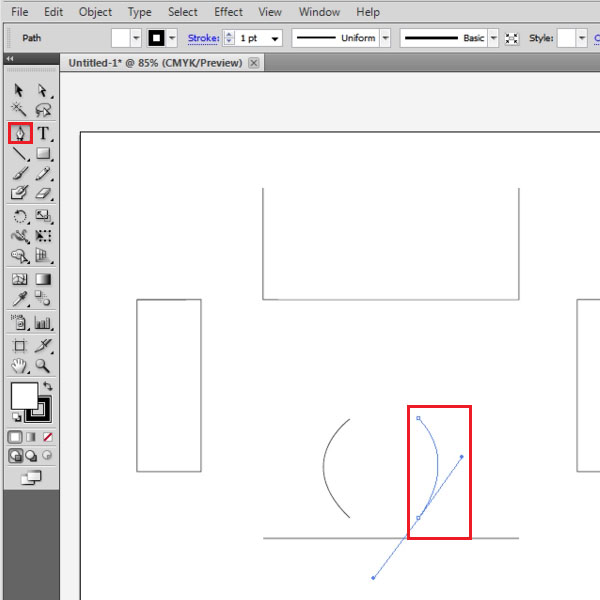
You can also make curved paths using your pen tool. To do this, follow the same procedure that is; add an anchor point then add another point to define the end point. When you add the end point do not release the button and move your mouse. You will see that the straight line turns in to a curve. You can also deselect un-closed curves to start working on new ones.
Step # 6 – Bringing the shape on top of another
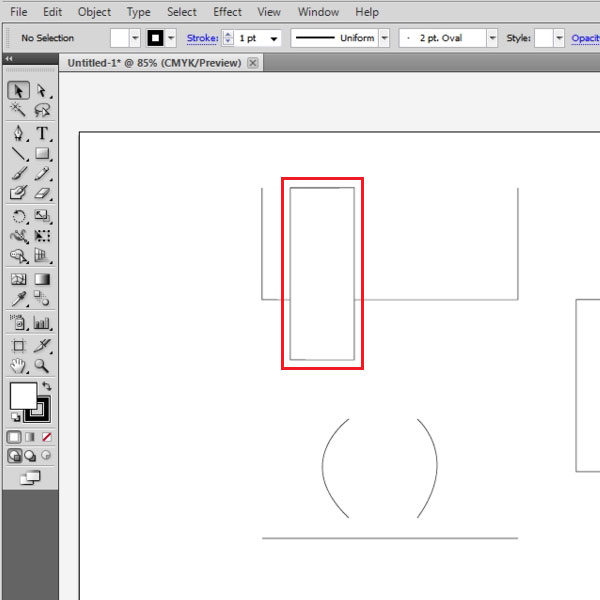
If you take a shape on top of another with the pen tool, it hides the one underneath it if the option of fill color is selected. Move the two rectangles on the shape on the top. You will notice how, they hide the one underneath. Bring both of them on top of the un-closed shape. As you will see they will hide the shape below them.
Step # 7 – Filling the shape with color
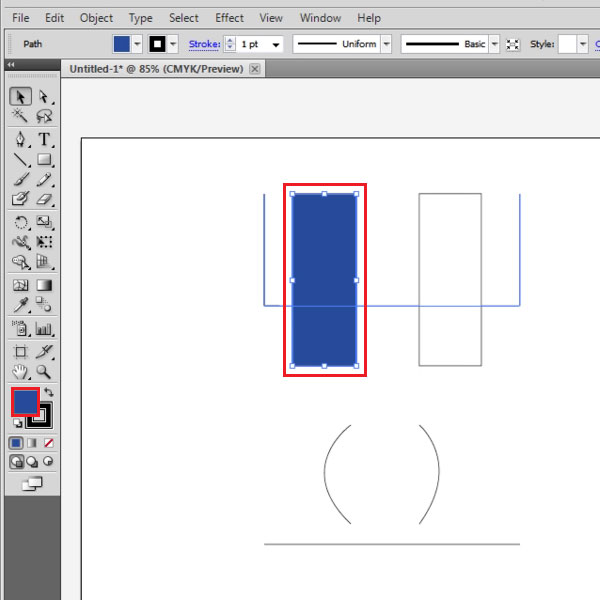
You can change the color if you want. To do this, go to the tool bar on the left and double click on the color box. You will be provided with a variety of colors you can choose from. You can change the color, of both the rectangles.
Step # 8 – Viewing the shape underneath
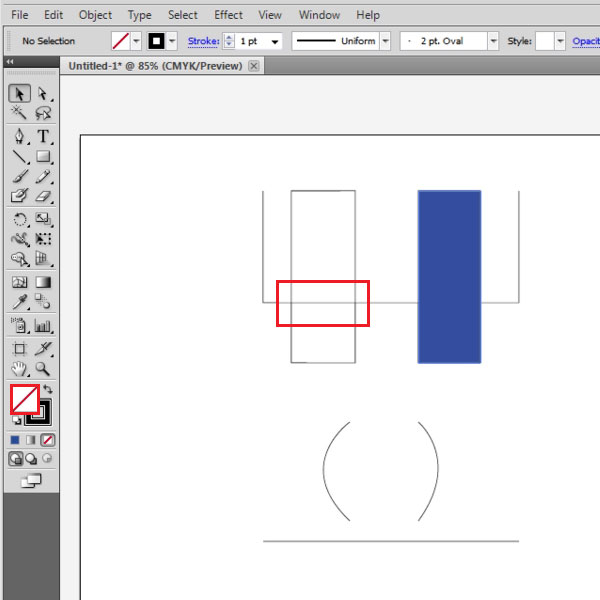
If you wish to see the shape underneath the top ones, then press the “none” option that is a white box with a red diagonal line on it. This removes the color inside the shape.
 Home
Home