Adobe Premiere is a time-line based software which allows people to edit videos .Using this software one can even open Photoshop files directly in Adobe Premiere and edit them. It is used by a number of TV channels and TV shows when programs are edited and has a variety of features which allows you to discover a number of options and keep experimenting with new tools and techniques. Using it might be a little complicated ,and thus it is important t that one has a clear understanding of how this software functions in order to gain best results.
In this Adobe Premiere tutorial, we will give you a brief introduction on the new features added in Adobe Premiere Pro CS6 and will show you how to customize the interface.
Step 1 – Automatic Playback
With CS6 your process for working is much easier since there is no need to drag and scan the desired footage in each clip one by one. The new adobe premiere pro comes with a mercury play back engine where everything becomes more responsive as compared to older versions. This is what sets this software apart from others of its kind.
In this case, we see that if we move the cursor across the footage, it starts playing automatically. If we move the cursor towards the right, the clip plays forward and on the other hand, if we move the cursor towards the left, the clip rewinds.
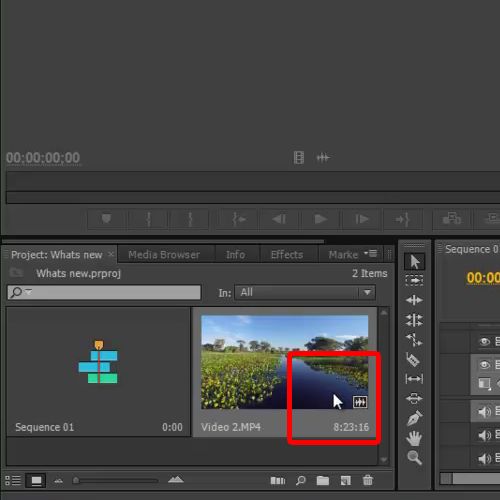
Step 2 – Mark In and Mark Out
It also allows you to set the Mark In and Mark out points within the clips. This is a useful tool since you can determine the starting and ending points before bringing the clip on the timeline. You must ensure all steps are carried out properly in order to get the best results.
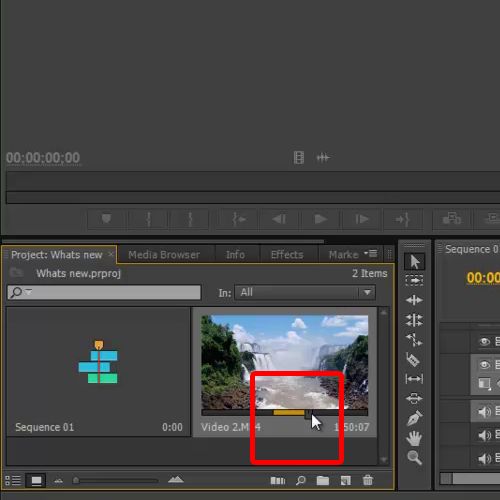
Step 3 – Marinating the Aspect Ratio
In Adobe Premiere when we drag and drop the clip on the timeline, a notification will pop up asking you what aspect ratio should be considered for the sequence. Keeping the right aspect ratio is necessary to avoid any loss of data after exporting.
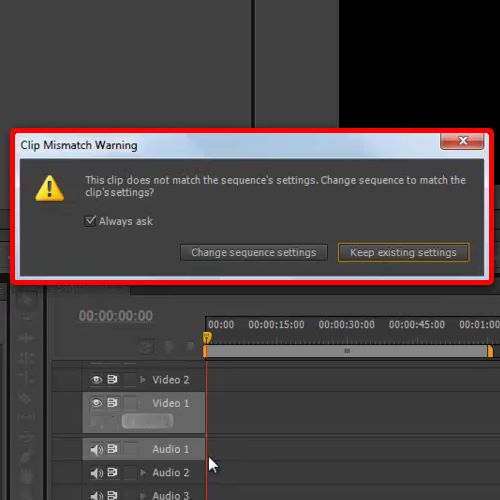
Step 4 – Maintaining the Aspect Ratio
A new introduction in CS6 is the newly added workspaces. If you go to the Window menu and move over Workspaces, you can find different presets here.
For example, the Audio preset provides you with a dedicated mixing monitor that comes in handy while editing. You can handle each individual audio layer separately through this monitor. Similarly you can check out all the other presets one by one.
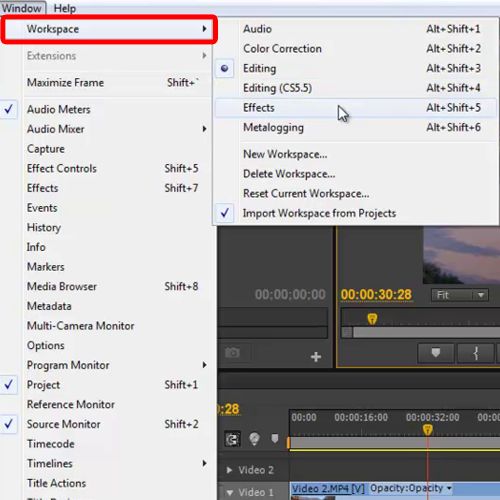
Step 5 – Managing the Workspace
Adobe Premier Pro gives you the complete freedom of designing your own work space.
In order to stretch any of the dialogue box, move your cursor to the borders of the respective window and stretch it as much as you want.
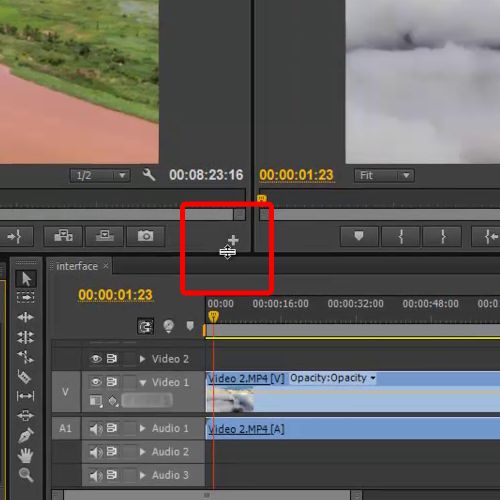
Step 6 – Relocating the interface
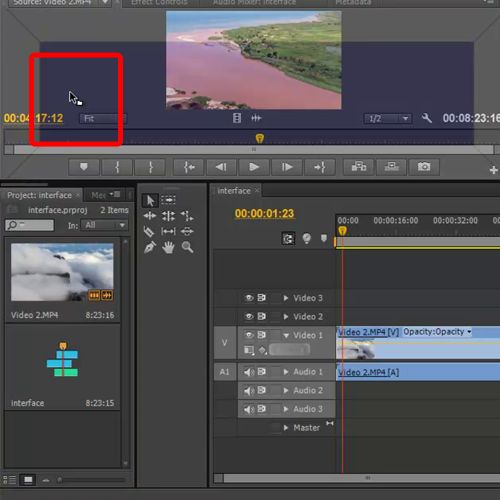
Furthermore, you can customize the interface by dragging and dropping or relocate any window anywhere in the interface. For example, in this case, click on the media library and move it towards any other location.
It will show the preview window highlighted in blue. Once you release it, the media library will shift to the respective location. You can again stretch the window and change the appearance as per your requirements.
Step 7 – Switching through the tabs
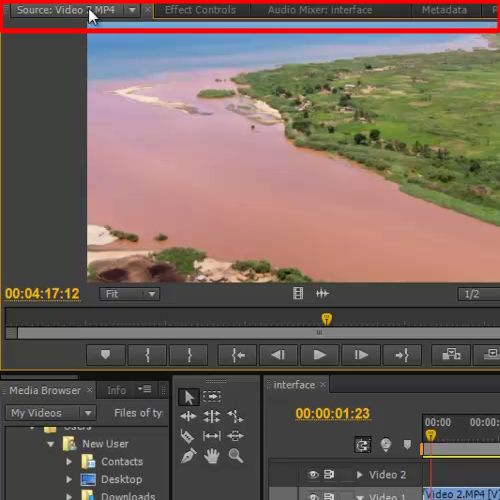
Once this has been added, you can quickly switch through the various tabs present as well.
 Home
Home